How to take a cooking class while traveling comes down to four things: pick the format that suits you, confirm the session is genuinely hands-on, tell the host about dietary needs before you arrive, and book somewhere with free cancellation. Most classes run two to four hours and assume you have never held a chef’s knife.
A typical session starts with a meet-up, sometimes at a market, then a short demonstration, then cooking at your own station, and finishes with everyone eating what they made. You get recipes to take home and, if you booked well, a small group and an instructor who has time to answer questions.
That last part is why travelers keep ranking cooking classes among the best things they did on a trip. Tasting a dish once is a memory. Understanding why it tastes the way it does is something you can cook at home years later.
This guide covers how to find classes, what to check before you commit, how to book, how to prepare, and what the day actually looks like. It is written for anyone with a few spare hours in a destination, and it pays particular attention to booking as a solo traveler, which is where most of the confusion tends to come up.
Table of Contents›
- What You Need
- Step-by-Step
- 1. Decide What Kind of Cooking Class You Want
- 2. Choose a Location That Fits Your Trip
- 3. Check the Class Before Booking
- 4. Reserve a Place and Confirm the Details
- 5. Tell the Instructor About Dietary Needs and Experience
- 6. Arrive Early and Learn How the Session Works
- 7. Cook, Taste, and Ask Questions
- 8. Eat, Share, and Save the Experience
- What You Will Actually Learn
- Common Mistakes
- Frequently Asked Questions
- Do I need cooking experience to join a class while traveling?
- What should I wear to a cooking class?
- Can I take a cooking class if I have food allergies?
- How far in advance should I book a cooking class?
- Is a cooking class suitable for children or couples?
- What should I do if I do not like the dish being cooked?
- Conclusion
What You Need
Almost nothing. A cooking class needs no equipment, no certification and no experience. What it does need is a little preparation, and most of that happens before you leave home rather than on the day.
Booking details. Before anything else, note the exact address or meeting point, the start time, the duration, and what the confirmation email actually says about meeting up. A surprising number of classes meet at a market, a restaurant back door or a side entrance, not at the address printed on the website.
Dietary information. Write down every allergy, intolerance and restriction in plain words, including severity. If you cannot eat something you would normally eat, or if a reaction would be dangerous for you, say so in writing rather than mentioning it at the door.
Clothing and shoes. Closed-toe shoes with a flat sole, hair tied back if it is long, and clothes you do not mind splashing. Aprons are almost always provided.
Payment. Some platforms charge at booking and others on the day, and a few still work on cash only. Check the cancellation window too, because the usual pattern is a full refund up to 24 or 48 hours before the start time and nothing after.
Transport. Work out how long it takes from your accommodation, including the walk from the nearest station or bus stop, and add fifteen minutes. Cooking classes usually cannot wait for latecomers, because the ingredients are already out.
Phone and camera permissions. Many classes welcome photos, some ask you not to film during the demonstration. A quick check avoids an awkward moment in front of a full room.
Step-by-Step
1. Decide What Kind of Cooking Class You Want
There are four formats, and they feel nothing alike once you are standing in the kitchen. Market tours, hands-on workshops, recipe classes and full meals are worth telling apart before you search anything.
- Market tour with tasting — you walk, you taste, you do not cook. Good if you want context and a light morning, bad if your goal is technique.
- Hands-on workshop — you cook at your own station for most of the session. This is the one most travelers mean when they say cooking class.
- Recipe class — usually a shorter, tighter session built around one dish or one technique, such as fresh pasta from scratch or rolling sushi.
- Full meal or small-group experience — a longer session that includes several courses and the meal at the end, sometimes with a market visit beforehand.
Match the format to your schedule, your mobility and your group. Two hours of standing at a counter is a different commitment from four, and a demonstration class where you watch a chef work while you sip wine is not a substitute if what you wanted was to learn.
2. Choose a Location That Fits Your Trip
Pick the city and neighborhood before you pick the provider. A class twenty minutes from where you are staying is a different experience from one that costs you an hour of transit each way, especially on a short trip.
Then check what sits around it. A cooking class that ends at lunchtime pairs well with an afternoon walk, an afternoon class fits around a morning market, and a full-day session leaves nothing else in the diary. Providers in residential neighborhoods tend to feel more like a home kitchen than a tourist venue; providers in the old town are easier to reach but busier.
Language matters more than people expect. Plenty of classes abroad are taught in English because that is where the tourists are, but plenty are not. The listing usually says, and if it does not, that is a question to ask before you pay.
3. Check the Class Before Booking
A good listing tells you most of what you need. The details worth reading closely are group size, how much time you actually cook, what is included, what happens at the end, and how hard you can cancel.
- Group size. Six to ten is comfortable. Twenty is a demonstration with a knife in your hand for part of it.
- Hands-on time. Look for wording like individual stations or at your own station. Watch for watch the chef, demonstration, or show.
- Level. Beginners welcome is common. If you cook regularly, look for technique-focused classes rather than beginner intros.
- Menu. Regional home cooking is usually the most interesting choice. A menu of the country’s four best-known dishes is usually a tourist menu.
- Inclusions. Ingredients, the meal, drinks, a recipe booklet, a market visit and transfers are included by some classes and charged extra by others.
- Cancellation. Free up to 48 hours before, with the reason stated plainly.
- Food safety. Clean work surfaces, hair restraints where required, and an instructor who mentions temperatures for meat and fish rather than winging it.
Read the reviews after the description, and read the one-star ones first. Travelers complain about three things in a predictable order: too much watching, a group too large to get individual attention, and a class that was rushed.
4. Reserve a Place and Confirm the Details
Book early enough to choose, late enough to stay flexible. Popular classes in Rome, Florence, Bangkok and Tokyo fill a few days out, and the mid-range kitchens that take twelve people are usually the first to go.
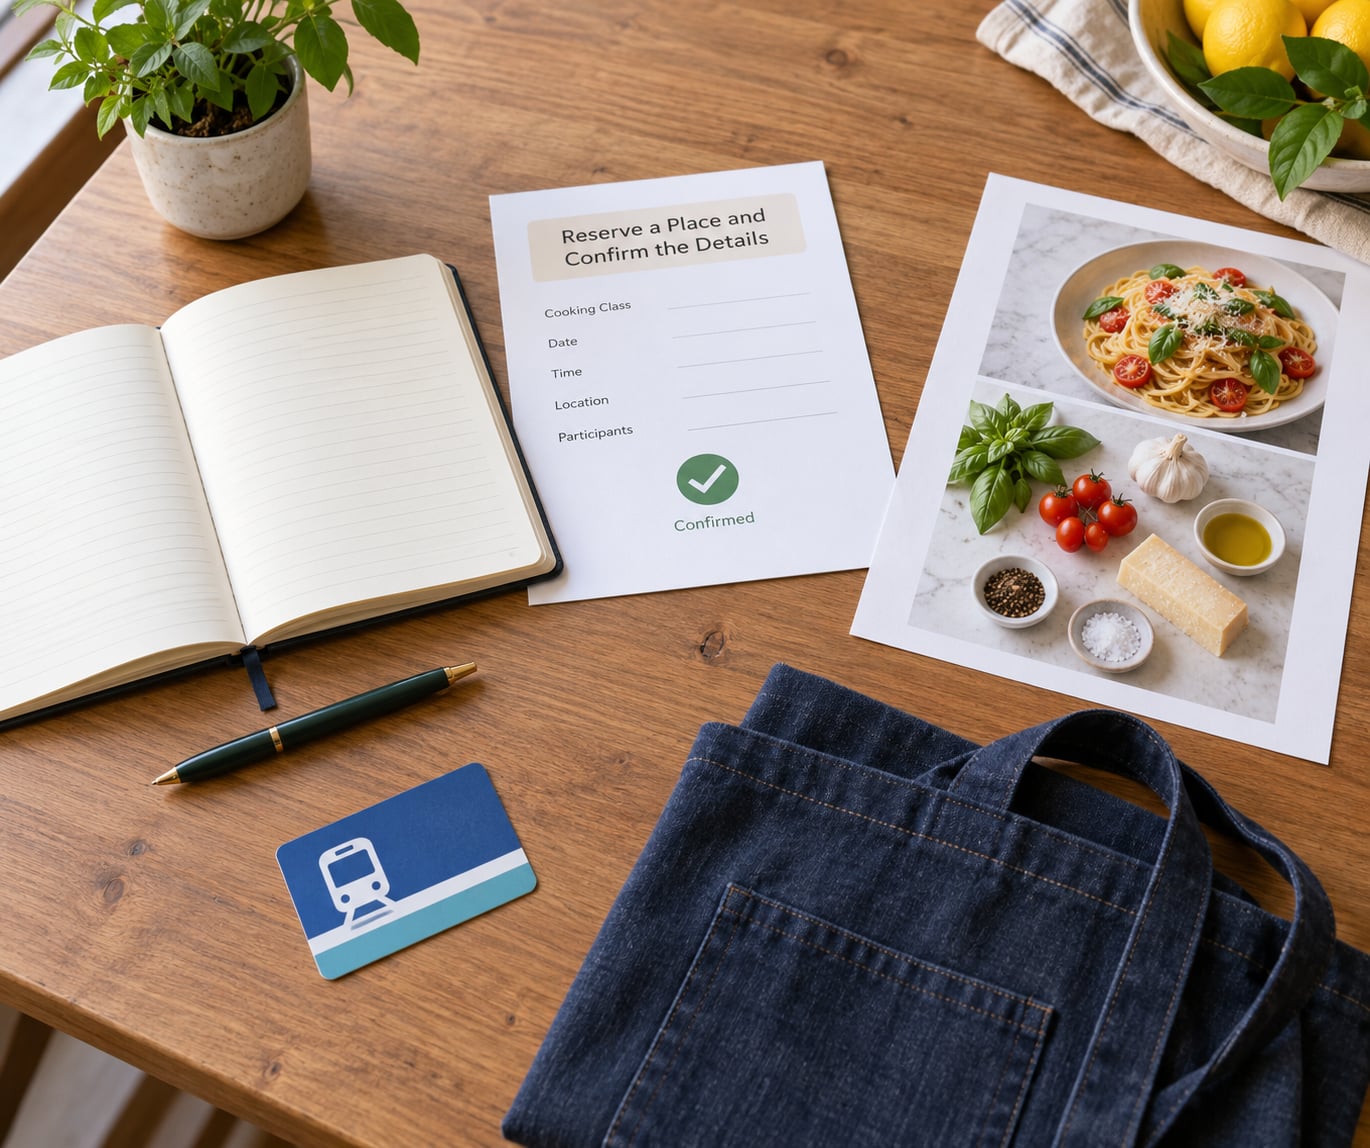
Once booked, save the confirmation rather than assuming the email is all you need. Message the provider with the practical questions: the exact meeting point, whether the address on the listing is where you should actually turn up, how long the session runs, whether there is a market visit before it, and whether there is a lift or step-free access if you need it.
If you plan to travel with a child, ask about minimum ages. If you are nervous about language, ask whether the chef speaks English. These are ordinary questions and asking them makes the day smoother for everyone.
Not every class is a walk-in business, and assuming one is the most common booking mistake. Local schools often run on set weekly schedules with a fixed number of seats, so a same-day spot is luck rather than planning.
5. Tell the Instructor About Dietary Needs and Experience
Send allergies and restrictions in writing before you travel, ideally a few days ahead, and repeat them when you arrive. The kitchen needs to know before the shopping list is done, not after the pan is hot.
Be specific about severity. Coeliac disease is not the same as a preference for gluten-free food, and a serious nut allergy is a different conversation from one where you would rather avoid peanuts. Ask plainly whether the kitchen handles allergens separately, because in some countries the honest answer is no, and you would rather know in advance.
Vegetarian and vegan options are usually available on request, sometimes at a slight extra charge. Spice tolerance is worth mentioning too. Say whether you eat hot peppers at all and how you handle heat, and a good instructor will adjust rather than hand you a dish that ruins your evening.
Tell the truth about your experience too. Beginners are the norm, not an imposition, and experienced cooks can be pointed at the more technical classes.
6. Arrive Early and Learn How the Session Works
Aim to be there ten to fifteen minutes early. Ingredients are typically portioned out before anyone arrives, and the chef often gives safety notes, assigns stations and lays out the plan for the session in the first few minutes.
Listen to those notes. Knife handling, hot oil, raw protein and cross-contamination are the four things worth paying attention to in any kitchen, and this one has more heat and more strangers in it than your kitchen at home.
Watch how the room is organized. Ingredients in small bowls at your station, tools laid out within reach, a bin nearby, and the instructor moving between groups rather than standing at the front, are all signs that the session was built properly. If you are standing in a semicircle watching, you are in a demonstration class and should expect little cooking time.
7. Cook, Taste, and Ask Questions
Cook at your own pace and do not chase the instructor every two minutes. Trying the dish halfway through, tasting, and adjusting the seasoning is the actual lesson, and the tasting is feedback rather than a formality.
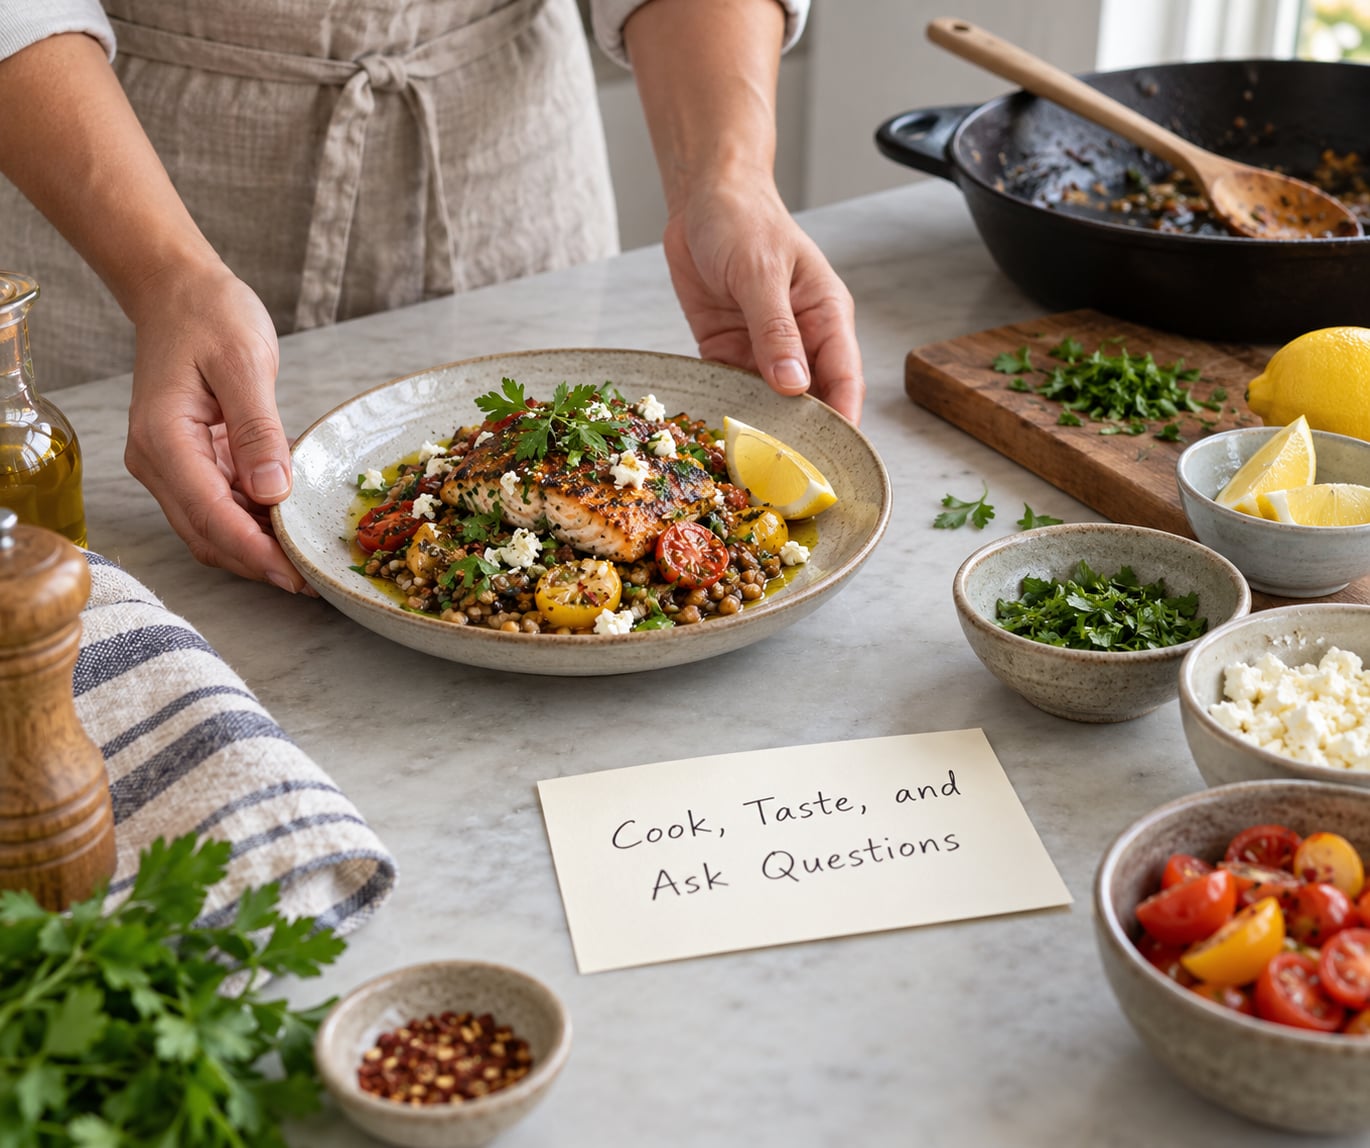
Take quick notes if the instructor allows it. Long note-taking while your sauce reduces is how people burn things, and the recipes are usually handed over at the end anyway.
Ask about substitutions. Why this oil instead of another, why the fish sauce goes in at that moment, why the dough rests. Those questions are what a class gives you and a restaurant cannot, and instructors are usually delighted by them.
Accept that your results will not look like the chef’s. Rolling, knife work and timing take practice, and a slightly uneven plate is a normal first attempt, not a failure.
8. Eat, Share, and Save the Experience
Most classes end with everyone sitting down together to eat what they cooked, often with a glass of wine or beer included. That part is not padding; it is how you find out what you got wrong, because someone at the table will tell you.
Ask for the recipes, ideally as a printed sheet or a link, and photograph the finished plates before they disappear. If leftovers are offered, take them; a class dish eaten cold at midnight in your accommodation is one of the better parts of traveling.
Then note what you can actually recreate at home. Fresh pasta is easy to repeat with a supermarket bag of flour. A curry built on galangal, makrut lime and a specific fish sauce is harder, and you will want a substitute list. A written recipe with measurements beats a half-memory of a technique every time.
What You Will Actually Learn
Whatever the cuisine, most classes teach the same five underlying skills, and it helps to know what you are paying for.
- Knife skills — the claw grip, consistent cuts, and why onion makes you cry less when cut cold.
- Heat control — reading a pan by sound and smell rather than by eye.
- Seasoning in layers — tasting at each stage instead of salting at the end.
- Mise en place — everything measured and within reach before the heat goes on, which is the single biggest habit a class can give you.
- Tasting and adjusting — the loop most home cooks skip.
If a class teaches you only the recipe and none of that, you paid for a demonstration with food at the end.
Common Mistakes
Choosing on price alone. The cheapest class in a city is usually a large group or a demonstration. Read the hands-on time and group size before you read anything else.
Hiding dietary needs. Mentioning a nut allergy at the door, when the shopping is already done, is the most avoidable problem on this whole list. Send it in writing beforehand.
Arriving late. Portions are measured out in advance, and you will spend the first part of the session apologising while everyone else starts.
Booking a demonstration and expecting to cook. Marketing language is soft. Look for individual stations in the description, and check the reviews for a comment about how much actual cooking there was.
Skipping the safety briefing. It is short and it matters. Heat, knives and unfamiliar equipment are the three ways a cooking class goes wrong, and every one of them is covered in the first five minutes.
Fitting the class badly into the itinerary. A full-day session cannot coexist with a same-day train, and a morning market tour cannot start at the same time as a class that meets at that market. Leave a buffer day either side.
Booking solo and hesitating over it. Single travelers are the majority at most classes in tourist cities, and small groups are deliberately built to be sociable. Book the single place instead of assuming you need a partner.
Forgetting the drink, the recipe and the rest of the day. If you plan to eat right after a two-hour class, you will be hungry again by evening. Many travelers treat the class as the early meal and plan nothing else.
Frequently Asked Questions
Do I need cooking experience to join a class while traveling?
No. Nearly every class aimed at travelers assumes no experience at all, and the chef will demonstrate each step before you start. What you do need is the willingness to be shown something twice. If you cook regularly at home, look for classes that focus on a technique rather than a beginner introduction, since those fill faster.
What should I wear to a cooking class?
Closed-toe shoes with a flat sole, hair tied back if it is long, and clothes you do not mind getting sauce on. Long sleeves can be hot over a hot pan, and open sandals are a problem around knives and hot oil. Most kitchens supply aprons, and some ask long hair to be clipped up for the demonstration.
Can I take a cooking class if I have food allergies?
Often yes, but you have to ask in advance. Message the host several days before with the specific allergen and how serious it is, and ask whether the kitchen can avoid cross-contact with shared boards, fryers and sinks. Some hosts answer honestly that they cannot guarantee it, and knowing that beforehand lets you choose a different class.
How far in advance should I book a cooking class?
A few days to two weeks ahead is the useful window for popular kitchens, especially in Rome, Florence, Bangkok and Tokyo. Small local schools often run fixed weekly schedules with limited seats, so those go early. Many platform listings can be booked for the same day, which works in quiet cities or off-season but is a gamble in peak months.
Is a cooking class suitable for children or couples?
Couples and pairs of friends are the classic booking, and most classes are designed around two to four people working side by side. For children, plenty of hosts set a minimum age of eight or ten and want an adult with each child. Check the age rule before paying, since some professional kitchens will not take under-tens at all.
What should I do if I do not like the dish being cooked?
Say so early and plainly. Instructors regularly swap in milder versions, reduce the chilli or change the protein when they know at the start, and a request during the cooking phase usually gets a lighter touch than one made at the table. You are also not obliged to finish everything, especially if the session includes several unfamiliar dishes.
Conclusion
Confirm the menu, the schedule and the dietary arrangements first, then book the class that fits the rest of your trip. A hands-on session with a small group and free cancellation will not let you down.
If you only have one free day in a city, book it before you arrive. And if you are going alone, book the single place rather than waiting to find company, because the group usually forms itself the moment you start cooking. Getting the most out of how to take a cooking class while traveling comes down to three habits: choose a small hands-on session, send your restrictions in writing ahead of time, and turn up ten minutes early.