To check weather forecasts for mountains and trails properly, you set the forecast point at the elevation you will actually stand at, read it from at least two sources, adjust valley numbers for altitude, and decide your go/no-go threshold before you pack. Most mistakes come from trusting a single app icon or a forecast for the nearest town, which can be 20 to 30 degrees off the ridge you end up on.
I have made that mistake plenty enough to have a routine now. It takes about fifteen minutes the night before and five minutes at the trailhead, and it is the difference between a good walk and a very cold, windy one.
- Set the forecast point at your high point’s elevation, not the map’s default pin.
- Compare two sources. Agreement is information; disagreement is a warning.
- Convert valley temperatures for altitude at roughly 3.3 degrees Fahrenheit per 1,000 feet of climb.
- Read gusts, not average wind speed. Gusts are the number that turns people around.
- Check official alerts, mountain bulletins and trail reports before the general forecast.
- Write down your turnaround time and your go/no-go thresholds before you leave the car.
Table of Contents›
- What You Need
- The sources worth bookmarking
- Step-by-Step: How to Check Weather Forecasts for Mountains and Trails
- How to Check Weather Forecasts for Mountains and Trails
- Set the Forecast Point at the Right Elevation
- Adjust Valley Temperatures for Altitude
- How Far Ahead a Mountain Forecast Holds
- What Each Forecast Field Actually Means
- Checking a Forecast With No Signal
- Common Mistakes To Avoid
- Trusting one app
- Checking only the nearest town
- Reading the icon instead of the fields
- Treating a dry morning as an all-day guarantee
- Ignoring gusts
- Checking too early and never again
- Skipping the trail and avalanche bulletins
- Frequently Asked Questions
- How far in advance should I check the weather for a hike?
- Is a phone weather app enough for mountain trails?
- Why does my mountain forecast show a different temperature than my weather app?
- What should I do when two mountain forecasts disagree?
- When should I cancel or change a hike based on the forecast?
- Conclusion
What You Need
You do not need an expensive subscription or a pile of apps. You need one mountain-specific forecast source, one official source for alerts, and ten quiet minutes. The single most common error is treating one general weather app as the whole check.
A general app gives you a valley or town forecast because that is what most people search for. A mountain-specific source lets you enter a peak by name or drop a point at a stated elevation, then returns conditions at that height. Hikers on r/wmnf say the Mt. Washington Observatory Higher Summits Forecast runs more accurate than the general government forecast for that range, and people on r/Pennsylvania name Mountain-Forecast.com as their go-to. Corroboration across unrelated regions is what you want from a tool.
The sources worth bookmarking
| Source | Best for | Elevation detail | Cost | Offline |
|---|---|---|---|---|
| Mountain-Forecast.com | Named peaks and trails, worldwide | Point forecast at a chosen elevation | Free | Limited |
| Mt. Washington Observatory Higher Summits Forecast | Manual read of the Northeast range | Summit and above, written each day | Free | No |
| National Weather Service (weather.gov) | Official watches, warnings and point forecasts in the US | Point forecast, elevation selectable | Free | No |
| Met Office mountain forecast | UK and Ireland uplands | Elevation-banded, updated through the day | Free | No |
| MeteoSwiss | The Alps and the Swiss Alps in particular | Point forecast by height, plus cross-sections | Free | No |
| Environment Canada | Canadian ranges and national parks | Point forecast and alerts | Free | No |
| Bureau of Meteorology | Australia, especially the Alps and Tasmania | Point forecast and warnings | Free | No |
| Atmospheric River (atweather.org) | Canadian routes; named by long-distance hikers on r/UltralightCanada | Route-level forecast | Free | No |
| PeakVisor | Global 3D terrain and mountain weather on one map | Elevation bands on a 3D surface | Free tier, paid add-ons | Yes, downloadable |
| Meteoblue and Windy | Model comparison and animated wind and rain layers | Elevation selectable | Free tier, paid tiers | Yes on Windy |
| WeatherSpark | Long-range climate baselines and percentile graphs | Station-based, not peak-based | Free tier | No |
| Snow-Forecast.com | Snow conditions and freezing level on ski and touring terrain | Elevation-banded table with freeze level | Free | No |
Two more things sit alongside the forecast itself. The first is your navigation and emergency layer: an offline map such as Guthook or FarOut, which long-distance users on r/UltralightCanada pair with atweather.org, and a plan for who you would call. The second is a turnaround time and a decision rule, because a forecast you do not act on is just background noise.
One honest caveat before we start. Forecasts are probabilistic and terrain defeats them in specific, predictable ways. Nothing here replaces going prepared for wind, rain, cold and a change you did not see coming.
Step-by-Step: How to Check Weather Forecasts for Mountains and Trails
The routine runs in this order: identify the route and its elevation, set a forecast point at each stage, pull two independent sources, convert the numbers for altitude, read the fields that drive decisions rather than the ones that look nice, check alerts and trail reports, write your thresholds down, then recheck the forecast as departure approaches. Ten to fifteen minutes, twice.
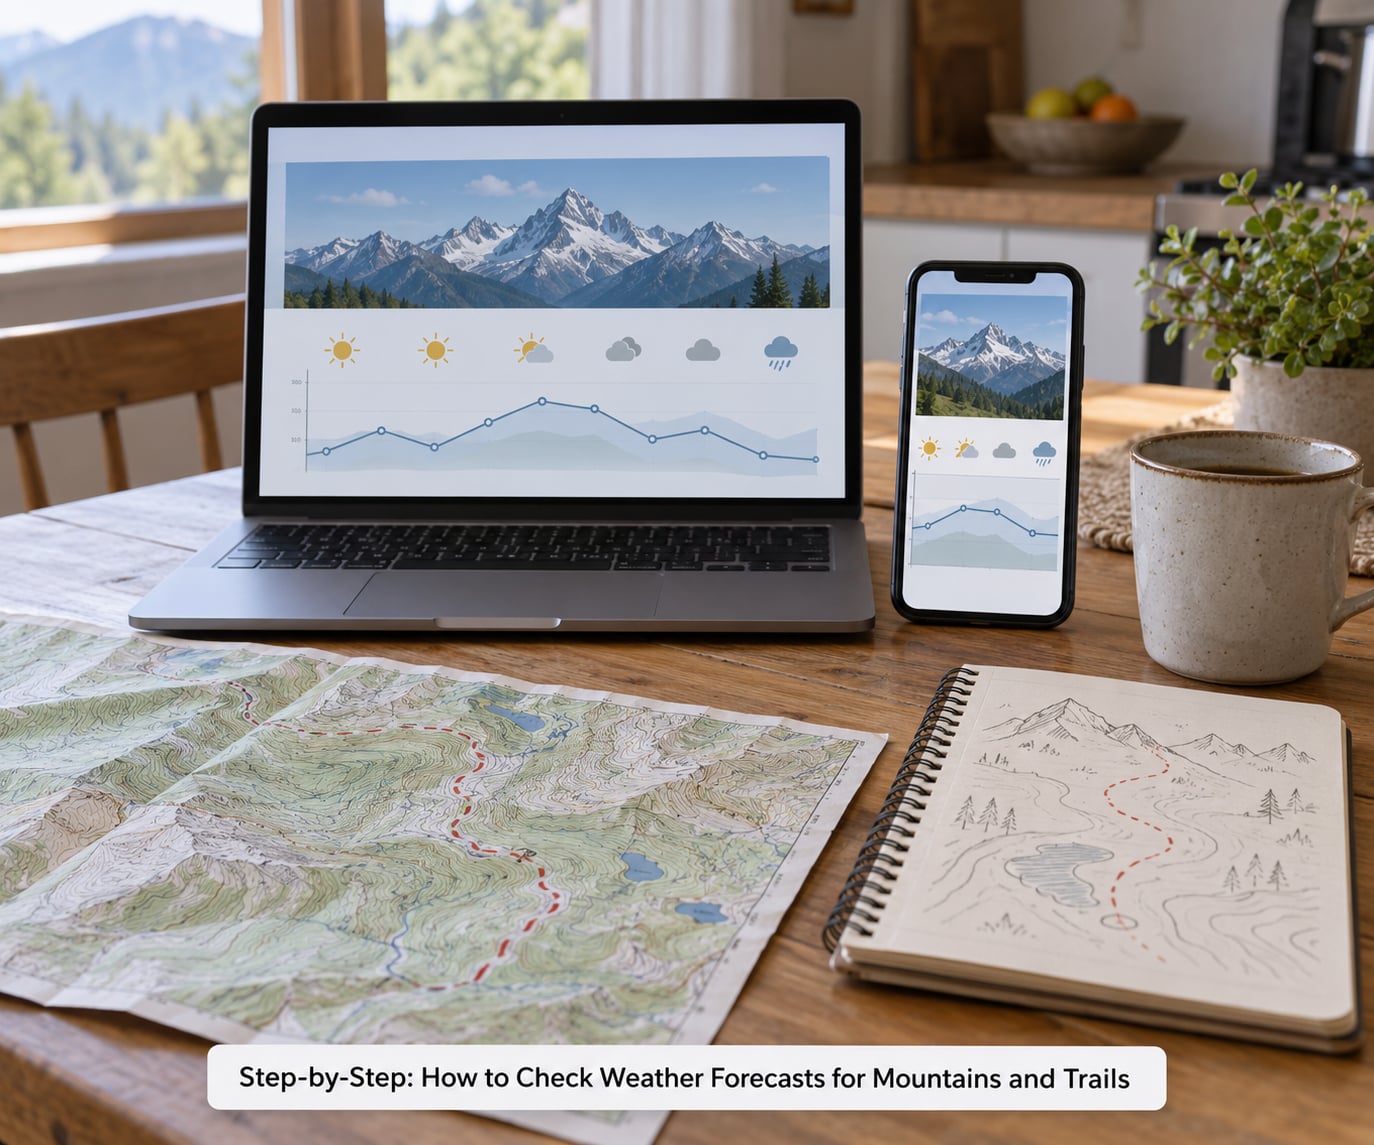
How to Check Weather Forecasts for Mountains and Trails
Here is the sequence I actually run. Each step has a way to tell it worked, because a step you cannot verify is a step you skipped.
- Fix the route and its three elevations. Trailhead, midpoint and high point. You need numbers, not adjectives. How you know it worked: you can state the high point’s height in feet or metres without looking it up again.
- Set a forecast point at each elevation. Most mountain tools let you search a peak name or drag a marker and set a height in meters. How you know it worked: the returned elevation matches the trail’s, not the map’s default centroid.
- Pull a second, independent source. A mountain site plus an official one, or two different models. How you know it worked: you have two numbers for the same hour and elevation, not two screenshots of the same icon.
- Convert for altitude. Take the valley or station temperature and subtract roughly 3.3 degrees Fahrenheit per 1,000 feet of climb. How you know it worked: your adjusted figure is colder than the app, which is the point.
- Read gusts, freezing level, cloud base and thunderstorm probability. Skip the maximum temperature until you have checked the overnight low. How you know it worked: you can name one field that would make you turn around.
- Check alerts and trail reports. Severe weather warnings, avalanche bulletins where snow is involved, and any closure notice on the specific trail. How you know it worked: no active warning covers your window and your route.
- Write the go/no-go line. A sentence, in writing, before you leave. How you know it worked: someone else could read it and know whether you are going.
- Recheck the night before and again at the trailhead. How you know it worked: the hourly detail for your start time still matches what you planned for.
Set the Forecast Point at the Right Elevation
Most missed forecasts come down to one coordinate. A default map pin usually lands on a valley town or on the geometric centre of a range, neither of which is where you will be standing. On the Mount Whitney forum people describe typing the nearest valley town and dragging a box pointer over the mountain; on vftt.org the same idea, click the map and get a forecast for roughly a square mile at average elevation. Average elevation of a square mile is often several thousand feet below your ridge.
| Stage of the route | Elevation to set | What to check there |
|---|---|---|
| Trailhead | Actual trailhead elevation | Starting temperature, first-hour wind, any fog or low cloud |
| Midpoint | Elevation at the point you expect to be at midday | Cloud base, thunderstorm probability, precipitation timing |
| High point | Summit or ridge elevation | Gusts, wind chill, visibility, freezing level |
| Camp, if overnight | Camp elevation, usually well below the high point | Overnight low, dew point, minimum temperature in the hourly rows |
Adjust Valley Temperatures for Altitude
Here is the method that gets repeated across backpacking forums because it is simple and it works. Take the forecast for your nearest station or valley point and subtract 3.3 degrees Fahrenheit for every 1,000 feet of elevation gain. On r/Ultralight, hikers describe using the nearest weather station plus that lapse rate, planning to the 10th-percentile low rather than the average, and only switching to a real forecast as the trip gets close.
Worked example. Your valley station at 1,600 feet reads 68 degrees before a summit push. The high point is 8,000 feet, so 6,400 feet of climb equals roughly 6.4 segments of 1,000 feet. At 3.3 degrees per segment, that is about 21 degrees, so expect near 47 degrees at the top, and colder still if wind is up. Twenty degrees of difference from one app icon, and that is before wind chill.
For snow and freezing level, the same idea appears as a single line in elevation-banded tables: the height at which the air temperature crosses 32 degrees Fahrenheit. Snow-Forecast.com puts that freeze level in every column, which makes it a quick way to judge whether a shoulder-season trail will be snow-covered or mud and slop.
How Far Ahead a Mountain Forecast Holds
Beyond about three days, treat a mountain forecast as a planning signal rather than a promise. A user on r/Colorado puts it plainly: a good mountain forecast holds for two to three days out, and past that it is a crapshoot.
| Hours ahead | Confidence | Good for | What to do with it |
|---|---|---|---|
| 0 to 24 | High | Go/no-go, gear, start time | Act on it. This is the forecast you pack from. |
| 24 to 48 | Moderate to high | Route choice, turnaround, camp plans | Fine-tune; recheck each evening. |
| 48 to 72 | Mixed | Broad pattern, wind direction, temperature trend | Commit or find an alternative route. |
| 72 to 120 | Low | Seasonal feel, snowpack, daylight | Do not plan an exposed summit around it. |
| Over 120 | Climate, not weather | Percentile lows for packing, trip feasibility | Use WeatherSpark-style percentile data instead. |
Convection is the thing that degrades fastest. A thunderstorm forecast three days out in complex terrain is a guess about a single afternoon, and afternoon storm timing is exactly what models handle worst.
What Each Forecast Field Actually Means
Most people read the icon and the maximum temperature, which are the two least useful numbers on a ridge. These are the fields that actually change decisions.
| Field | What it means | The number that should worry you |
|---|---|---|
| Wind speed vs gusts | Speed is the sustained average; the gust is the peak | Any gust figure that makes standing up hard |
| Precipitation probability | Chance of measurable precipitation in a period | High probability over many hours, on snow or scree |
| Freezing level | Height where the air crosses 32 degrees | Below your high point when you need firm ground |
| Cloud base | Lowest level the cloud sits at | Base below or near your summit, with any thunder |
| Visibility | How far you can see, affected by fog and precipitation | Under a few miles at a viewpoint or a navigation crest |
| Thunderstorm probability | Likelihood of thunder in the period | Anything above roughly 10 to 20 percent in afternoon convection |
| Overnight low | The coldest hour, usually pre-dawn | Below your insulation’s comfort, not its survival rating |
The overnight low deserves its own note. It is the most-skipped number on a hiking forecast and it is the one that ends up deciding whether you are warm at 4 a.m. on a shoulder-season trip.
When two models disagree, do not pick the winner and move on. GFS and NAM are different models with different biases; the local office forecast blends observations. If one source says 15 percent thunderstorm chance and another says 40 percent, plan for the 40 and pick a lower route if the difference matters to your decision. On short horizons, disagreement usually means one model has not caught a local terrain effect yet.
Checking a Forecast With No Signal
Treat everything as no signal until proven otherwise. Most trails have poor or no coverage, and the forecast you checked at the trailhead is all you get.
The night before, screenshot the hourly rows for your exact window, download the offline map layer in Guthook or FarOut or an equivalent, and note the model run time so you know how old your numbers are. Note the last time cell coverage existed on the route, and pack a power bank because radar and lightning alerts burn through a battery fast. Write the turnaround time on paper and put it in your pocket, not in a note on your phone where a dead battery takes it with it.
One more habit: check a summit webcam or the regional forecast discussion text before you set off. A trend in cloud build-up over an hour is worth more than an icon, and a written forecaster’s note often explains why the numbers look odd.
Common Mistakes To Avoid
These seven come up again and again in trail forums, and each has a simple fix.
Trusting one app
One app is one model, one point and one set of assumptions. Fix: always compare a mountain-specific source with an official one, and treat agreement as confirmation rather than luck.
Checking only the nearest town
A valley forecast can be 20 to 30 degrees warmer and far calmer than the ridge above it. Fix: set the forecast point at your high point’s elevation and adjust for the climb on top of that.
Reading the icon instead of the fields
A sun icon says nothing about wind, cloud base or storm risk. Fix: read gusts, cloud base, visibility and thunderstorm probability before the temperature.
Treating a dry morning as an all-day guarantee
Afternoon convection is the classic mountain surprise. Fix: check the thunderstorm probability for the hours you will be on exposed terrain, not just the morning hours, and be off ridges before it peaks.
Ignoring gusts
Average wind speed understates the day. Fix: quote the gust figure out loud and ask whether you could stand up in it without bracing.
Checking too early and never again
A forecast checked eight days out is not a forecast. Fix: check the pattern at planning time, then recheck at 48 hours, again the night before, then once more at the trailhead.
Skipping the trail and avalanche bulletins
A sunny forecast on a closed trail is still a closed trail. Fix: check the trail status page for your specific route, and the national avalanche bulletin whenever snow is involved.
Frequently Asked Questions
How far in advance should I check the weather for a hike?
Check the pattern when you pick the route, commit roughly three days out, then recheck at 48 hours, the night before, and once more at the trailhead. Beyond about three days a mountain forecast is a planning signal, not a promise, especially for afternoon thunderstorms. Bring your start time forward as the trip nears so you are deciding on current data, not on a forecast that has quietly moved underneath you.
Is a phone weather app enough for mountain trails?
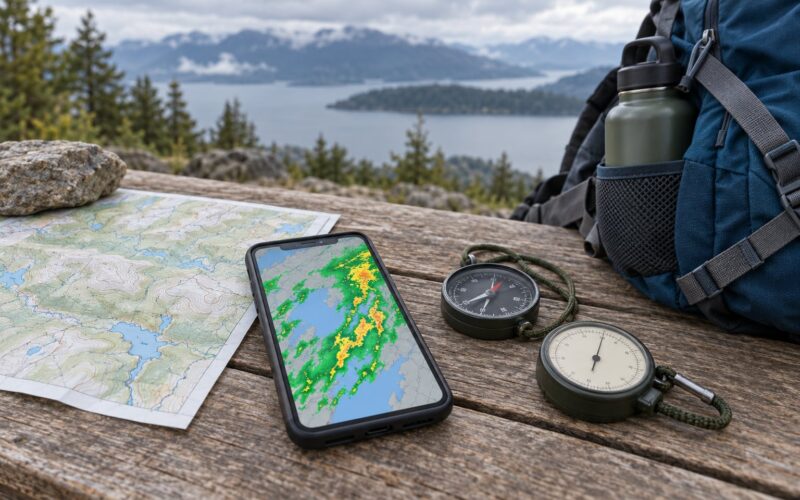
Not on its own. A phone is genuinely useful for radar, lightning alerts, webcams and alerts once you have signal, and for screenshots you can check offline. What it usually lacks is elevation control, so you get the valley figure. Pair it with a mountain-specific site that lets you set a forecast point at your high point, and download your offline map before you leave.
Why does my mountain forecast show a different temperature than my weather app?
Because they are reporting different places and different elevations. Most apps return the forecast for the nearest town or for a point you did not choose, while mountain services interpolate conditions to a height you specify. On a route with 6,000 feet of climb, expect the ridge to run around 20 degrees colder. Both numbers can be correct; only one describes where you will stand.
What should I do when two mountain forecasts disagree?
Plan for the more cautious of the two and look for a reason. Different models have different biases, and terrain features like ridges and cols are where they diverge most. If one source shows thunderstorm risk the other does not, take the higher risk and choose a lower route or an earlier start. If the gap is small within 24 hours, note it and check again in the evening.
When should I cancel or change a hike based on the forecast?
Change the plan when any of these appear: gusts strong enough that you cannot stand unaided, thunderstorm probability above roughly 20 percent with cloud base near your summit, visibility under a few miles on a ridge, freezing level above your camp with overnight rain, or an active warning covering your window. Above that, adjust rather than cancel. Have the alternative written down before you drive.
Conclusion
Start with the two things nobody can check for you: know the route and its elevation, then set your forecast point at the height you will actually reach. Compare two sources, adjust for altitude, read gusts and thunderstorm risk rather than the icon, and check alerts and trail reports before you leave.
Then write the decision down. What gust number means you turn around, what thunderstorm probability means you start earlier, what time you are back at the car no matter how good the view is. Mountain weather changes faster than any forecast, and the hikers who enjoy the mountains are the ones carrying layers, an offline map, a way to call for help, and a turnaround point they are willing to honour.