Snowshoeing is one of the easiest winter sports to pick up: if you can walk a few miles on a flat trail, you can snowshoe, and no technical skill is required. Learning how to plan a snowshoe day trip for beginners is the part that actually decides whether the day feels like a joy or an ordeal, because trail length, layers, and a firm turnaround time do more for you than fitness does.
This guide walks through the whole thing in order: what to gather, how to choose a route, what to wear, how to build a timeline, and how to get home safe. Expect to be more tired than the map suggests and warmer than you think most of the time.
Last updated: October 2026
Table of Contents›
- What You Need to Plan a Snowshoe Day Trip
- Step-by-Step: How to Plan a Snowshoe Day Trip for Beginners
- Choose a Beginner-Friendly Route
- Check the Snow, Weather, and Trail Conditions
- How to Pack and Dress in Layers
- Test Your Gear Before the Trip
- Plan the Start, Route, and Turnaround
- Walk Safely on the Trail
- Finish the Day and Review the Experience
- Common Mistakes
- Frequently Asked Questions
- How long should a first snowshoe day trip be?
- Do beginners need a guide for their first snowshoe outing?
- How do I choose a snowshoe route when conditions keep changing?
- What should I eat and drink during a beginner snowshoe trip?
- How cold is too cold to keep snowshoeing?
- Can beginners snowshoe with children or alone?
What You Need to Plan a Snowshoe Day Trip
A snowshoe is a wide-framed shoe that spreads your weight so you float on top of the snow instead of sinking through it. Everything below falls into one of three piles: required, recommended, and optional. Beginners who buy the required pile first and add the rest after one outing almost never waste money.
Required
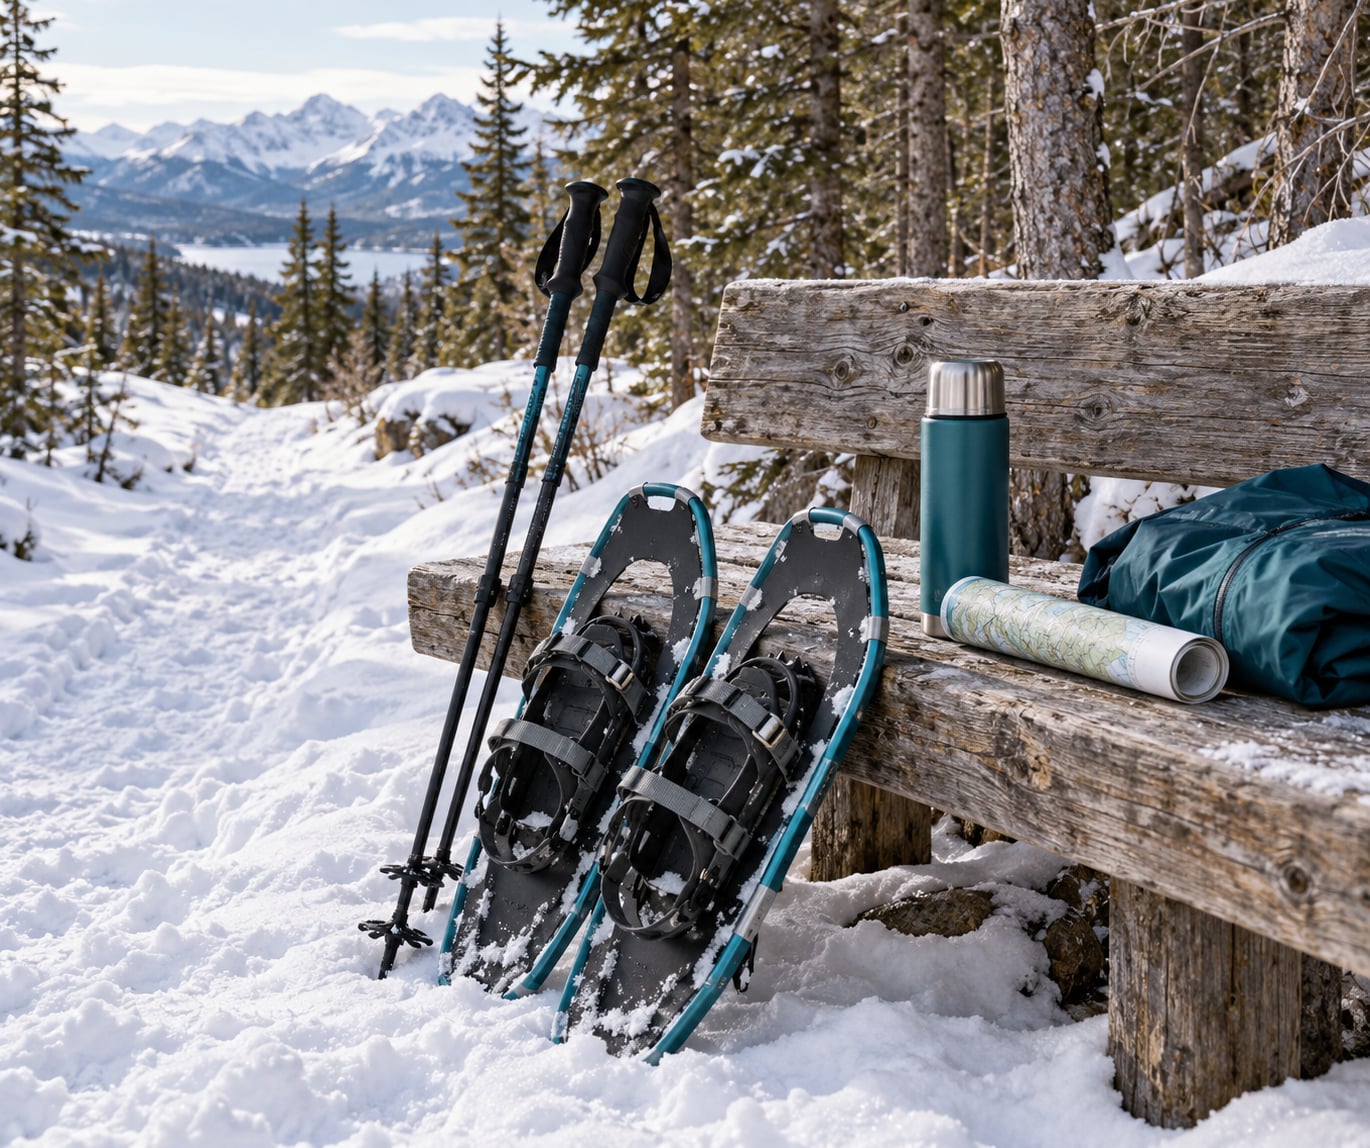
- Snowshoes sized by body weight, not height or shoe size, plus compatible bindings.
- Insulated waterproof boots with room for a thick sock without squeezing your toes.
- Two pairs of wool or synthetic socks and snow gaiters to keep snow out of your boot tops.
- A base layer, an insulating mid layer, and a waterproof shell for jacket and trousers.
- Water, high-calorie food, a headlamp, and a charged phone.
- Trail information: the official trail report, a map, and the turnaround time you wrote down.
Recommended
- Trekking poles with snow baskets. Optional on a flat groomed trail, genuinely useful on climbs and descents.
- A small daypack so your hands stay free and warm gear has a home.
- Sunscreen and sunglasses. Snow reflects UV hard enough to burn your face in half a day.
- A phone downloaded map or paper map for areas with no signal.
- A small first aid kit, plus a spare pair of dry gloves sealed in a bag.
Optional
- A rental shop or gear library, which is the cheapest way to test sizes before committing to a pair.
- A beginner lesson or guided outing, often offered free with a rental on a first visit.
- Microspikes or strap-on traction if the route has a steep icy section you cannot avoid.
- A thermos that becomes the whole reason you have a good day.
| Item | Why it matters | Required or optional |
|---|---|---|
| Snowshoes sized by body weight | Too small and you sink, which triples your effort per step | Required |
| Insulated waterproof boots | Cold wet feet end the outing faster than cold legs | Required |
| Base, mid and shell layers | Lets you dump heat on climbs and close up on descents | Required |
| Two pairs of wool socks | A dry spare changes the whole afternoon | Required |
| Water and high-calorie snacks | Snow travel burns roughly 700 calories an hour or more | Required |
| Headlamp and charged phone | Daylight is shorter in winter than your plan assumes | Required |
| Trekking poles with baskets | Saves your knees on climbs and helps balance on descents | Recommended |
| Snow gaiters | Stops snow packing into your boots on every step | Recommended |
| Sunscreen and sunglasses | Snow reflects UV onto your face all day | Recommended |
| First aid kit and spare gloves | Small problems stay small when you carry the fix | Recommended |
| Microspikes or strap-on traction | Only worth carrying if your route has a known icy pitch | Optional |
| Thermos and a second warm layer | Your reward and your backup plan | Optional |
Step-by-Step: How to Plan a Snowshoe Day Trip for Beginners
Run these steps in order, and each one gives you a check you can complete before moving on. The result of the whole sequence is a day you start, a route you can finish, and a time you are back at the car no matter what the weather does.
Choose a Beginner-Friendly Route
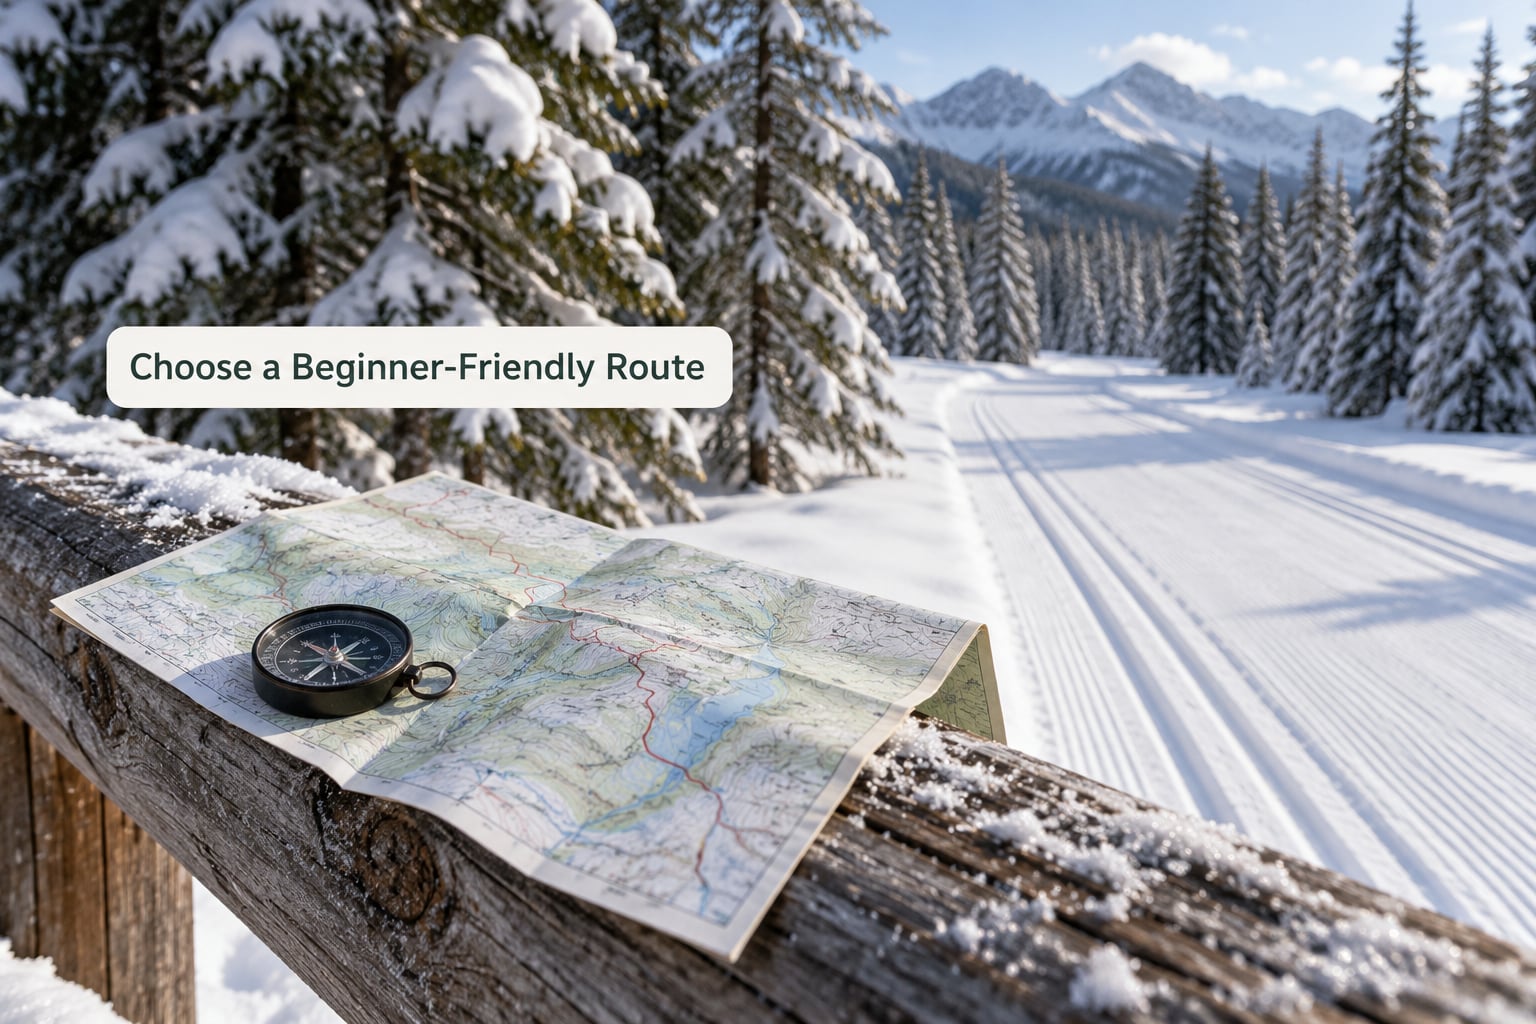
The best first snowshoe route is close to home, marked, and short. Start at one mile or less, on packed or groomed snow, with little elevation gain and a trailhead you can reach in under an hour. A nearby loop beats a remote destination every time, because a beginner who gets tired ten minutes from the road has options and a beginner who gets tired ten minutes from a highway does not.
Look for three things on a trail map or park page: a distance under two miles, an elevation gain you can read as gentle, and a loop or out-and-back shape that keeps you near the trailhead. Groomed snowmobile or cross-country ski trails are often the smoothest option, though you must stay off the groomed ski tracks themselves. Local ski resorts are worth considering for a first trip, since the rental and the lesson are in the same building.
Write a turnaround time into your plan before you drive anywhere. If the trailhead has a sign-in book or a ranger contact, use it. Your check for success: you can name your route, its distance, and the hour you will be back, all from memory.
Check the Snow, Weather, and Trail Conditions
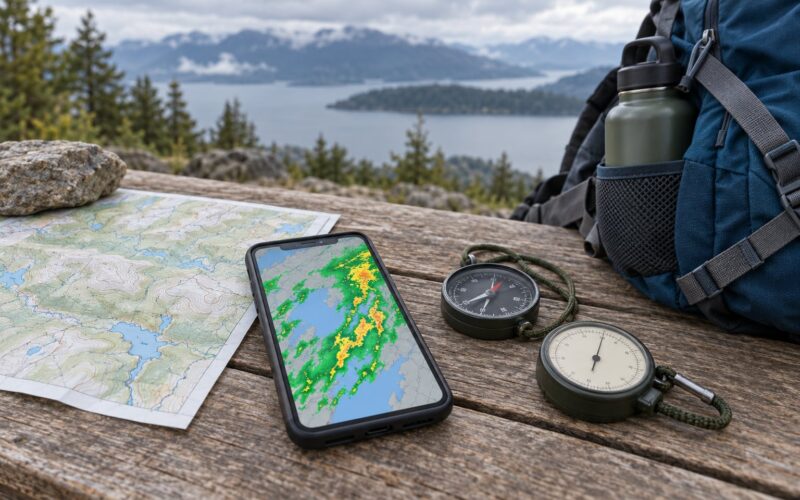
Conditions decide everything, and they change fast, so official local sources always beat your assumptions. Check recent snowfall, current temperature, wind, the trail report, grooming status, and any avalanche or road closure notice on the morning you leave. Look for the trail’s last update time; a report from yesterday is a different trail from today’s.
Snow depth gives you a quick read. Around four inches of packed snow is enough for a groomed trail, and eight or more usually means comfortable untracked walking. Deep fresh powder looks inviting and turns every step into trail breaking, which is far harder work than the map distance suggests.
A simple go-or-no-go test: if the trail is open, the snow is packed or groomed, wind is light, and visibility is decent, go. If the trail is closed, if the surface is icy or crusted, if avalanche advisories cover the drainage you are heading into, or if a storm is forecast before you would finish, stay home. Cancelling on exactly those grounds is good judgement, not a wasted day.
Check sunrise times too. Winter daylight is short, and a trail that looks fine at midday can put you walking back at dusk.
How to Pack and Dress in Layers
Dress for the effort, not for the temperature on the thermometer. Snowshoeing generates a lot of heat, and most first-timers over-dress, sweat through their base layer, then freeze the moment they stop. Plan to get sweaty and manage it with layers you can open up on a climb.
The system is simple. A moisture-wicking base layer keeps sweat off your skin, a fleece or light insulated mid layer holds warmth, and a waterproof breathable shell sheds wind and falling snow. Add gaiters, gloves, a warm hat, and two pairs of wool socks. Skip cotton entirely: wet cotton stays cold, and that is how people get into trouble.
For boots, waterproof hiking boots or winter sneakers work well. Insulated casual winter boots often sit too low and let snow in around the ankle once you start breaking trail.
Pack water in a bottle you can reach without stopping, plus food with real calories: nuts, chocolate, energy bars, dried fruit. Keep a spare pair of dry gloves and one warm layer sealed in your pack as your backup. Your check: you can open and close each layer with frozen fingers while standing still, which is when you will actually be adjusting.
Test Your Gear Before the Trip
Twenty minutes on flat ground beats two miserable hours on a trail. Walk around your neighbourhood or a flat parking lot in full gear first. This is where you find out that a binding pinches, that your boots are a size too small once the socks are on, and that your poles are half a foot too long.
Fit the snowshoes to your boots, tighten the straps so the frame cannot slide, and confirm your weight sits within the frame’s rated range. Most rental staff will size you in a couple of minutes if you tell them your weight, which is the only number that matters.
Then walk deliberately. Notice how the frames feel when your feet come close together, and take a few exaggerated high steps to see how the tails behave behind you. Practice getting up from a fall while you are comfortable rather than while you are embarrassed and tired on a frozen slope. Nearly everyone falls at least once, and the people who enjoy first outings are the ones who knew how to stand back up.
Plan the Start, Route, and Turnaround
Build a schedule you could keep on a bad day, not just a good one. Pick a start time, an expected slow pace with generous pauses, one snack break, one bathroom stop, a weather cutoff hour, and a mandatory turnaround time you treat as fixed rather than advisory.
Leave room in the plan for the return. Most beginners underestimate how tiring unbroken snow travel is, and deep trail breaking adds effort that no distance figure accounts for. Being surprised by how wrecked you feel after a short outing is the normal first-timer story.
Never depend on phone signal. Download the map before you leave, note the trailhead and one bail-out point where you can turn around early, and treat any point on the route as the place you decide to stop if conditions change.
Walk Safely on the Trail
Keep a comfortable spacing. On flat terrain, stand with your snowshoes slightly wider than hip width so the frames do not knock together, which is the most common beginner annoyance. Move at the pace of the slowest person, and take a real rest break every 45 to 60 minutes rather than waiting until you feel the fatigue.
Use the poles on climbs and descents. Going up, take short steps and let your calves do the work. Going down, keep your knees bent and shuffle rather than stride, because striding is how you end up face down in soft snow. On sidehills, keep your weight on the uphill edge so the frames do not slide out from under you.
Watch your footing around obstacles. Stepping over a log or a creek is easier with a snowshoe on one foot than trying to clear it with both. If you break trail through deep snow, alternate leaders so the effort is shared, which is what experienced groups do automatically.
Know when to stop. Shivering that will not stop, clumsiness, slurred speech, confusion, or numbness in your face and hands are all signals to turn around and get warm immediately, and skin that stays white or waxy needs emergency help rather than another step. If the group becomes separated, stop where you are rather than searching; the person missing will be looking for the last place you were seen.
And keep to the trail. Walking off a packed trail means post-holing for everyone behind you, which is the single most resented mistake on winter trails. Groomed cross-country ski tracks are not a shortcut; stay out of them.
Finish the Day and Review the Experience
Make the turnaround time real. Get back to the car, then check each person for cold fingers, wet gloves, blisters and any joint niggles while you still have warm hands and daylight. Nobody notices a blister forming at 2 pm the way they notice one at 5 pm.
Then change into dry clothes before you head into town, and let your gear hang where air can move through it. Damp neoprene and wool left in a car bag overnight is how you start the next trip with a locker-room problem instead of a snow problem.
Write three notes while the details are fresh: how long you were out, what the snow was like, and where the hardest section was. Then decide honestly whether the next outing should be longer, steeper, or guided. A first day that ends at the car at noon having enjoyed itself is a good first day, whatever the distance on the map said.
Common Mistakes
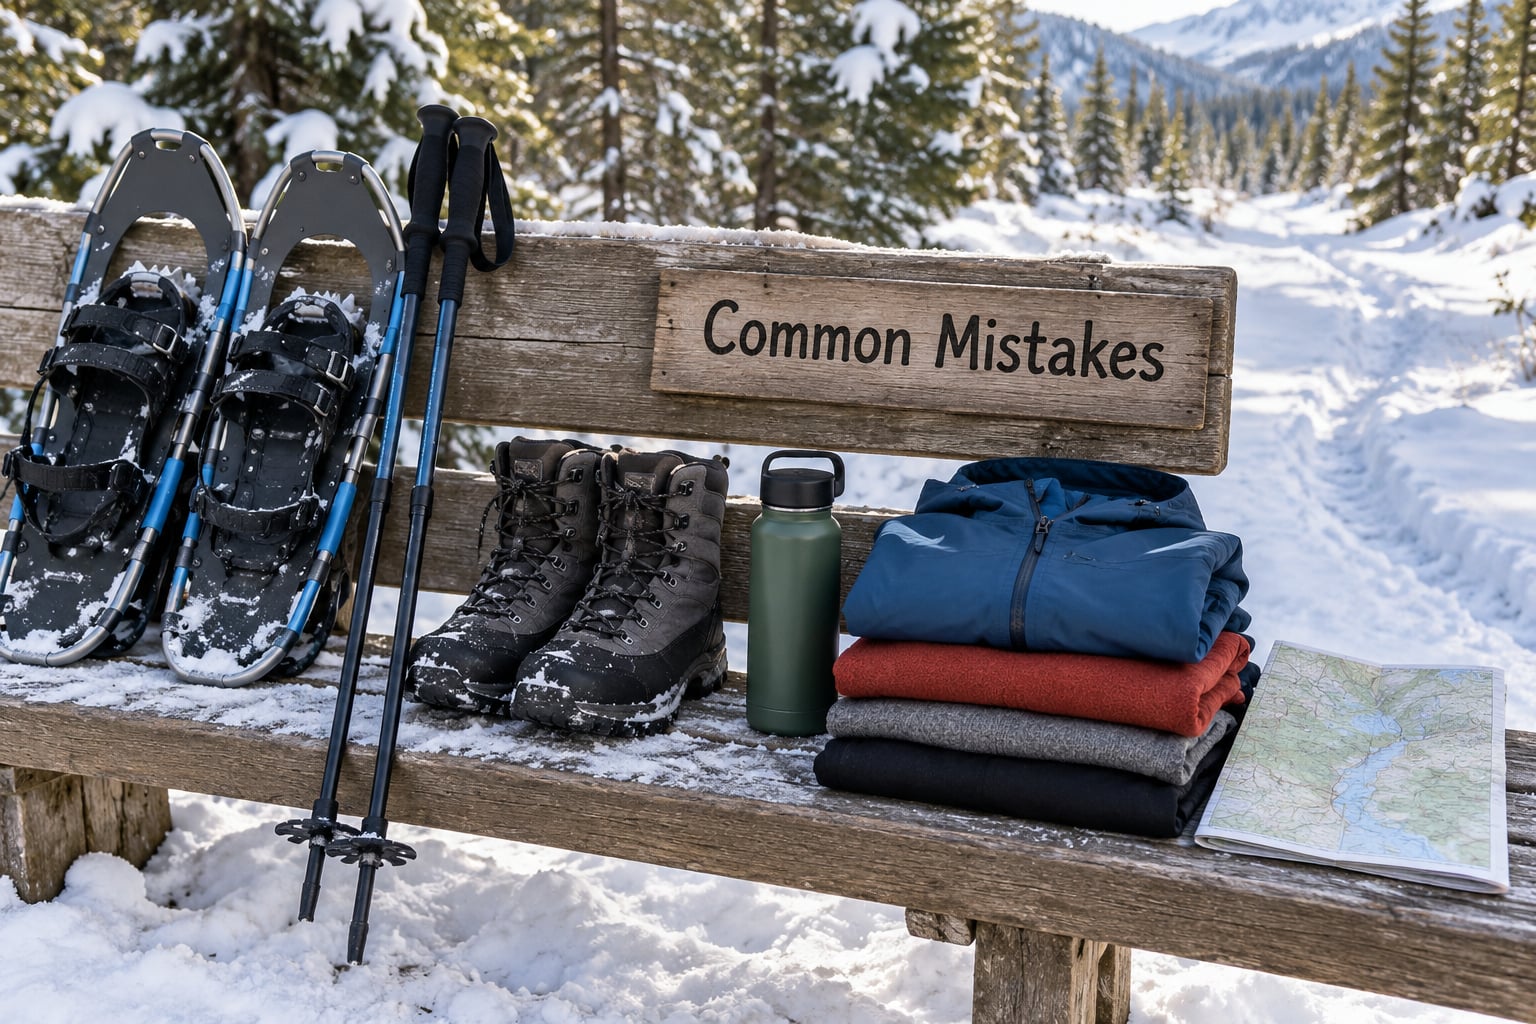
- Starting too far from the trailhead. Fix: pick a route with a bail-out point every ten minutes and never extend the first outing because it feels easy.
- Relying on your phone for navigation. Fix: download an offline map and carry the paper trail map from the ranger station.
- Wearing cotton. Fix: switch to wool or synthetic socks and a synthetic or merino base layer.
- Dressing for the weather instead of the effort. Fix: one layer fewer than you think, opened up on climbs, closed on breaks.
- Skipping water and food. Fix: carry a bottle you can reach one-handed and eat before you feel hungry, not after.
- Ignoring the sunscreen. Fix: apply it to your face and neck at the trailhead, and wear sunglasses.
- Not checking conditions the morning you go. Fix: make the trail report the last thing you check before turning the key.
- Matching someone else’s pace. Fix: agree on a slow pace and a break rhythm before you set off, and let the slowest person set the speed.
- Post-holing off the packed trail. Fix: stay on packed snow or beside the track, never off it.
- Forgetting to dry and store gear. Fix: hang everything overnight and check for mildew before the next outing.
Frequently Asked Questions
How long should a first snowshoe day trip be?
Plan two to four hours door to door, which usually means one to two miles of trail at a slow pace with breaks. Snow travel is harder than the distance suggests, and untracked or deep snow adds effort that a map does not show. Beginners consistently report being far more tired than they expected, so finishing early and feeling good beats pushing further and feeling wrecked.
Do beginners need a guide for their first snowshoe outing?
No, if you pick a short groomed trail close to a road and tell someone your plan. A guide or rental shop lesson is still worth it, because sizing, bindings and technique take a few minutes to explain and a rental centre will usually fit you properly and correct your stance for free. Take the lesson, then plan your second trip alone.
How do I choose a snowshoe route when conditions keep changing?
Pick the route before you look at the forecast, then verify it the morning you go. If the report says the trail is closed, untracked, icy or avalanche-exposed, switch to the backup route you chose at the planning stage instead of improvising on arrival. Forecasts shift, but a groomed trail that was open yesterday is usually still the safest plan today.
What should I eat and drink during a beginner snowshoe trip?
Bring water you can reach without stopping and eat small amounts of high-calorie food such as nuts, chocolate, energy bars and dried fruit. Snowshoeing burns roughly 700 calories an hour or more for many people at a moderate pace, and more in deep snow, so plan a snack break every 45 to 60 minutes. Most beginners under-eat rather than over-eat on a first trip.
How cold is too cold to keep snowshoeing?
There is no temperature number to watch; watch the person instead. Turn around when shivering will not stop, when hands or feet go numb or clumsy, when speech becomes slurred, or when anyone seems confused. Get out of the wind, replace wet layers with the dry spare in your pack, warm up gradually, and head home. Those signs mean the day is over.
Can beginners snowshoe with children or alone?
Both work if the plan adjusts. With children, cap the route near one mile, let a child set the pace, build in frequent breaks and keep everyone in warm layers with dry spare gloves. Going alone is safe on a short groomed trail near a road if you tell someone your route and return time, carry an offline map, and keep a warm backup layer in your pack.
Start with one decision this week: find a groomed trail within an hour of your home, under two miles, and check its report on a morning you could walk it. Rent a pair, take the fitting lesson, and spend the rest of your planning energy on clothes and a turnaround time. Everything else on this list is a detail of that one plan.