To read a weather radar before a hike, open a radar layer that covers your trailhead, confirm the image is current, identify what is moving toward you, estimate when it arrives, then compare that with the hourly forecast, official warnings and your route profile. The whole check takes about five minutes and it is the difference between a good day out and a wet, exposed retreat in bad visibility.
Radar is genuinely useful in the mountains, but only when you treat it as one input rather than the answer. A green patch on the map means precipitation is falling there right now, not that the trail is safe. I have started every hike with the same routine: radar loop, hourly forecast, warnings page, elevation profile, and a written turnaround time that I tell somebody at home.
What follows is the seven-step version of that routine. It works for a two-hour loop and for a three-day traverse, and it costs nothing but attention.
Table of Contents›
- What You Need to Read Weather Radar Before a Hike
- Step-by-Step: How to Read Weather Radar Before a Hike
- Check the Right Location and Time
- Identify Rain, Snow, and Thunderstorm Activity
- Use the Radar Animation to Estimate Arrival Time
- Compare Radar with the Forecast and Official Warnings
- Account for Terrain, Valley Effects, and Radar Shadows
- Set a Go, Delay, or Turn-Around Plan
- Recheck Radar During the Hike
- Common Mistakes and Better Alternatives
- Frequently Asked Questions
- What do the colors on a weather radar actually mean?
- What does 40 dBZ mean on a weather radar?
- Does pink on radar mean there is hail?
- Why does radar miss storms over mountains?
- Can I check weather radar with no cell service on a trail?
- Conclusion: Make the First Check Before You Leave
What You Need to Read Weather Radar Before a Hike
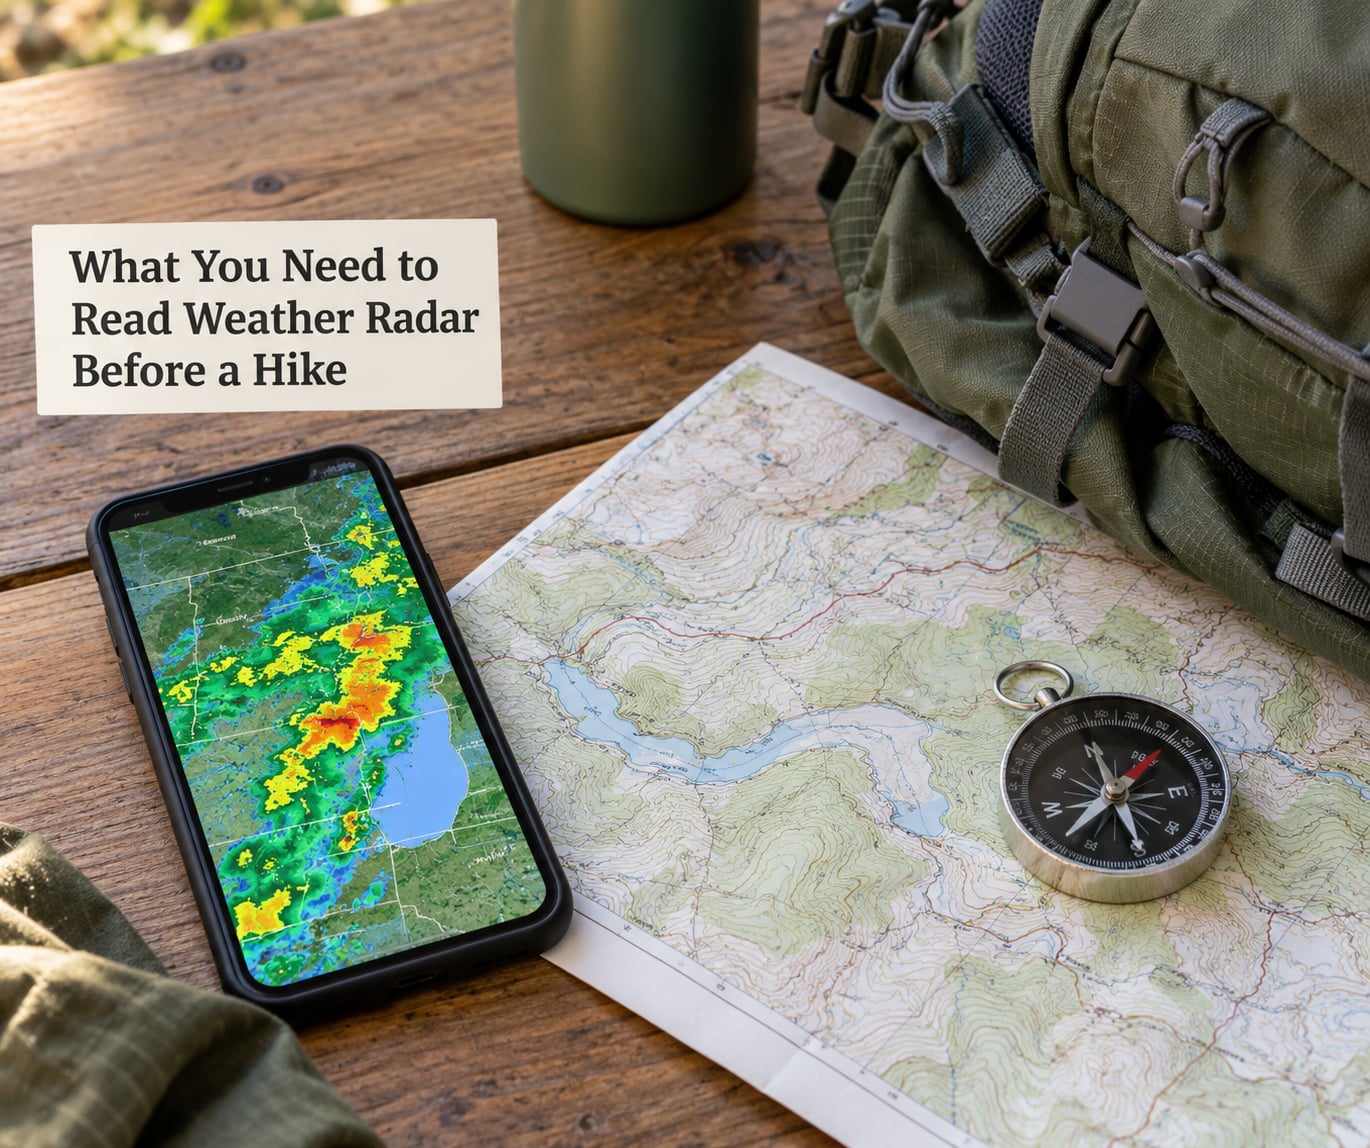
Six things. Open the first four before you leave the house, keep the last two in your pack.
A radar layer that actually covers the trailhead. National radar is good for big storms and poor for terrain detail. If your route sits in a valley, a canyon or the lee side of a ridge, add a second source that shows surface observations and local stations. Hikers on forums complain about this constantly: the default app in the phone draws a smooth green blob that tells you nothing useful about the drainage you are walking into.
The hourly forecast and the active warnings page. Radar tells you what exists, the forecast tells you what is expected to develop. The National Weather Service site carries watches, warnings and advisories for every US county, and most regional services elsewhere publish equivalents. Convective warnings for the county your trail crosses count, not just the one at the trailhead parking lot.
The route map and elevation profile. This is where radar interpretation actually lives. Profile the route before you read the sky: which sections are exposed ridgeline, which are forested, which run along a creek or river. Rain that is harmless on a wooded lowland becomes a serious problem on a scree slope with no shelter.
Your start time and your turnaround time. Write the turnaround time down before you leave and tell someone the plan. A turnaround time that exists only as a feeling at 2pm is not a plan.
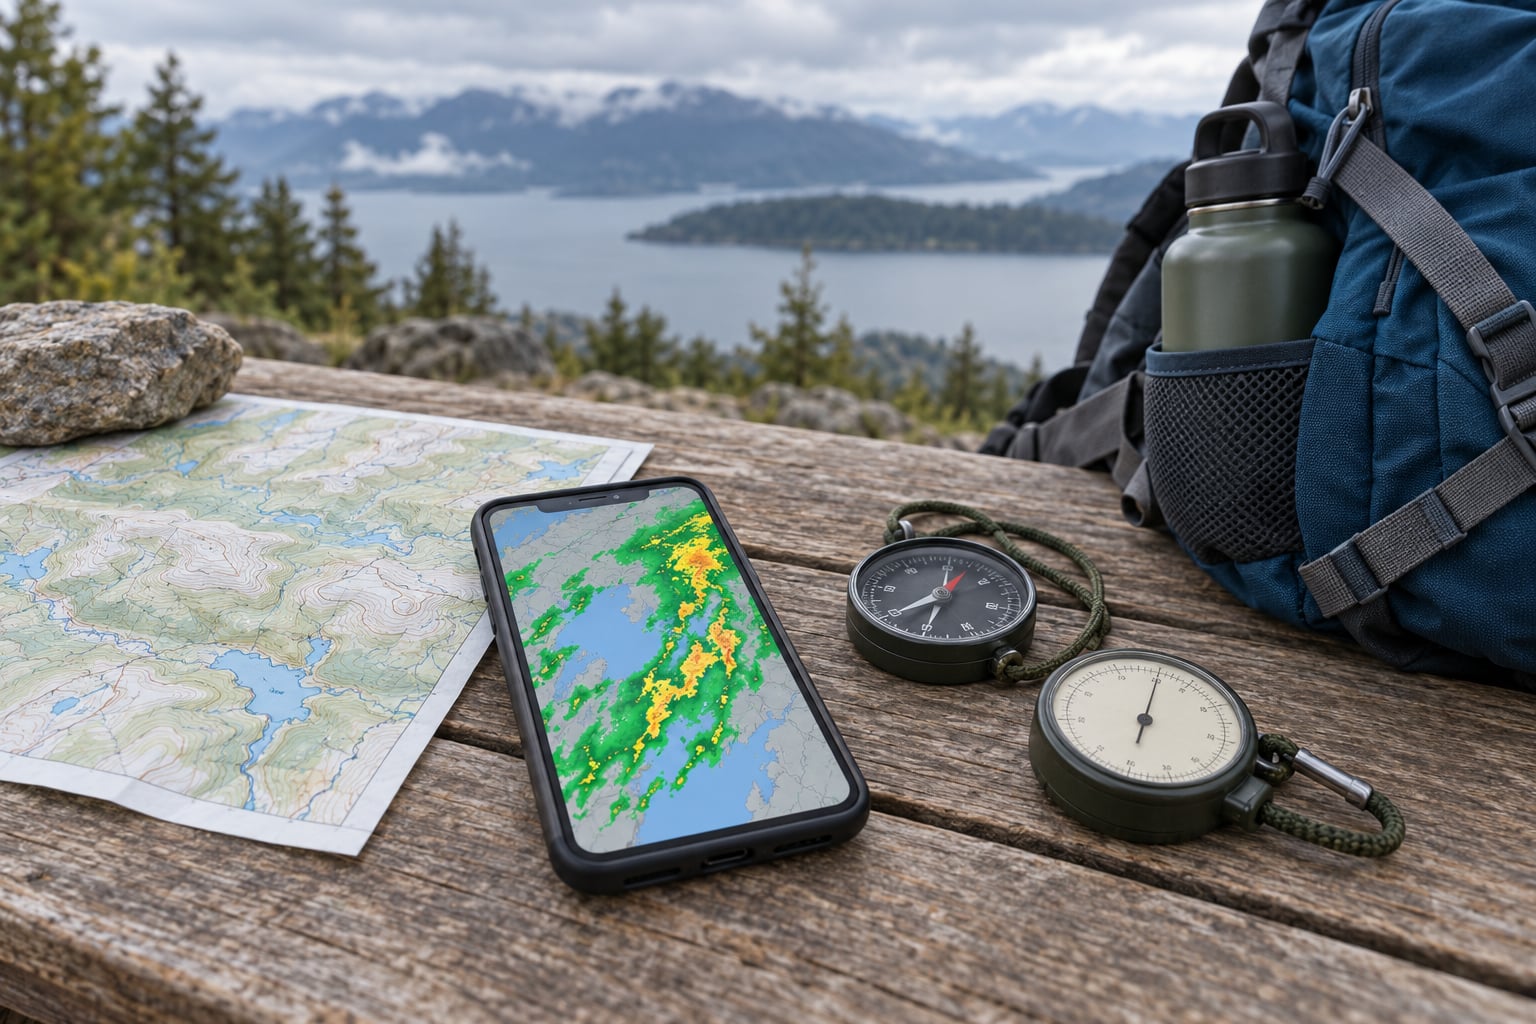
A charged phone and a second way to receive warnings. Batteries drain fast with a radar app open on a cold ridge. A portable battery or a hand-crank radio in the pack covers the case where your phone dies at the worst moment. A NOAA weather radio or a satellite messenger with weather alerts adds coverage where cell service disappears.
An offline fallback. Screenshots of the radar loop and the forecast, plus a paper map. Download the trail map before you drive out. On many trails, signal is fine at the trailhead and gone two miles later, and that is exactly where you need to know a line is coming through.
Step-by-Step: How to Read Weather Radar Before a Hike
Run these seven steps in order. The first four take about five minutes at the kitchen table; the last three are decisions you carry with you for the rest of the day.
Read radar before departure because that is when you can still change plans. Read it again at the trailhead, because the trip from home takes time. Read it during the hike, because summer storms over mountains routinely develop faster than the twenty-minute update cycle of a public radar product.
Check the Right Location and Time
Start by confirming that the image is current. Every radar app shows a timestamp, and the gap between that timestamp and now is the single most important number on the screen. Five minutes old is fine. Forty minutes old in a fast-building summer storm is a guess about the past.
Then zoom to the trailhead rather than the whole state. At full zoom-out you are looking at the weather 150 miles away compressed into a few pixels, and colour choices that look like a threat may be a shower over farmland. Zoom in until you can see the trail shape against the radar coverage area.
Check which radar site is covering you and how far you are from it. Beam height rises with distance from the radar tower, so a site 80 miles away is measuring a much higher slice of the atmosphere than one 20 miles away. That single fact explains most of the disagreements you will ever have with radar in mountain terrain, and step five covers it in full.
One more check: is this loop or a still frame? A still frame tells you where the rain was. A loop tells you where it is going, which is the only thing you actually need for a hike decision.
Identify Rain, Snow, and Thunderstorm Activity
Weather radar sends microwave pulses that bounce off precipitation particles. The strength of the returning signal is measured in dBZ, decibels relative to Z, where Z is reflectivity. You do not need the physics; you need the ladder.
Light rain usually shows as pale green or blue, roughly 5 to 20 dBZ. Steady moderate rain sits around 30 dBZ in green. Yellow, 35 to 40 dBZ, means heavy rain that will soak you through in minutes and can make rock slippery. Red, 45 dBZ and above, means intense precipitation with very high water content, and in summer that colour is often mixed with hail. Magenta, purple and white, 55 dBZ and above, mark extreme intensity and the core of a strong thunderstorm.
Winter looks different because snow and ice scatter differently than rain, so snow often reads weaker than its actual rate. Treat blue shades in cold conditions as heavier than they look.
The shape matters as much as the colour. A smooth blob of light green is usually a shower. What concerns a hiker is structure: a small intense core, a line with sharp leading edges, or a cell that keeps deepening and re-forming in the same place. A storm that repeatedly builds over the same ridge or drainage is training, and it will likely be there when you arrive.
Radar also shows what is in the air, not what is falling. Virga, precipitation that evaporates before reaching the ground, can show a strong return with a dry surface below it. Do not treat a virga return as a rain-soaked trail.
Use the Radar Animation to Estimate Arrival Time
Play the loop and watch the frames, not the map. Identify the leading edge of the system, note a landmark it will pass, then count how many frames it takes to get there. Most public radar loops run at roughly five-minute intervals, and each loop covers about the last hour, so you can measure speed in miles per hour rather than guessing.
Then check whether the forecast agrees with what the loop shows. If the model puts the line through your valley at 1pm and the loop has it arriving at noon, plan for the earlier time. Convective lines often move faster than the model run suggests, and afternoon heating routinely triggers cells that were not in the forecast at all when you checked at dawn.
Add margin rather than subtracting it. Storms slow, stall, back up, or split and merge. A cell can also slow down as it runs into the stable air above a mountain range, then resume its normal speed once past, which means your arrival estimate at the far side of a range can be badly wrong in either direction.
Write the estimated arrival time next to your turnaround time. If the weather reaches you ten minutes after the point where you planned to reverse, you have no margin at all.
Compare Radar with the Forecast and Official Warnings
Radar on its own tells you about precipitation. It says very little about lightning inside a cloud, wind speed aloft, or how cold the air is at your elevation. For that you need the forecast and the warnings feed.
Read three things together. First, the hourly forecast for your elevation band rather than the valley town, since temperatures and wind differ sharply over a few thousand feet. Second, the wind forecast: hikers get caught by thunderstorm outflow gusts that arrive well ahead of any rain, and a forecast of 40 mph ridge gusts is a reason to stay lower. Third, the warnings page, because a severe thunderstorm warning or a flash flood watch for your county changes the decision even when the radar looks quiet.
On mountain routes, also check the point forecast discussion and any avalanche or mountain-weather product your region publishes. These are free, written by forecasters, and often describe convective initiation in plain language before it shows up on radar.
Watch for disagreement. If the forecast says 70 percent chance of afternoon storms and the radar loop is empty at 11am, that is not a contradiction; it is the model telling you that conditions are ripe for storms to form later. Read it as a warning about the afternoon, not as a promise of sunshine.
Account for Terrain, Valley Effects, and Radar Shadows
This is the step hikers most often skip, and it is the one that saves you. Radar beams travel in a straight-ish line that curves slightly with the Earth, so the beam that reaches a mountain ridge 40 miles from the radar is much higher than the beam that reaches the flat land beside it. Below that beam, the radar sees nothing at all.
The result is a false sense of security. A valley can sit inside a radar shadow and look perfectly clear while a thunderstorm builds directly over your route. Low cloud, drizzle and light precipitation often go invisible entirely. Ground clutter, the radar picking up hills and buildings, adds its own visual noise along ridgelines, and in the far distance a layer of refractive haze can bend the beam under the ground and paint phantom echoes in valleys where nothing is falling. Experienced radar users call that last one anomalous propagation.
Terrain shapes the weather too. Air rises over a ridge and cools, which grows cloud and can trigger storms on the windward side. Air descends into a valley and warms, which is why storms often skip the valley floor and sit over the peaks. Canyon walls trap moisture and cut off your view of an approaching line until it is on top of you.
When radar and terrain disagree, add sources rather than choosing one. Surface stations, lightning networks, satellite imagery and your own observations in the field all fill the gap. A pocket altimeter gives you another signal entirely: a steady pressure drop through the morning is often the first hint that the afternoon will be worse than the forecast text suggests.
Set a Go, Delay, or Turn-Around Plan
Now decide, using fixed criteria rather than mood. Delay the start if the first cell of a line is forecast to reach your route before the time you would reach the exposed section, and it is early enough that you could start later and still finish in daylight. Shorten the route if the risk is spread across the day and the objective is reachable early. Go when radar is clear along the route through your return time, warnings do not cover your window, and the forecast is stable.
Cancel the trip when lightning is forecast for the time you would be on exposed terrain and you have no reliable shelter, when heavy rain is forecast to turn a crossing or a slope into something you cannot safely descend, or when wind forecast exceeds what you and your group can handle on the terrain you chose.
For thunderstorms, the standard hiking rule is simple. If you can hear thunder, you are close enough to be struck. Stay off summits and ridgelines, avoid isolated trees and water, keep feet apart if the group is spread out, and descend from the highest point you can reach quickly. Hail often arrives with the core of a storm, and hikers report it arriving ahead of any audible thunder.
For heavy rain, the concern is not the drop but what it does: streams rise fast, crossings become impassable, and low paths turn into channels. If rain is forecast to be intense, choose higher ground rather than a route that dips through a drainage.
Recheck Radar During the Hike
Set yourself reminders rather than hoping you remember. A good rhythm is at the trailhead, at every junction or major climb where you stop anyway, at the halfway point, and whenever you see a build-up in the sky.
Save battery by closing the radar app when you are not using it, lowering screen brightness, and switching to airplane mode between checks. A screenshot of the last loop lets you show a companion what you saw without using signal. Some apps cache tiles for offline use, which is worth setting up before you lose coverage.
Some signs need no radar at all. A dark line of virga on the horizon, a shelf cloud, a sudden cold gust, a sharp drop in temperature or a faint continuous roar from a distant storm are all reasons to be off exposed ground before you confirm anything on a screen.
Leaving the route is the right call and not a failure. The hikers who get into trouble are the ones who keep walking toward the thing they came to see while the sky changes. Turning around early costs you a viewpoint; pressing on costs you an evacuation.
Common Mistakes and Better Alternatives
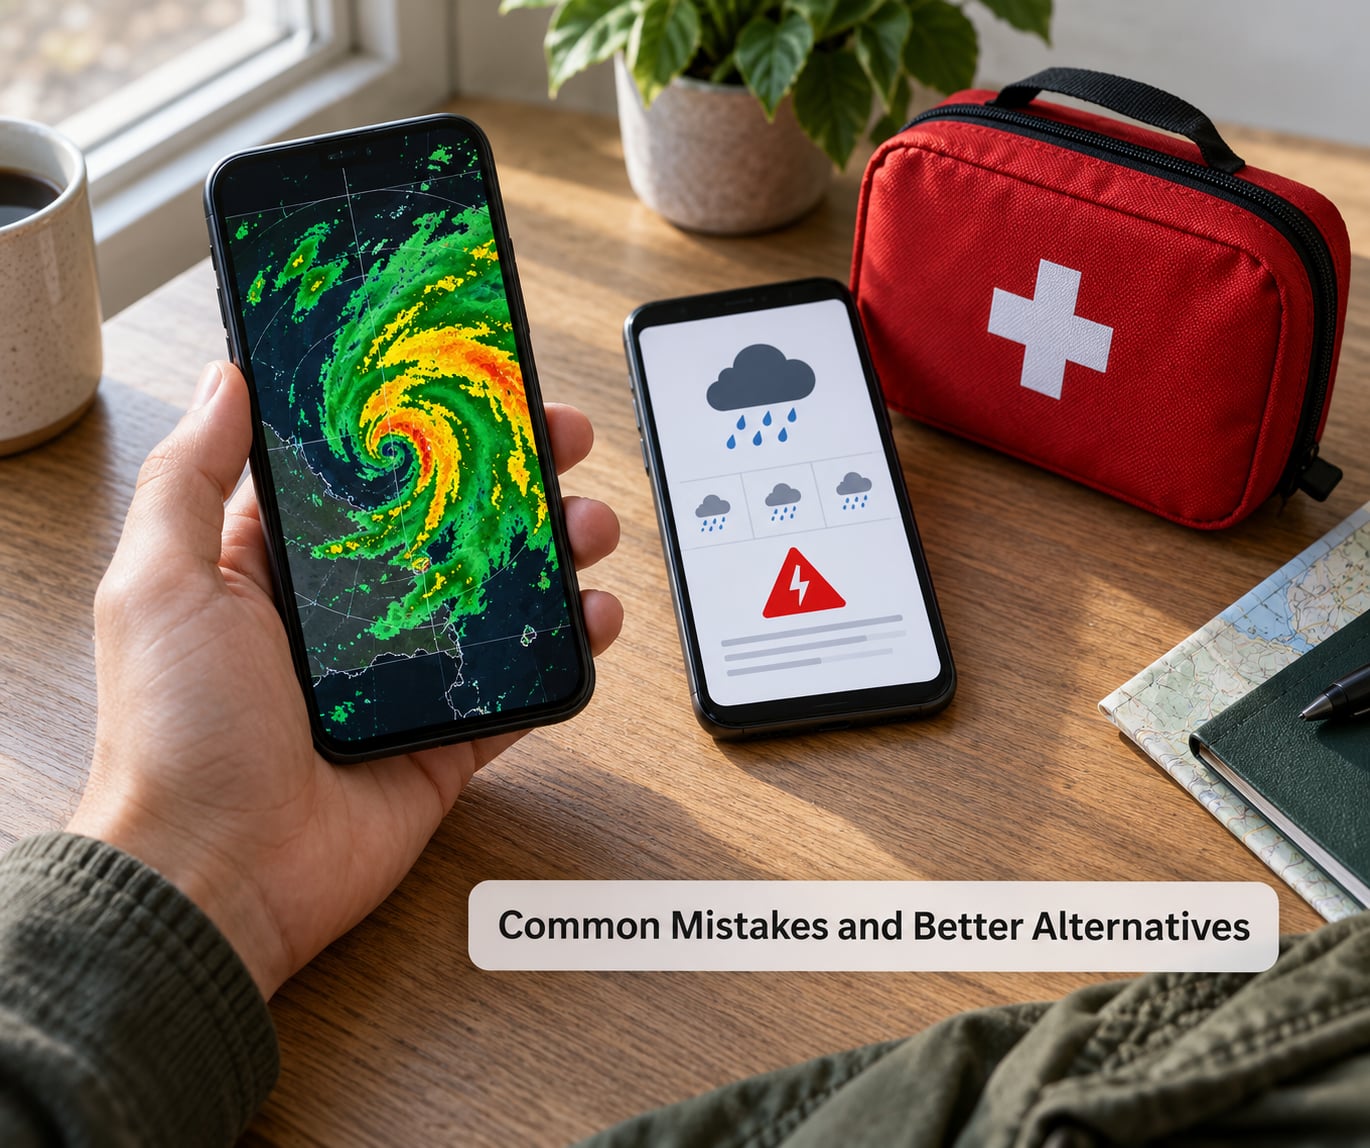
Reading green as safe. Green means light to moderate precipitation at that moment, and nothing at all about the twenty minutes after it. It says nothing about lightning, wind or visibility. The safer habit is to ask what is inside and behind the colour, and to check the warnings feed.
Looking at a still image. A frozen map is history. The movement is the information that matters for a hike, so use the loop or the storm motion estimate every time.
Ignoring the elevation profile. Rain at the trailhead and rain on the ridge are different problems. Read the radar against the terrain, not against the map outline.
Trusting radar alone. Radar has real blind spots over mountains, weak returns in snow and ice, and a time lag. Pair it with the forecast, lightning data, surface stations and your own eyes.
Starting at the wrong time. Most convective weather builds in the afternoon, and ridgelines in the western US often trigger it. A 6am start dodges nearly all of it and gives you a colder, calmer route.
Leaving the turnaround time unwritten. Pick a clock time, a landmark, or a condition such as hearing thunder, and commit to it before you are tired and committed to finishing.
A few extra habits pay off. Check recent trip reports for what the drainage was actually running, and ask at the ranger station or the local outfitter shop, who tends to know the microclimates that radar does not resolve. Learn to read the pressure trend on a watch or altimeter, since a falling barometer with an unchanged forecast is a reason to look again. And treat a brightening horizon, a building cumulus stack or the first gust of cold air as information rather than atmosphere.
Frequently Asked Questions
What do the colors on a weather radar actually mean?
Radar colors show the strength of the signal returned by falling precipitation, measured in dBZ. Pale blue and light green usually mean light rain or drizzle around 5 to 20 dBZ. Green near 30 dBZ is moderate rain. Yellow from 35 to 40 dBZ is heavy rain. Red above 45 dBZ marks intense precipitation and often hail in summer. Magenta, purple and white above 55 dBZ mark extreme intensity inside a storm core.
What does 40 dBZ mean on a weather radar?
Around 40 dBZ you are looking at heavy rain falling at roughly 20 to 40 mm per hour, or about 0.8 to 1.5 inches per hour. For a hiker that means heavy shelter is needed within minutes, wet feet are likely, and rock, mud and stream crossings become more hazardous. In warm months a 40 dBZ core can also contain hail, so check the lightning feed and the warnings page rather than waiting to find out under a tree.
Does pink on radar mean there is hail?
Pink, magenta and white on radar are simply the top of the reflectivity scale, above roughly 55 dBZ. That intensity usually means very heavy rain, and in warm conditions it is a strong hint that hail is present or falling. Cool-season pink often means wet snow rather than hail, because ice and snow scatter differently than rain. Hail is easier to confirm by looking outside than by reading the map, so treat bright pink as a reason to get inside rather than a confirmed report.
Why does radar miss storms over mountains?
Radar beams rise above the ground as they travel away from the radar site, and the earth curves beneath them. A ridge 40 miles from the tower is measured by a beam that sits thousands of feet higher than the valley floor beside it, so anything forming below that height, inside that ridge, is invisible. Ground clutter and beam bending add confusing echoes on top of this. That is why high-resolution local forecasts and surface observations matter more than the national radar blob in mountain terrain.
Can I check weather radar with no cell service on a trail?
Yes, if you prepare before you lose coverage. Download the trail map and the forecast for offline use, and take screenshots of the radar loop and the warnings page at the trailhead. A few radar apps cache tiles for later viewing, which helps on a long trip. A portable battery keeps the phone alive through repeated checks, and a NOAA weather radio or a satellite messenger delivers alerts without cell service. Expect to make the go decision before the trailhead and use the cached view only to confirm it.
Conclusion: Make the First Check Before You Leave
Before anything goes in the pack, open the radar layer that covers your trailhead, check the timestamp, run the loop once, and read the warnings page for the whole route. Compare what you see with the hourly forecast for your elevation, look at the profile to see where the exposed ground is, and write down a turnaround time you are willing to honour.
That is the whole job. Radar tells you where the rain is and roughly when it gets to you; the forecast, the terrain and your own limits tell you what to do about it.