Learning how to plan a self guided walking tour of a neighborhood takes about twenty minutes at a kitchen table, and it saves you from walking the same corner three times before lunch. A workable plan is just an ordered list of stops, a finish time, a distance you can actually cover on foot, and that route saved on your phone for when the signal drops. It is not complicated. The fiddly part is sequencing stops so the walk flows in one direction instead of doubling you back.
Table of Contents›
- What You Need
- Step-by-Step: How to Plan a Self Guided Walking Tour of a Neighborhood
- 1. Choose a Manageable Neighborhood Area
- 2. Set the Pace, Distance, and Finish Time
- 3. Build a Route That Makes Sense on Foot
- 4. Choose Three to Five Meaningful Stops
- 5. Research Opening Times and Neighborhood Norms
- 6. Check the Weather, Safety, and Accessibility
- 7. Consolidate Everything Into One Carryable Plan
- Common Mistakes
- Frequently Asked Questions
- How long should a self guided neighborhood walking tour be?
- Do I need a map or a guided tour to explore a neighborhood?
- How should I plan a walking route when some streets have limited crossings?
- What should I do if it starts raining during my self guided walking tour?
- Can I use a self guided walking tour with children or a family member?
- How do I make sure I do not miss a place during the walk?
- Conclusion
What You Need
Start with the study area. Pick the neighborhood and read it on a map before you plan anything in it — block layout, where the main street runs, whether a river or rail line cuts through, and where the dense pockets of interest sit.
Then gather the practical pieces:
- A map or transit app with walking directions. Google Maps handles multi-stop walking routes fine on desktop; its mobile route editing is where people get stuck.
- A weather forecast for the hours you plan to be out, not just the morning high.
- Opening hours research for anywhere you intend to go inside.
- Comfortable shoes and a refillable bottle. Cobbles and hills are the two things that turn a nice walk into a bad afternoon.
- A charged phone, ideally with a portable charger if it will be out all day.
- An offline backup: the map area downloaded, or a written list of stop names and street addresses.
On the site, check the local transit map before you choose your start point. Walking twenty-five minutes to catch a street you enjoy is a legitimate part of the plan, but only if you decided that on purpose.
Step-by-Step: How to Plan a Self Guided Walking Tour of a Neighborhood
Seven moves, in order. Skip one and the route usually falls apart at step five.
1. Choose a Manageable Neighborhood Area
Draw a boundary you can finish inside. Two hours of walking covers roughly 4 to 6 km depending on how many stops you take, so anything wider than about ten blocks across will eat your morning in transit.
Use four filters: how long the walk between corners takes, whether the street grid lets you loop back without doubling, whether your points of interest cluster together, and how much time you actually have free. A compact area explored slowly beats a large one rushed.
You want a boundary where the interesting stuff sits inside one continuous walk, not four pockets separated by a busy arterial road. If your stops fall on both sides of a six-lane road, either pick one side or plan the crossings properly before you commit.
2. Set the Pace, Distance, and Finish Time
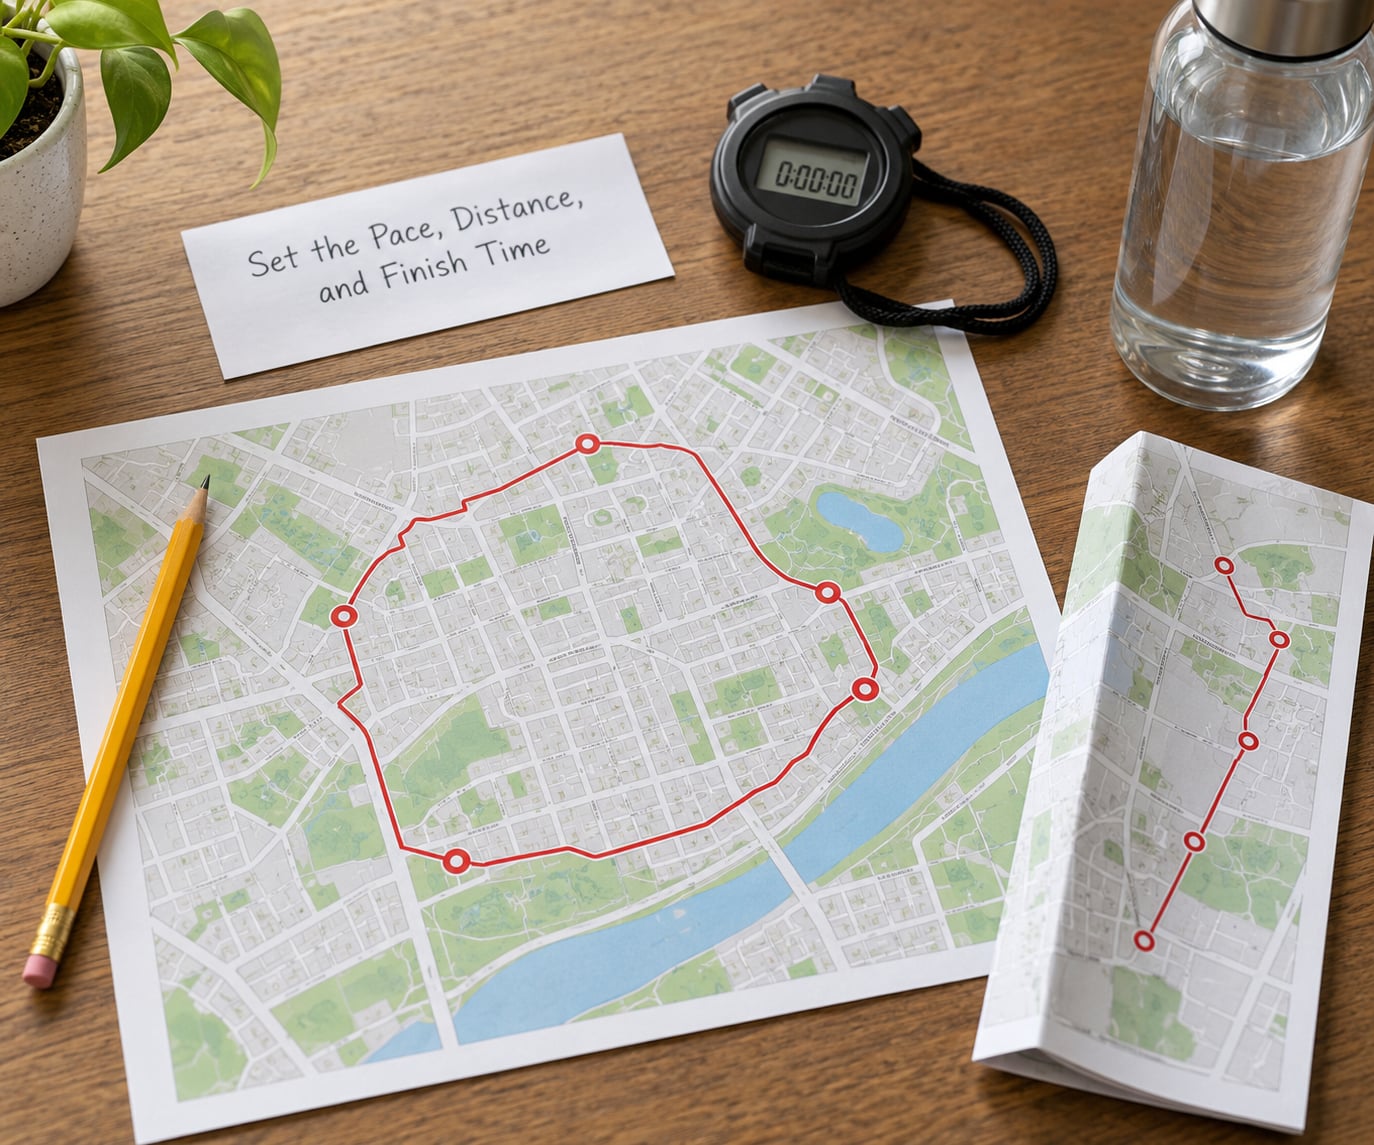
Pick a finish time first, then work backwards. An ordinary neighborhood walk is 2 to 3 hours covering 5 km or so, with 5 to 8 stops and 10 to 15 minutes at each one.
The number people get wrong is stop time. Walking time and visiting time are separate budgets: at a comfortable 4 km an hour, 5 km of walking eats roughly 75 minutes before you slow down for photos, a coffee, or a window display. Add your stops, add a lunch buffer of 30 to 45 minutes, and check the total against real daylight.
Write the finish time down. A hard stop time is what turns a wandering afternoon into something that still works, because it forces you to drop the weakest stop instead of rushing all of them.
3. Build a Route That Makes Sense on Foot
Order your stops geographically, not by importance. Put the most important stop closest to the start and the least important one you can afford to skip last, so a truncated walk still ends well.
Then check the route actually works for someone on foot: crossings every 200 to 300 meters or so, sidewalks rather than high-speed roads, and no stretch where the only way forward crosses a junction twice. Add the trouble spots to your plan deliberately — the hill you will climb once instead of twice, the construction detour, the block with no pavement.
Google Maps walking directions handle a multi-stop route by adding each stop as a waypoint. Build it on a laptop where you can see the whole shape at once, because reordering stops on a phone screen is where people get frustrated.
4. Choose Three to Five Meaningful Stops
Five stops is plenty for two to three hours. More than that and you spend your time walking between them instead of standing in front of them.
A good mix includes one landmark everyone would recognise, one independent shop or market, one cultural space worth spending real time in, and somewhere to sit down. Viewpoints and photography spots count as stops, but budget them differently — five minutes each, not fifteen.
Skip anything you would not linger at. Forum threads about planning walks keep circling the same trap: packing in headline sights because they are on every list, then finishing the afternoon tired and slightly bored. Depth over checklist coverage is the whole point of walking it yourself.
5. Research Opening Times and Neighborhood Norms
Check the hours of anywhere you plan to go inside, and note closure days. Small shops and markets keep irregular hours, and a museum that shuts at four ruins the back half of your loop.
Look for practical rules too: whether you need a reservation, whether photography is welcome inside, whether a courtyard is private space, and what the local norms are for walking on the pavement. Schedules change — closures for events, security, or filming regularly invalidate plans built from an old guidebook — so recheck on the morning of the walk, not the night before you left home.
Note the order of operations too. If one stop shuts early, put it at the start rather than discovering the closed door at 3pm.
6. Check the Weather, Safety, and Accessibility
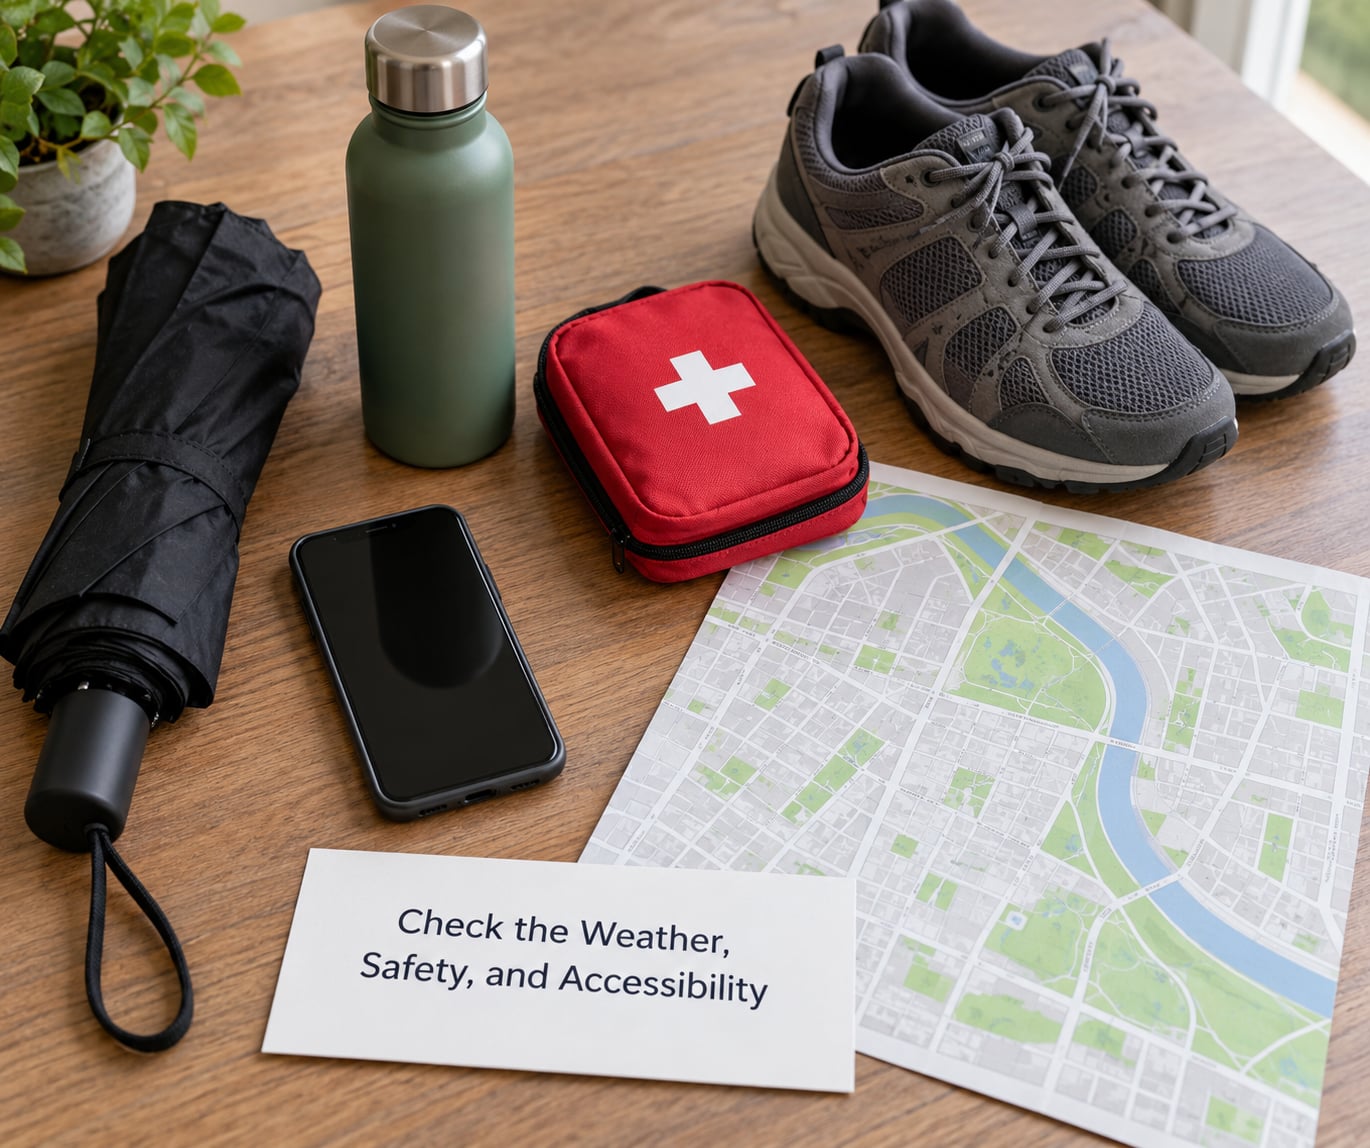
Look at the forecast for the hours you will be out. For heat, plan a shorter route with more shade and indoor stops; for rain, decide your indoor fallback before you leave rather than improvising in the rain.
For safety, note your route and finish time and send them to someone. Keep your phone charged, keep valuables in front pockets on a busy main street, and prefer lit, populated streets if you are walking at dusk or later.
Accessibility is the part most plans skip. Old neighborhoods are full of cobbles, steps, and gradients that a flat map does not show you. Look for step-free routing where your map offers it, count the hills honestly — a steep climb that looks like nothing on screen can be brutal in the heat — and check where benches and public toilets are along the route rather than assuming. Anyone with mobility needs should build a bench into the route every 15 to 20 minutes.
Keep the local emergency number in your phone. It costs nothing and you will never use it.
7. Consolidate Everything Into One Carryable Plan
Everything above collapses into a single page you can hold in your head or on paper: the start point, the ordered stops, the distance and walking time, the finish time, the cafe or lunch stop, and the way home.
Put it somewhere that works without a connection. Download the map area for offline use, save screenshots of the route, and write the stop addresses on paper as a backup — older central neighborhoods have plenty of spots with no signal at all.
Before you leave, run this quick check:
- Start point pinned and reachable by transit or parking
- Stops in order, with no backtracking between them
- Total distance and walking time noted, finish time written down
- Opening hours confirmed for every indoor stop
- Route downloaded or screenshotted, phone charged
- Lunch or cafe stop marked at roughly the halfway point
- Route shared with someone, with a realistic finish time
- Bad-weather fallback decided: one indoor stop and one shortened version of the route
If you only do three things from that list, do the offline download, the finish time, and the fallback.
Common Mistakes
- Choosing an area that is too big. Fix: cap the boundary at what you can cover in about 20 minutes of walking corner to corner.
- Packing in too many stops. Fix: three to five, then add more only after checking the total time still fits.
- Trusting opening hours from a guidebook or an old blog post. Fix: verify on the morning of the walk, and move the stop with restricted hours to the front.
- Ignoring where you can actually cross the road. Fix: walk the crossing points on the map before you commit, and reorder stops so the route crosses at the places with junctions and signals.
- Planning a route that ends in the dark. Fix: set the finish time first, then cut stops until the daylight works.
- Leaving the route online only. Fix: download the area or screenshot it. Old city centers lose signal constantly.
- Ordering stops by how famous they are instead of by location. Fix: sequence geographically, then decide what gets dropped if you fall behind.
- Forgetting terrain. Fix: hills and cobbles are the reason comfortable shoes are on the packing list, not a detail.
One habit helps more than the rest: send someone your route and your finish time before you set off. It costs one message.
Frequently Asked Questions
How long should a self guided neighborhood walking tour be?
Most neighborhood walks land between 2 and 3 hours, covering roughly 5 km with 5 to 8 stops at 10 to 15 minutes each. Shorter works well when you have a fixed finish time or a meal to make; longer walks need looser timing and at least one proper rest stop. Decide your finish time first, then add stops until the total no longer fits.
Do I need a map or a guided tour to explore a neighborhood?
A map is enough. A guided tour adds narration and a fixed schedule; planning it yourself means you slow down for a window display, skip what you do not like, and stop for coffee whenever you want. Most travelers who plan their own walks say the freedom to improvise is the part that makes it better than a group.
How should I plan a walking route when some streets have limited crossings?
Treat junctions and signals as fixed points in the route rather than details. Find every point where your path crosses a road wider than a residential street, order your stops so you pass those points at convenient times, and check the map for crossings before you commit to a sequence. If a wall of road cuts the neighborhood in half, plan one side per walk instead of crossing back and forth.
What should I do if it starts raining during my self guided walking tour?
Shorten the loop rather than abandoning it: drop the farthest stop, keep the stops that are close together, and head for one indoor stop you identified in advance. Rain usually passes in under an hour. If you have no waterproof layer, shorten to the nearest shelter and a warm drink rather than walking a full soaked route.
Can I use a self guided walking tour with children or a family member?
Yes, with shorter legs. Cut to three stops, aim for 60 to 90 minutes, and plan a cafe or park break partway through. Older neighborhoods often have uneven cobbles and few public toilets, so check both before you leave. Keep everyone within sight of each other by choosing stops that are a few minutes apart rather than spread across the neighborhood.
How do I make sure I do not miss a place during the walk?
Keep the ordered stop list in one place and tick places off as you go, rather than relying on memory or panning a map constantly. Note a distinctive detail for each stop while you are standing there, since that is what fixes it in memory later. If you want a narrative rather than a checklist, a self-guided audio tour app will trigger as you approach each stop.
Conclusion
Planning a self guided walking tour of a neighborhood comes down to four decisions: the boundary you will stay inside, the finish time you will respect, the order your stops appear in, and the fact that the route has to work without a signal.
Start with the boundary. Pick something you can cross on foot in twenty minutes, set a finish time that fits the daylight, choose three to five stops, and sequence them geographically. Then save the whole thing somewhere that works offline and send it to someone before you go. The walk itself is the easy part.