Most modern synthetic hiking shoes are comfortable within about 20 miles, structured synthetics take 20 to 30 miles, and full-grain leather boots want 20 to 50 miles of walking before you trust them on a long trail. You cannot skip that with heat or a soak, but you can spread it over two to six weeks of short sessions instead of discovering the problem on day two of a trip.
The reason a countdown plan works better than generic advice is simple: the number of days you have decides how hard you can push. Someone leaving in six weeks and someone leaving tomorrow are both asking how to break in hiking shoes before a trip, and the honest answer is different for each.
I have watched too many people try to speed this up. The pattern is always the same — a long walk on day one to “get it over with,” then a blister at mile three and a limp back to the car. Wear time beats intensity every time.
Table of Contents›
- What You Need
- Step-by-Step: How to Break In Hiking Shoes Before a Trip
- Check the Fit Before You Wear Them
- Wear the Shoes Indoors First
- Progress to Short Walks
- Test Uphill, Downhill, and Uneven Ground
- Do a Full Pre-Trip Shakedown
- Common Mistakes
- Frequently Asked Questions
- How many hours does it take to break in hiking shoes?
- Is it normal for new hiking boots to hurt at first?
- Can you break in hiking boots in one day?
- Should you wear thick socks when breaking in new hiking shoes?
- Can you use trekking shoes for daily use?
- What if new hiking shoes still hurt after a few walks?
- Conclusion
What You Need
Gather everything before the first wear session, because halfway through a break-in is the worst time to discover your socks were the wrong choice.
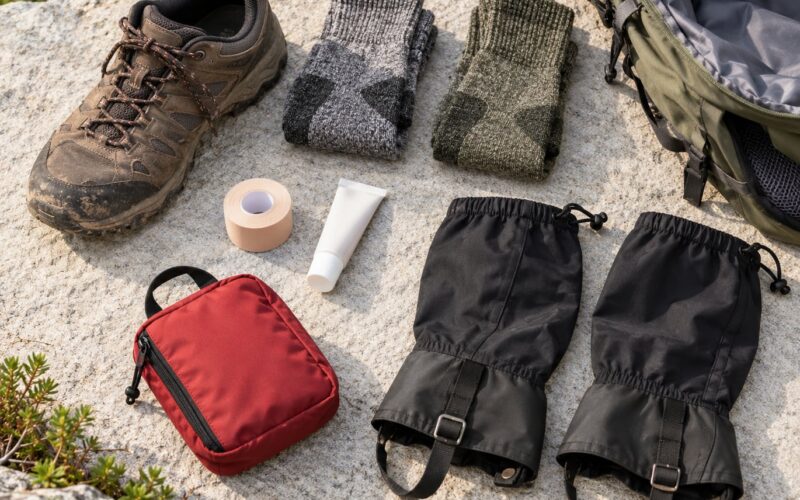
- The hiking shoes or boots. New, out of the box, with the tags and the return window still open.
- Your actual hiking socks. Merino wool or a synthetic blend, in the thickness you will wear on the trail. Never cotton.
- Liner socks. Thin synthetic ones. They cut friction more than any amount of talc ever did.
- Your planned insoles or orthotics. If you will use them on the hike, you need them in the shoes during the fit check, because they change the volume inside the boot.
- Blister tape and a first-aid kit. Leukotape or similar, plus a molefoam patch. You will use them.
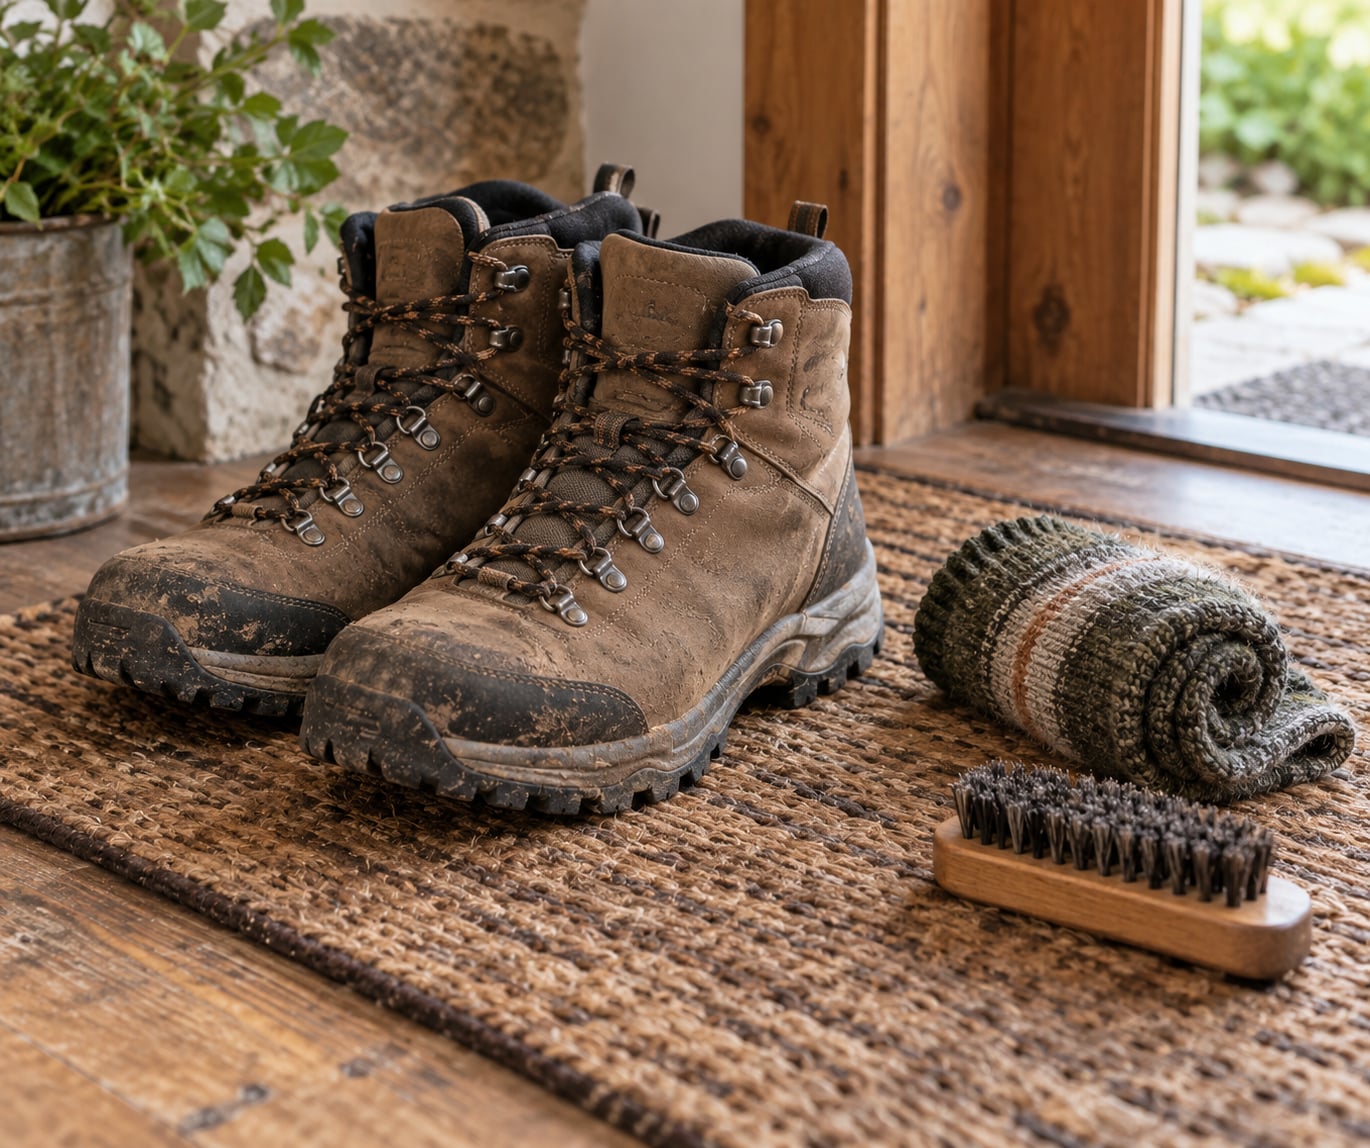
- A stiff-bristled brush and mild soap. For cleaning salt and mud off between sessions so the upper can dry and soften properly.
- Walking surfaces. A hallway, stairs, a pavement loop, a low trail, and eventually a slope. Daypack for the loaded stage.
A leather boot also needs a conditioner, but use it after the first few sessions rather than straight out of the box. Conditioner on day one softens the leather and can make the boot feel sloppier before it has shaped to your foot.
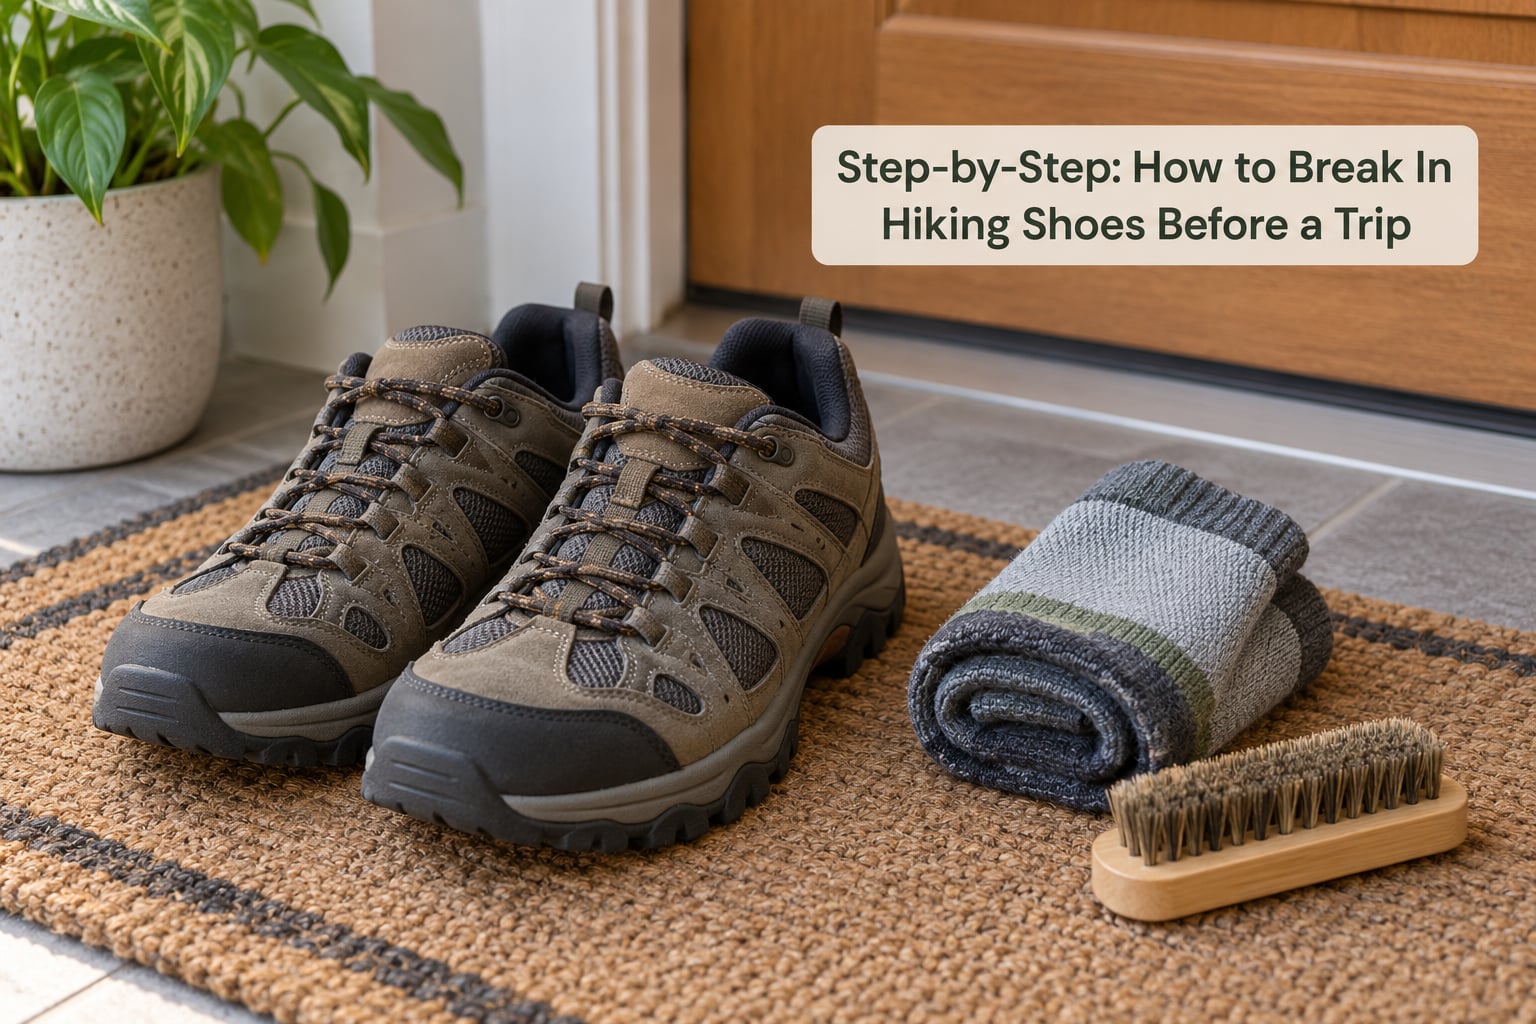
Step-by-Step: How to Break In Hiking Shoes Before a Trip
Check the Fit Before You Wear Them
Do this sitting, standing and walking, with your hiking socks and your planned insoles already in the shoe. A fit check done in thin shop socks tells you almost nothing.
Look for four things. You want about a thumb’s width of space in front of your longest toe, so downhill descents do not turn into black toenails. Your heel should stay planted when you lift your foot, which usually means a secure lacing pattern rather than tighter laces. The widest part of your foot should sit inside the shoe without your toes being pushed outward. And nothing should press on the top of your foot or the bony bump on your ankle.
Four signs mean the shoe is wrong, not that it needs more breaking in. Cramped or numb toes, pressure across the ball of the foot, more than a quarter-inch of heel lift, and pain that does not ease when the shoe flexes are all fit problems. No amount of wear fixes a wrong last, so keep the box and the receipt.
Wear the Shoes Indoors First
Start with 20 to 30 minutes indoors in your hiking socks. Sit, walk around the house, climb a flight of stairs, and stand still for a few minutes at the end so you can feel where the boot is pressing rather than only where it moves.
This first session is a diagnostic, not a workout. What you are looking for is new information: a hot spot forming at the ball of the foot, a rubbing collar at the back, a tongue that presses on the widest part of your instep.
Here is roughly how the whole process is distributed by boot type. Synthetic trail shoes often feel fine from the first outing, structured synthetics want a couple of weeks, and leather is the slow one.
| Boot type | Total wear before a long trip | Typical session pattern |
|---|---|---|
| Synthetic hiking shoe or trail runner | 0 to 20 miles | Often usable from the first walk; test with a loaded pack |
| Structured synthetic boot | 20 to 30 miles | Two or three weeks of 30 to 60 minute walks |
| Full-grain leather boot | 20 to 50 miles | Four to six weeks, building to hikes with pack weight |
Plan backwards from the departure date. Six weeks out for leather, three weeks for structured synthetics, one week at minimum for anything. If your window is shorter than the boot type wants, that is information, not a failure — it may mean choosing a softer shoe for the trip.
Progress to Short Walks
Once a short indoor session produces no complaints, move outside. Ten to twenty minutes on pavement, in the socks you will hike in, several days a week. Add five or ten minutes each time rather than jumping straight to an hour.
The point of this stage is surface variety. Carpet and hardwood do not reproduce the small constant flexing of a paved path, and a paved path does not reproduce gravel or roots. Each new surface finds different pressure points, so change locations as the sessions get longer.
Then load them. Somewhere in the third or fourth session, put 10 to 15 pounds in a daypack and walk a hill. Unloaded comfort tells you very little about loaded comfort, because pack weight pulls the collar down and settles the foot deeper into the footbed. Most hikers discover their first serious hot spot at this stage rather than the first.
Take the boots off the moment you get home, look at your feet, and check for pink or red marks. A mark that fades in a minute is friction. A mark that stays tender or blistered needs a fix before the next walk.
Test Uphill, Downhill, and Uneven Ground
Flat walking hides problems. A short slope with loose ground finds the rest, because climbing loads the heel and forefoot differently from level walking, and descending pushes your toes into the front of the boot.
Symptoms map to causes fairly reliably. Heel slip on an climb usually means the lacing is loose at the top or the collar is too tall for your ankle; more than a quarter-inch of lift turns into a blister quickly. Toe bang on a descent means the boot is too short or the lacing lets your foot slide forward. A pinch across the top of the foot points to the laces or the tongue, not the size.
Three lacing tricks cover most of it. Skip an eyelet over the pressure point to change the angle of tension. Run the lace around the top eyelet instead of crossing it to pull the heel down. Tie off a surgeon’s knot, a double loop with extra slack left in it, so the tension stays where you set it.
Fix the cause immediately rather than pushing through it. Stop, tape the spot, change socks, or swap the footbed, and shorten the walk. Hot spot triage exists because pain that arrives 30 minutes in tends to get ignored until it becomes a torn skin blister at mile four.
Do a Full Pre-Trip Shakedown
A few days before departure, rehearse the longest day. Same boots, same socks, same insoles, a daypack holding 10 to 15 pounds of the weight you will really carry, at the pace you plan to walk.
Pick a route with the character of your trip: climbs if the trip has climbs, and rough ground if the trip has rough ground. Then check your feet afterward, note anything that stayed tender, and fix it before you leave.
If a spot stays tender across two full sessions, treat it as a fit problem rather than a patience problem. The hiking community is consistent on this one: a boot that still hurts after honest miles needs a different size, a different last, or a different boot.
One habit worth adding for solo hikers: keep a known-good pair in the car. It weighs nothing next to the peace of mind, and it turns a blown-out blister at mile six from an emergency into a walk out.
Common Mistakes
Wearing the boots for one long session on day one. This is the most common way to create the problem you are trying to avoid. Long wear produces deep heat, deep swelling and a hot spot you will not notice until it is a blister. Break wear into five or six shorter blocks instead.
Ignoring discomfort that shows up late. Comfort at minute ten means nothing if minute 40 is bad. Check your feet every session rather than at the end of a long day.
Breaking the boots in on the actual trip. Your first multi-day hike is the worst possible place to find out the fit is wrong. Use a local trail first.
Breaking in with cotton socks. Cotton holds moisture, dries slowly, and turns every rub into a hot spot. Merino wool or a synthetic blend wicks and dries fast.
Soaking the boots or blasting them with heat. You will see this advice often, including on some pages ranking at the top of the search. Water swells leather unevenly, dries it stiff, and can weaken adhesives and void a manufacturer’s warranty. Direct heat does the same, faster. Neither softens a boot so much as it damages one. Mild dampness from a normal walk is fine; a bucket is not.
Treating every boot type the same. A trail runner built from modern foams may need nothing at all, while a full-grain leather boot wants weeks. Asking for one universal answer is why so many guides sound vague.
Sizing up half a size and expecting it to solve things. A slightly longer boot is reasonable for wide feet on a long trip, but it does not fix a narrow toe box, and it adds mileage to your break-in.
Buying on brand reputation. Two models in the same line can be built on different lasts, and a brand that fits you well elsewhere may not fit you here. Try them in the socks you will hike in, on carpet if the shop allows, and walk the store.
Frequently Asked Questions
How many hours does it take to break in hiking shoes?
Synthetic hiking shoes and trail runners usually need around 5 to 10 hours of wear before a long trip, and many feel fine straight away. Structured synthetic boots want closer to 15 to 20 hours spread over a couple of weeks. Full-grain leather takes longer, roughly 25 to 40 hours of progressive walking. Miles matter more than hours, because what changes is the upper and footbed conforming under repeated flex.
Is it normal for new hiking boots to hurt at first?
Some stiffness is normal, especially with leather. Pain is not. Cramped or numb toes, pressure across the widest part of the foot, more than a quarter-inch of heel lift, or pain that does not ease as the boot flexes all point to a fit problem rather than a break-in. Uncomfortable and tender after a short session usually means the shoe needs work; sharp, localized, or worsening pain means stop.
Can you break in hiking boots in one day?
No. You can prepare your feet and reduce friction, but you cannot compress a leather upper in an afternoon. What you can do on the last day: wear them indoors in hiking socks for a couple of hours, walk a short distance, thin liner socks under your hiking socks, tape any known hot spot before you leave, and pack blister kit plus a spare pair. On a short trip, softer footwear beats stiff footwear.
Should you wear thick socks when breaking in new hiking shoes?
Wear the thickness you plan to hike in, every session. Thick socks add volume and can turn a snug fit into a tight one, and the fit you test is the fit you get on the trail. Break thin liner socks under your hiking socks instead of switching to heavier socks, since liners cut friction across the hot spots that cause most blisters.
Can you use trekking shoes for daily use?
You can, but ease into it. Wear them for short errands first, then longer walks, because a boot that has only seen trail miles will feel odd on pavement and needs its own adjustment period. Expect the midsole and outsole to wear differently from dedicated hiking shoes, and keep a comfortable everyday pair if your job or commute demands one.
What if new hiking shoes still hurt after a few walks?
Stop breaking them in and change something. Try a different lacing pattern, thinner liners, or a different footbed, and test on a shorter walk. If the same spot still hurts, the fit is wrong. Return the boots while the window is open and look for a different size or a different last. Boots that hurt after honest miles rarely improve with more miles.
Conclusion
The sequence is short and it does not change: check the fit in your real socks, wear the shoes indoors for 20 to 30 minutes, move to short walks on real surfaces, add pack weight, test slopes and rough ground, then run one full shakedown before you leave.
Start six weeks out for leather, three for structured synthetics, one week minimum for anything, and shorten the plan rather than skipping the steps. Fix every hot spot the day you find it, and return a boot that still hurts after honest miles instead of trying harder.
Persistent foot pain, numbness or swelling that does not settle is worth raising with a doctor or a podiatrist rather than with a forum. Boot problems are usually fixable, and a pair that fits will carry you a long way.