To photograph a mountain view with a phone, clean the lens, pick a viewpoint with clear depth between foreground and peaks, set exposure so the sky keeps its colour, and hold the phone still long enough for several frames. The whole sequence takes about two minutes once you have done it a few times, and most of the improvement comes from three places: composition, exposure control and a steady shot.
Mountains are hard for phone cameras for one reason: the dynamic range. A bright sky next to dark rock has more contrast than a small sensor can hold in a single frame, so the sky clips to white or the shadows go black. There is also scale to convey, and clouds that move while you fiddle with settings.
None of that is a hardware problem you have to solve with a bigger camera. It is a technique problem, and the steps below handle it.
Table of Contents›
- What You Need
- Step-by-Step
- Choose a Viewpoint and Check the Light
- Clean the Lens and Set the Phone
- Compose the Mountain View
- How to Photograph a Mountain View With a Phone in Changing Light
- Hold the Phone Steadily
- Take Several Exposures
- Review and Edit the Best Frame
- Common Mistakes
- Tips for Better Mountain Photos
- Frequently Asked Questions
- Can a phone take good photos of mountains?
- What is the best phone setting for a mountain landscape?
- Should I shoot a mountain view in portrait or landscape mode?
- How do I photograph mountains when the sky is brighter than the land?
- Is digital zoom ever useful for mountain photography?
- Do I need a tripod to take sharp mountain photos with my phone?
- Conclusion
What You Need
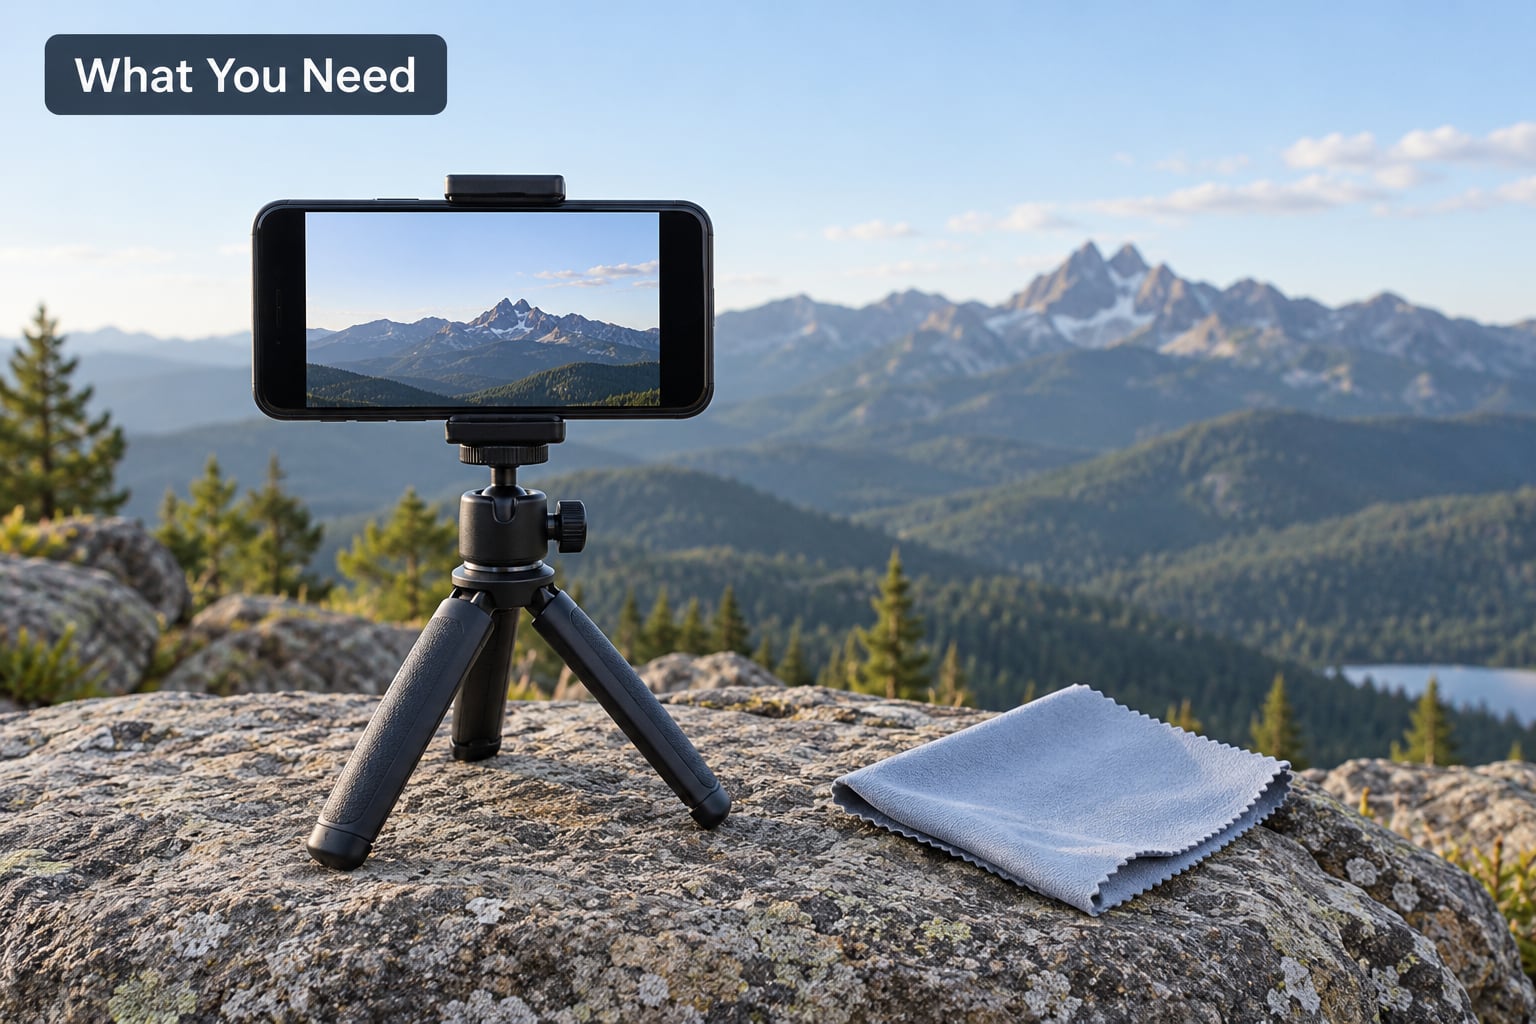
The phone already in your pocket is enough. Anything in a camera bag that stays at home or in the car is not.
- Your phone with a rear camera, a working lens cover, and enough free storage for a full day of captures.
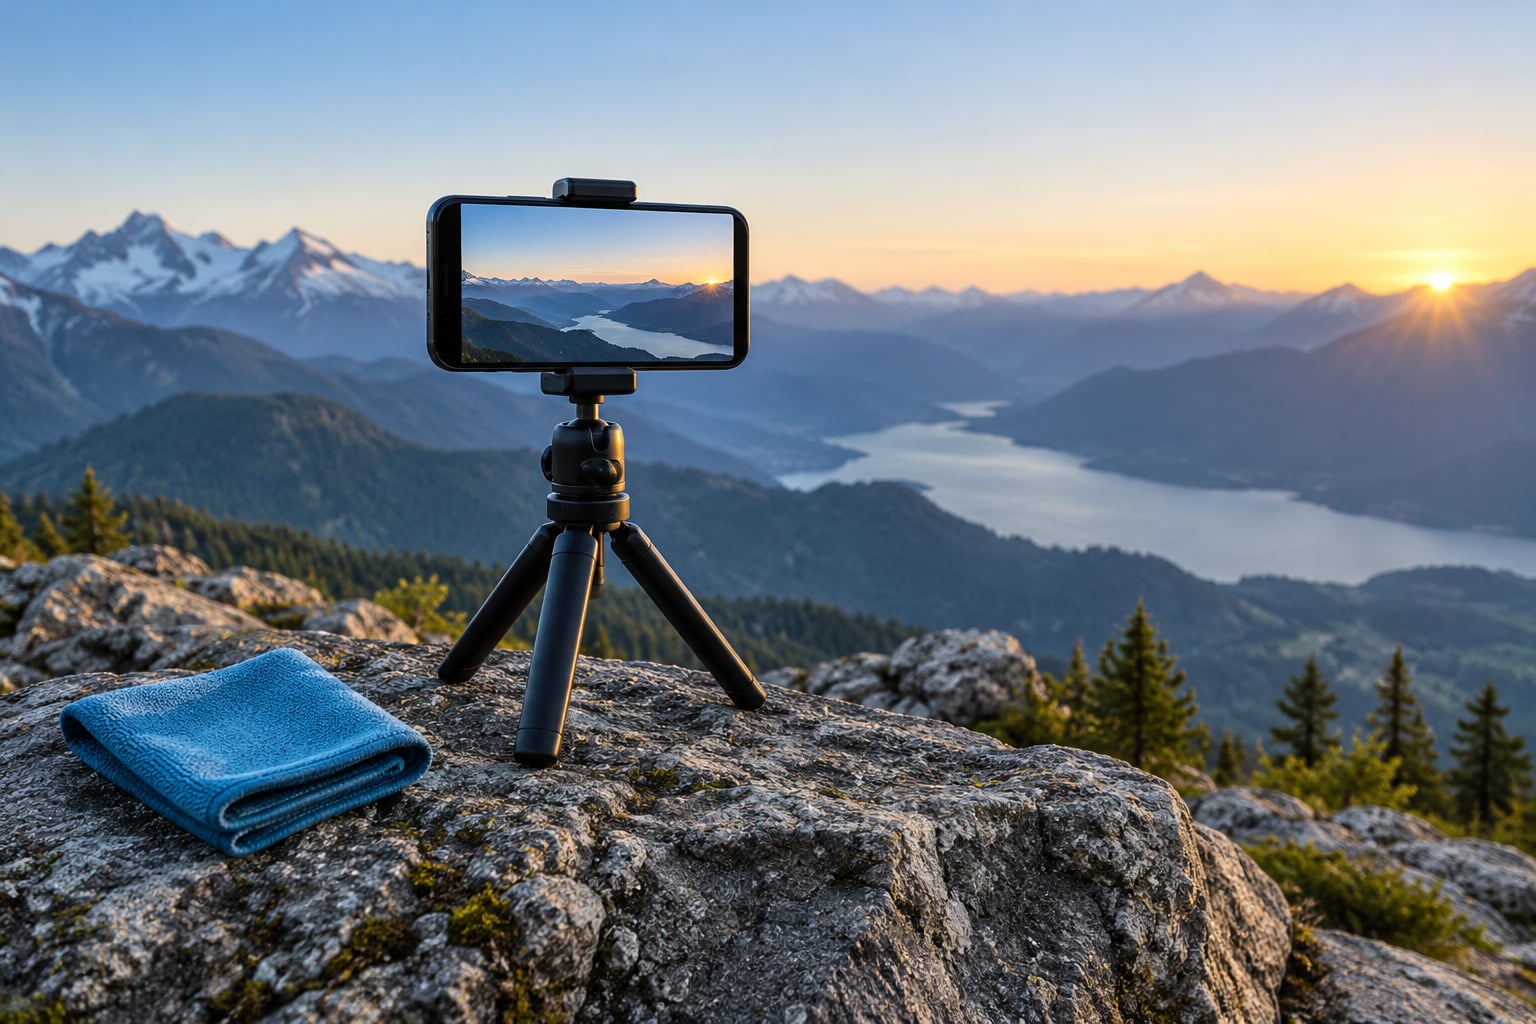
- A pocket tripod, the folding three-legged kind that screws to the back of a phone. A stiff rock, a rucksack or a fence post will do for a single frame.
- A microfiber cloth, the same one you would use for glasses. Fingerprints on a camera lens are the single most common reason a sharp-looking view turns out hazy.
- An editing app. Snapseed is free and covers everything you need here; Lightroom Mobile is worth it if you shoot RAW and want finer control.
- A power bank for long days out, because cold air drains a battery faster than warm air does.
- A phone case with a tether or lanyard loop, so a gust on an exposed ridge does not cost you the phone.
Advanced hardware is optional. Manual controls, RAW capture and an exposure slider all help, and every phone made in the last few years has some version of them.
Step-by-Step
How to photograph a mountain view with a phone is mostly an order of operations, not gear. This is the sequence that works on a summit trail with one hand on the phone, and each step has a sign that it worked, so you know whether to move on or fix it.
Choose a Viewpoint and Check the Light
Scout before you raise the phone. Walk ten paces in each direction and look at the scene from about waist height, because that is roughly where the camera ends up anyway.
You are looking for three layers: something in the foreground (a boulder, a fence, a larch branch), a middle ground (a ridge, a valley, a tarn), and the background peaks. A frame with all three reads as depth. A frame of only distant peaks reads flat, no matter how good the light is.
Then check the sun. Turn around and see where it is. If it is behind or beside you, the ridges separate cleanly and texture shows. If it is straight ahead, expect flare and a bright sky, and expect to work for the shot. Cross light, which comes from the side, is the easiest to handle and often the prettiest for rock faces.
Signs it worked: you can point at three distinct layers, and the far ridge is a different brightness from the ridge in front of it.
Clean the Lens and Set the Phone
Wipe the rear lens with the microfiber cloth before anything else. Rub gently in a circle from the centre outwards. Do this again whenever the phone comes out of a pocket, because one fingerprint catches light and softens everything behind it.
Then set up the camera app:
- Switch to the rear camera. The front one is softer and often fixed at a wide angle.
- Set the aspect ratio to 4:3 rather than 16:9. The taller frame gives you room to crop a vertical peak or a panorama without losing pixels, and every phone shoots its largest image in 4:3.
- Turn the flash off. On a mountain it will fire, blow out the nearest rock and do nothing for the distance.
- Turn HDR on for bright scenes so the phone merges several exposures, and consider RAW if the phone offers it in Pro mode.
- Open the gridlines. On iPhone they are in Settings, then Camera, then Grid. On most Androids they live in the camera settings menu as Grid or Composition guides.
- Clear some storage. A full phone will drop frames and stop saving the good ones.
Signs it worked: the viewfinder looks sharp at full size, and the grid lines are visible.
Compose the Mountain View
Put the horizon on a grid line, not in the middle. Centre splits the frame into two dull halves; putting the ridge across the upper or lower third leaves room for whatever is more interesting.
Use the ridgeline itself as a leading line. Let a diagonal slope enter from a corner and run toward the highest peak, and your eye follows it there instead of drifting around.
Add foreground interest, and get physically lower for it. Kneeling or lying on the trail brings foreground grass, wet rock or a puddle into the bottom of the frame, and it gives the peaks something to be measured against.
For scale, put a person, a cairn, a hut or a tree line in the frame near one edge rather than dead centre. A known-size object next to a known-unknown mass does the explaining for you.
Shoot vertical when the peak is taller than it is wide and you want it to fill the frame. Shoot horizontal for a range of peaks, a lake, or anything you plan to print. Many hikers shoot only horizontal and then realise the peak they came for is cut in half.
Signs it worked: nothing important touches the frame edge, and the subject is not dead centre.
How to Photograph a Mountain View With a Phone in Changing Light
Mountain light changes faster than most people expect, and the controls differ by handset. Here is where to find them.
iPhone. Tap the sky to set exposure and focus, then drag the sun icon up or down to hold the sky while letting the land darken, or down to lift the shadows and let the sky go pale. Press and hold the screen to lock focus and exposure (AE/AF Lock) so a cloud crossing the frame does not reset it. In Pro mode, open the controls with the dial icon and set ISO, shutter speed and white balance by hand.
Samsung. Tap the screen, then use the brightness slider that appears, or the light bulb icon in Pro mode for manual focus. Exposure compensation lives on the right side of the viewfinder. Pro mode gives ISO, shutter speed and a focus slider.
Pixel. Tap to focus and expose, drag the exposure slider up or down, and open Pro mode via the dial at the bottom right for ISO, shutter speed and white balance controls.
Why the sky blows out. The camera meters for the whole frame and, faced with a bright sky, tries to render that brightness as middle grey. Tap the sky and pull exposure down until the sky holds colour, or hold the phone so more of the frame is shadowed rock. If the land then goes too dark, that is what HDR is for.
HDR and Night mode. HDR merges bracketed frames into one, which is why you must keep the phone still while it works. Night mode uses a multi-second exposure, so it needs a tripod and only helps after sunset or under heavy cloud.
Into the sun. Side-step until the sun sits just outside the frame rather than behind the subject, and cup a hand or a hat around the lens to shade it. Flare is not always a failure, but an unplanned blob across the middle of a ridge is.
Signs it worked: you can see colour in the sky near the brightest area, and the shadows still show texture.
This table is the short version. Pick the row that matches what you are standing in.
| Condition | Lens | Mode | Support |
|---|---|---|---|
| Golden hour, sun low behind or beside you | 0.5x for scale, 1x for ridges | Auto with HDR | Tripod helpful |
| Alpenglow on snow peaks, minutes after sunrise | 2x or 5x to isolate a peak | Auto, tap to hold exposure | Tripod helpful |
| Bright midday | 1x | Auto with HDR, exposure down | Not needed |
| Overcast or flat cloud | 0.5x | Auto, +0.3 to +0.7 exposure | Not needed |
| Blue hour and colour in the sky | 1x or tripod, no zoom | Auto or Night mode | Tripod required for Night mode |
| Night sky and stars | 1x | Night mode or manual, 10s and up | Tripod required |
| Range too wide for the frame | 0.5x, then panorama | Panorama, move slowly | Tripod helpful |
Hold the Phone Steadily
Sharpness is lost in the half-second after the shutter, not while you aim. Brace your elbows against your ribs, press your forearms into your body, and breathe out before you press. Two hands around the phone, thumbs together on the shutter, works better than one.
For a single frame, rest the phone on something solid: a flat rock, a pack, a railing. For anything longer, use the pocket tripod. A Bluetooth remote or the built-in timer on a ten-second delay removes your hands from the frame and removes the shake.
Long exposures for a lake or waterfall need the tripod and a Live Photo converted in the Photos app, or Night mode. Moving water turns smooth while everything around it stays still.
Signs it worked: you can zoom in to 100 percent on the preview and the ridgeline still looks crisp.
Take Several Exposures
Do not take one frame and hope. Shoot a small bracket without changing your position: one frame slightly under-exposed, one as the camera chose it, one slightly over. Then take one more at 0.5x and one at 2x or 5x from the same spot.
The under-exposed frame protects the sky. The over-exposed frame keeps shadow detail in the trees and rock. The middle frame is often the keeper once it is edited. The lens change gives you a wide version and a compressed version, and having both means you can crop later instead of walking back.
Shooting into the sun, a short bracket also protects you when a cloud moves mid-burst and the metering follows it.
Signs it worked: you have at least five frames from one position, and you can point to the one holding the most sky detail.
Review and Edit the Best Frame
Edit in this order, and change one thing at a time so you know what worked.
- Crop and straighten. Keep 4:3 if you can. Correct the tilt before anything else; a straight horizon fixes more amateur-looking shots than any filter.
- Pull highlights down to recover sky colour that clipped.
- Lift shadows to open the rock and trees, but stop before they look grey.
- Add modest contrast, then check that the shadows have not gone black.
- Boost colour or vibrance gently. Heavy saturation turns grass into neon and is the second-most-common giveaway of phone photography.
- Sharpen lightly and apply noise reduction to the darkest areas only.
- Set white balance slightly warm for sunrise light, slightly cool for blue hour.
Judge it on a phone screen and a laptop, not just on your own device. What looks punchy at full brightness often looks flat on a properly calibrated screen.
Back up the frame you keep the same evening. Cloud sync while you still have signal is the difference between a photo and a memory of a photo.
Signs it worked: the sky holds colour, the shadows still read, and no part of the frame looks processed.
Common Mistakes
A smeared lens. The whole frame looks soft and slightly milky, worse in bright light. Wipe the rear lens with a microfiber cloth before every shoot and after every time the phone goes in a pocket.
Digital zoom. Pinching to 2x or 5x on some phones crops the main lens and enlarges the result, which adds noise and softness. Stay at 0.5x or 1x and walk closer instead.
A tilted horizon. Straighten in the crop tool before you do anything else. It is the fastest fix for a photo that looks amateurish for no clear reason.
Flat light at midday. The sun is overhead, shadows are short, and everything is the same brightness. Arrive earlier, shoot alpenglow in the ten minutes after sunrise, or wait for the light to go warm in the hour before sunset.
Over-processing. If the grass is electric green and the sky is a hard blue, dial saturation and contrast back. A restrained edit reads as a good photograph; a heavy one reads as a filter.
Blurry subjects from movement. Cloud shadow, wind-blown grass and water all move during a long exposure. Use a faster capture for moving elements, and reserve Night mode for still scenes.
The same shot as everyone else. The classic viewpoint produces a frame identical to hundreds of others. Walk ten paces sideways, drop to a lower angle, or change lenses, and the scene separates.
Tips for Better Mountain Photos
Arrive early and stay. Reaching a viewpoint before dawn gives you the whole light sequence: blue hour, first light, alpenglow, then flat morning. Most people arrive after the good part is over.
Treat the weather as timing, not luck. Cloud shadows crossing a face produce contrast that direct sun cannot. When the sky looks broken, wait ten minutes and shoot the same ridge again.
Look after the phone. Keep it in your jacket pocket rather than your rucksack, where cold and vibration both do damage. Charge it before the walk, not during. A case with a tether matters more on exposed ground than anywhere else.
Use a second device for scale. If you are travelling with someone, put them a few paces into the frame near a ridge line rather than posing them in the centre. One person at the edge of a large scene communicates more size than any wide-angle setting.
Keep the location off the photo. Consider stripping location data before sharing, and do not post a viewpoint that a fragile spot cannot absorb. Stay on the trail when you frame low for foreground work.
Build a repeatable order. Scout, clean, set, compose, expose, stabilise, shoot, edit, back up. Once it is automatic you stop missing the light while you think about menus.
Frequently Asked Questions
Can a phone take good photos of mountains?
Yes. Modern phones handle the exposure range of a mountain scene well when you tap to expose, keep HDR on and steady the device. The limits are small sensors in low light and digital zoom, not the camera itself. Most shots that look like phone photos are unedited, not badly shot.
What is the best phone setting for a mountain landscape?
Auto mode with HDR on, 4:3 aspect ratio, flash off, gridlines on, and exposure set by tapping the sky. Switch to Pro mode for RAW or manual ISO, shutter speed and white balance when the light is dramatic. For stars or a silky waterfall, use a tripod and Night mode or a long Live Photo.
Should I shoot a mountain view in portrait or landscape mode?
Landscape for a range of peaks, a lake or anything you may print, because it uses the full sensor. Portrait for a single towering peak, a narrow gorge or a reflection you want tall in the frame. Shoot both from the same spot if you can, and crop later rather than walking back.
How do I photograph mountains when the sky is brighter than the land?
Tap the sky to set focus and exposure, then drag exposure down until the sky holds colour and the land goes darker. Turn HDR on so the phone merges frames and recovers the shadows. You can also lock exposure, then step back so more of the frame is dark rock, which stops the camera metering for the sky.
Is digital zoom ever useful for mountain photography?
Only rarely. Where a phone offers a true optical telephoto, use it. Where the 2x or 5x button is a crop of the main lens, it adds noise and softness with no extra detail. Instead of zooming, move your feet, use the 0.5x ultra-wide for scale, or crop a clean 4:3 frame later.
Do I need a tripod to take sharp mountain photos with my phone?
In daylight, no. Brace your elbows into your ribs, hold with both hands and breathe out before pressing. A tripod becomes necessary for long exposures, Night mode, star shots and silky water, and it also lets you line up a frame on a busy ridge without people walking through it.
Conclusion
Start with the lens cloth, walk until the view has a foreground and something in the middle distance, then tap the sky and pull exposure down until the sky holds its colour. Shoot five or six frames without moving, including one wide and one tighter. Steady the phone against something solid, edit only the highlights, shadows and a touch of contrast, and back the keeper up before you walk down.
That sequence takes longer to describe than to do, and it works on the phone you are already carrying.