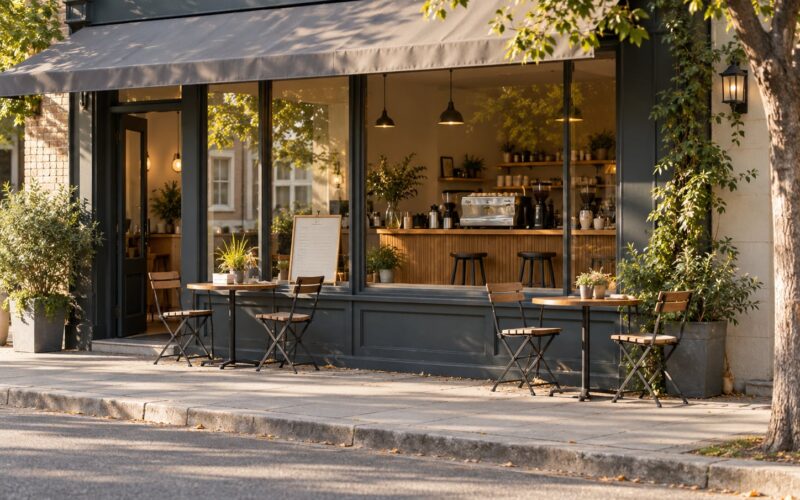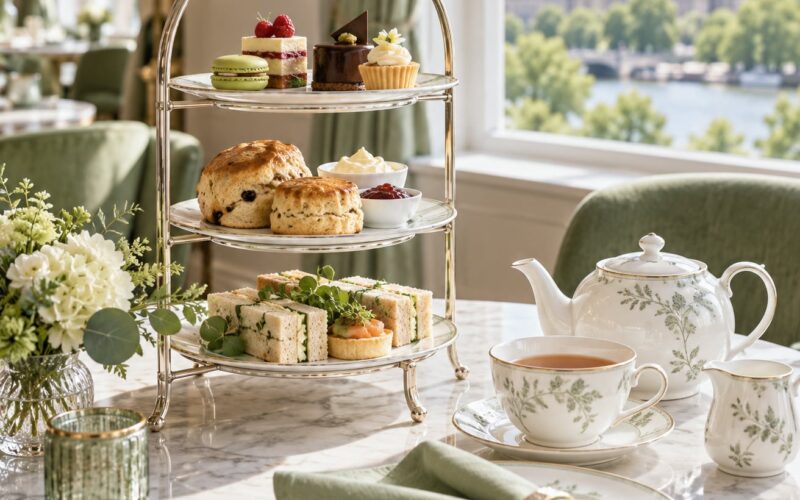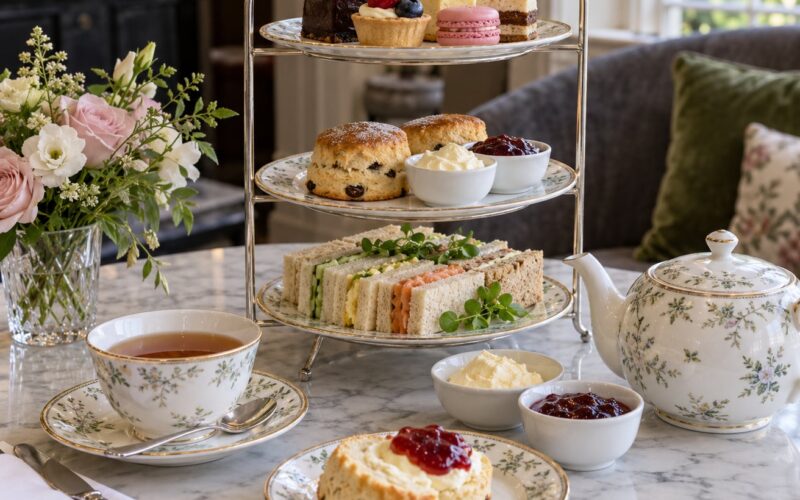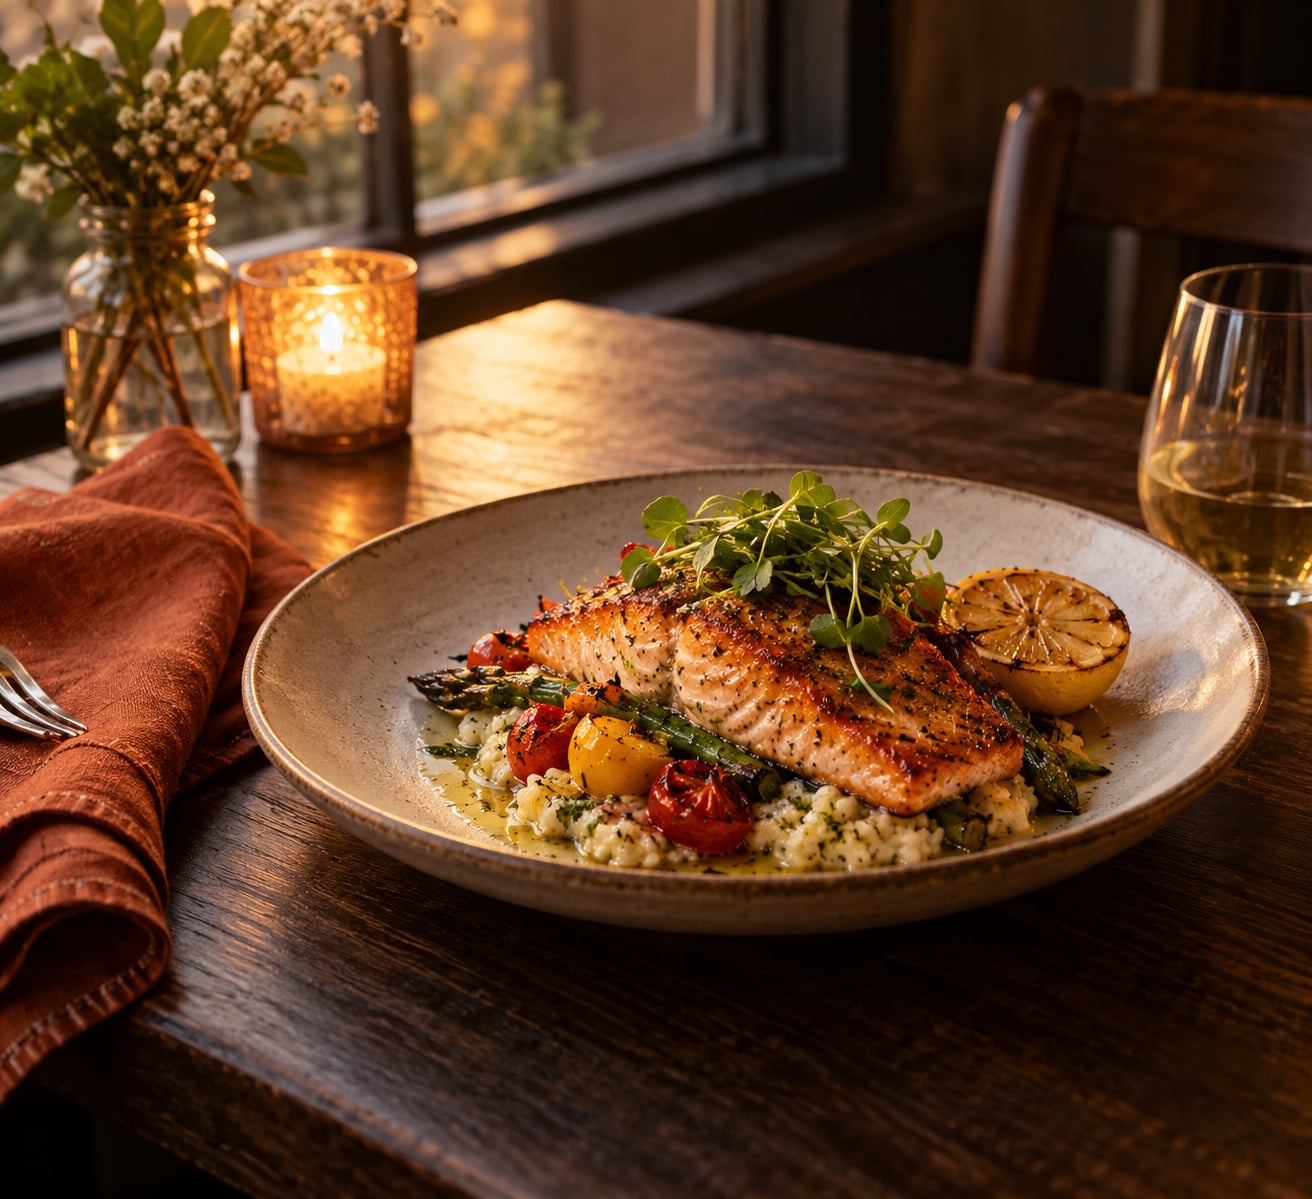
Dishes arrive at your table in whatever light the room happens to have, and for the last decade of evening cafes that light is a candle, a warm bulb behind a shade, or grey spill from a window. Learning how to photograph food in a dim cafe comes down to three moves: use the room’s own light as your key, gather more of it with settings that keep the frame sharp, then warm and lift it in the edit without turning the plate plastic.
None of it needs a studio rig. Most of it happens in about two minutes per dish, and you can do the whole thing standing up with a phone in one hand. Updated for 2026.
Table of Contents›
- What You Need
- Step-by-Step: How to Photograph Food in a Dim Cafe
- 1. Find the Best Available Light
- 2. Set the Mood Before Arranging the Dish
- 3. Style the Food for Contrast and Texture
- 4. Choose Reliable Phone or Camera Settings for a Dim Cafe
- 5. Stabilize the Camera and Capture Several Frames
- 6. Edit for Warmth Without Losing Detail
- 7. Check the Final Image and Export It
- Common Mistakes
- Frequently Asked Questions
- How do I photograph food in a dim cafe with just my phone?
- What should I do if a dim cafe has no natural light?
- Should I use night mode or flash when photographing cafe food?
- How can I make a dark dish look brighter without making it look unnatural?
- What is the best way to edit warm, dim-cafe food photos?
- Start With One Dish and the Window
What You Need
None of this is required, and none of it is expensive. Pick whatever you already own from the list below and ignore the rest.
A phone, or any camera with a manual mode. A phone handles this well if you use the exposure control rather than trusting the automatic scene. A camera gives you one thing a phone cannot: a shutter speed floor you set yourself, which is the difference between a soft frame and a sharp one.
Something to steady the camera. A fork handle, a salt shaker, a stack of sugar packets, the table edge, or a pocket tripod folded flat in your bag. In dim light, stillness matters more than megapixels.
A small reflector. A folded napkin, a menu card, or a piece of white cardboard cut to about the size of your palm. It fills the shadow side of a bowl for roughly the cost of nothing.
A napkin in a contrasting colour. This is styling, not gear, and it does more for a dark frame than any slider.
An editor. The built-in editor on your phone covers white balance, shadows, highlights and warmth. Free desktop software does the same job with more control if you shoot RAW.
Step-by-Step: How to Photograph Food in a Dim Cafe
1. Find the Best Available Light
Before you settle in, look at where the light actually falls. Window seats deliver soft side light and are worth asking for; if you did not get one, note the table with the practical light source closest to it, meaning a candle, a small lamp, or a pendant hanging low over a set of tables.
Move the plate so the dish sits between you and the light, or just off to one side of it. Light coming straight from behind your plate, backlighting the dish, will rim the edges beautifully and leave the whole face in shadow, so rotate the plate a quarter turn until the food itself is the brightest thing on the table.
Watch for reflections. Glossy sauces, a wet glaze, a metal spoon and a polished table all throw hard specular highlights, and in a dark room those small white blobs pull the eye away from the food. Turn the plate a few degrees or nudge the spoon a centimetre and the hotspot moves somewhere harmless.
Then check the shadows. If they fall soft-edged from one direction, you have usable light. If they are hard-edged pools directly under a ceiling downlight, sit at the next table over, where the falloff is wider.
Success looks like this: you can read the texture of the food in the frame, and the brightest thing in it is the food.
2. Set the Mood Before Arranging the Dish
Decide what the photo should feel like before you move anything. A dim room can read as warm and intimate or as flat and grey, and the difference is mostly what you leave in the frame and how hard you push the edit later.
Clear the surface first. Push the sugar packets, the water glass, the cutlery roll and the receipt holder to one side or below the table line. Wipe the rim of the plate and the table edge with a napkin, because a smudge catches light and reads as a smear on the lens no matter how clean the lens actually is.
Choose a surface with some texture or tone rather than the default pale laminate, which blows out under a pendant. Then decide the depth of the shot: if you want the dish to look inviting, go for a 45 degree angle with some background falloff. If you want it to look moody, get lower, closer to table level, so the light fades off behind the plate.
3. Style the Food for Contrast and Texture
Dark frames need separation, and small adjustments do the work that expensive props usually get credit for. Rotate the plate until the most interesting element sits where the light falls, and break up anything that has slumped into a single flat mass.
Pull garnishes apart so they read as individual items. Add a spoon or fork at an angle rather than laying it parallel to the plate edge, which looks accidental. Drop a crumb or two of something textured on the board, and move the napkin so it sits under one corner of the dish instead of floating in the middle of the frame.
Leave some negative space on one side. A tight frame in a dark cafe reads as a snapshot; a frame with breathing room reads as a photograph.
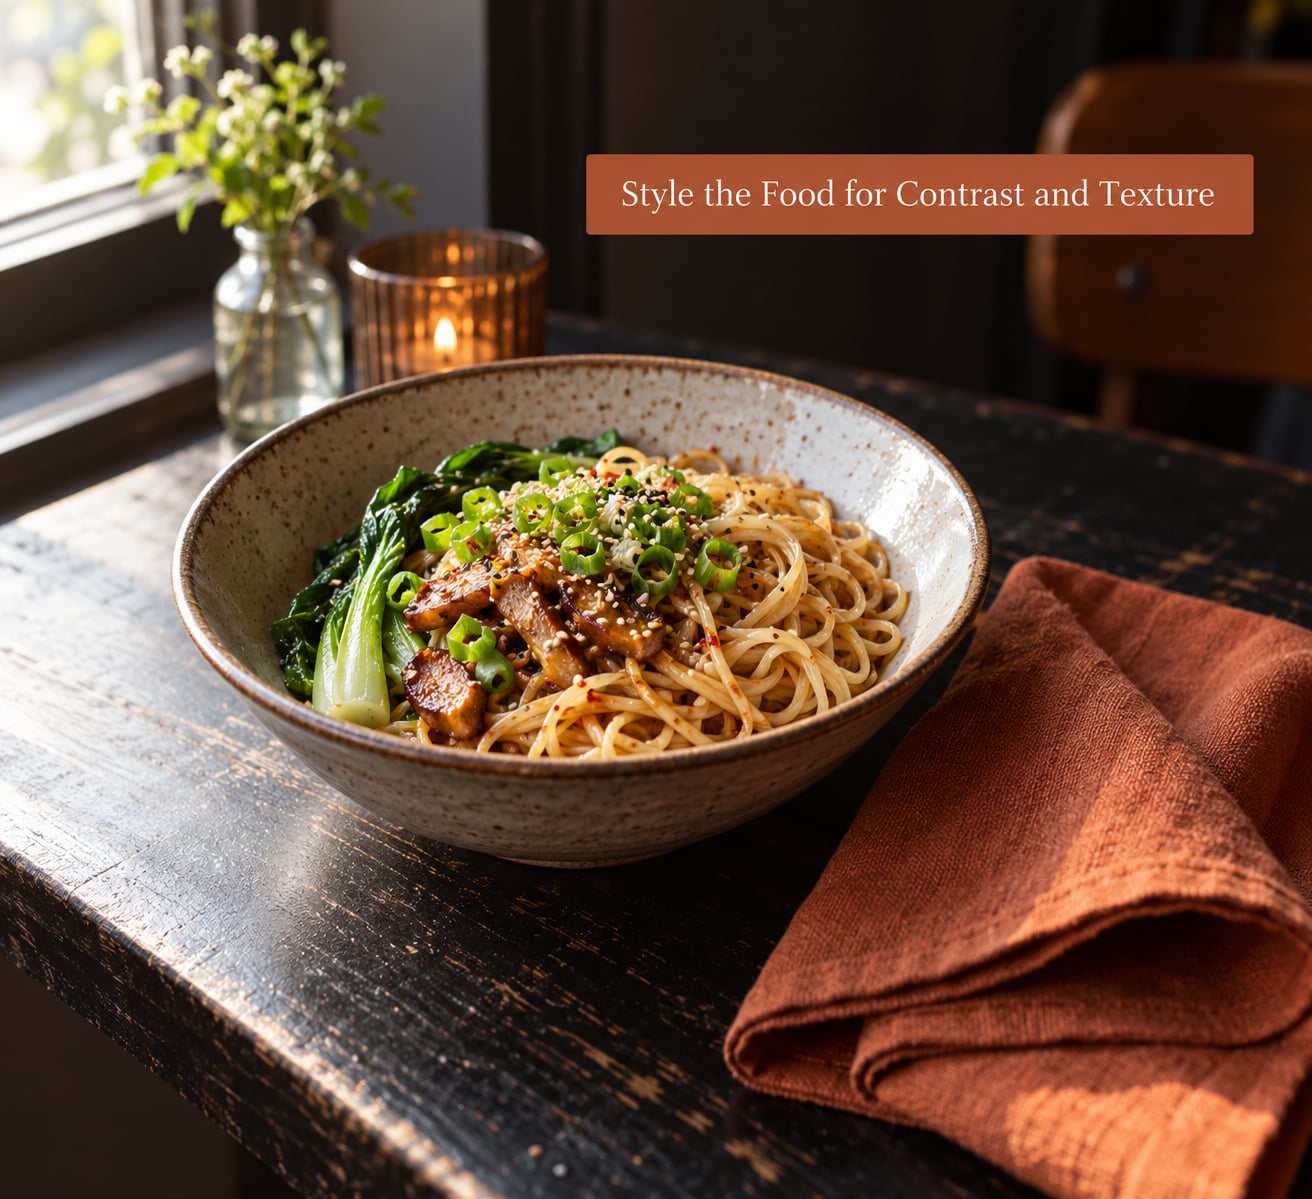
In low light, the eye goes to the lightest and sharpest edges in the frame. That is the real reason for the napkin, the metal and the separated garnish: each one gives the autofocus and your own eye something to land on. Style for contrast and the camera follows your lead.
4. Choose Reliable Phone or Camera Settings for a Dim Cafe
Start with the room, not the camera. On a phone, switch out of auto and tap the dish to focus, then drag the sun icon up or down to set the brightness yourself.
Aim to keep the table surface just below pure white so the highlights stay recoverable. Raise exposure until the dish reads clearly, then stop; a frame that looks slightly too bright on the screen usually corrects down, and a frame that looks slightly too dark usually does not.
Watch out for the automatic night mode kicking in. On a still life it often smooths skin-like areas, which turns toast, crumbly pastry and textured sauces into something waxy, and it stacks several frames so a spoon moved between them smears. If your phone offers a night mode, use it for the room and the mood, not for the close-up of the plate.
On a camera, use manual mode and think in this order: aperture, then shutter, then ISO. Open the aperture first, to as wide as the lens goes. That single change lets more light in without adding noise, and it separates the dish from the background, which a dim frame badly needs.
Then keep the shutter at least 1/60 of a second handheld, and aim for 1/125 or faster if a waiter or a raised hand might cross the frame. Never go below 1/60 handheld without support; below that, motion blur is not a risk you manage, it is a certainty.
Set ISO last, as high as the shot tolerates. Most modern bodies handle ISO 1600 well enough for social images and ISO 3200 for edits, and past that the grain starts eating the texture of the food. If you need to go higher, fix it by finding more light or moving the plate, not by cranking the dial.
A useful shorthand: candle or a single dim pendant, start around ISO 800, f/1.8, 1/60. Window seat at dusk, ISO 400, f/2, 1/125. Bright cafe with good daylight, ISO 200, f/2.8, 1/250.
Check focus by zooming in on the edge of the dish at 100 percent. If that edge is soft, tap or re-focus nearer that point rather than moving closer; moving closer costs depth of field you are already short of.
5. Stabilize the Camera and Capture Several Frames
Once settings are set, stillness is the job. Rest your forearms on the table, tuck one elbow into your side, and push the lens gently forward until your elbows lock. Breathe out, then shoot during the pause.
A timer works better than a cable release in a cafe, because the two second delay lets you take your hand off the frame. On a phone, set it to the shortest interval the camera app offers if you are shooting a dish and not a person.
Take five or six frames instead of one, and change something between each one: a few degrees of angle, a slightly brighter exposure, the plate turned so the garnish catches the light. Most of them will be dull and one will be the shot, and shooting a burst means you never have to decide that while steam is still rising.
Do not re-arrange the dish for every frame. Moving the plate resets the shadow direction and it takes several shots before the light settles again.
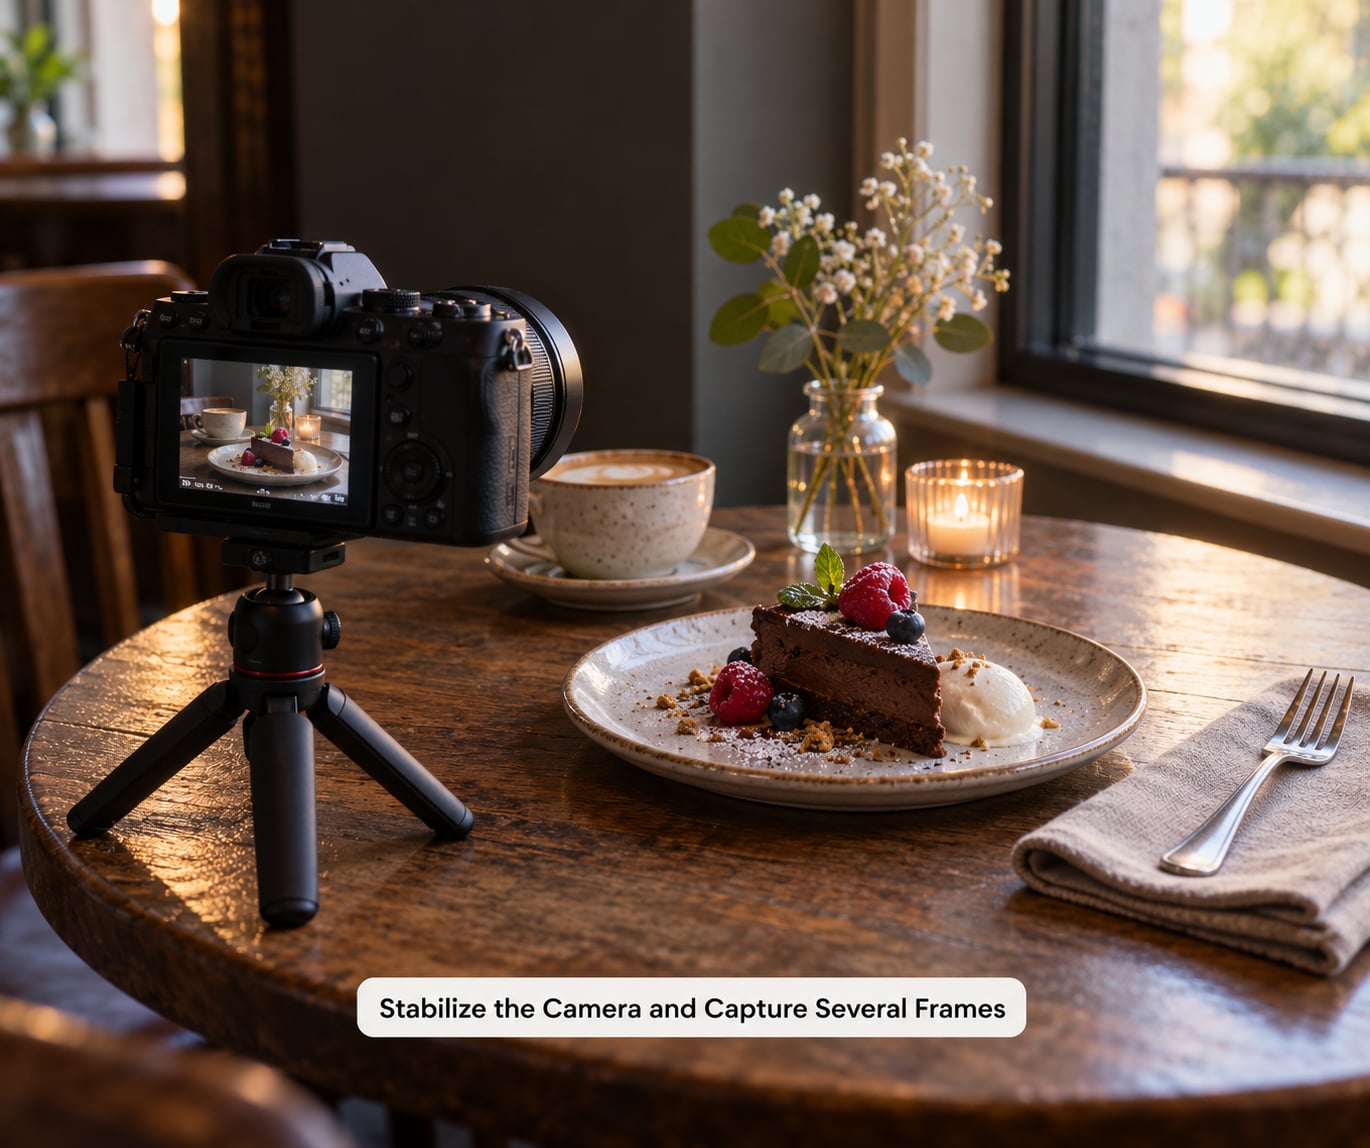
A tabletop tripod helps in a literal sense, holding the camera at a consistent height so the plate can go back to the same position for every take. If you have none, a stack of sugar sachets under the front of the phone does the same job and never gets noticed.
6. Edit for Warmth Without Losing Detail
Start with white balance, because every other correction you make depends on it. Warm bulbs push the frame orange, and if you fix the tone later the colour balance shifts underneath you. Pull the temperature down until the plate reads white rather than cream, and only then add warmth back deliberately.
Next, lift the shadows. Open them in small steps and check the noise at 100 percent; a shadow lifted too far in a dim original looks grey and blotchy. Where you have RAW, use the shadow slider rather than raising exposure, because the slider works from the data the sensor captured.
Pull the highlights down if the window or the pendant is clipping. A blown patch on a rim or a spoon has no detail to recover in a JPEG, so those frames lose it and no slider brings it back. Crop tighter to keep them out.
Then add warmth with intention rather than saturation. Shift the whole temperature a touch warm, hold saturation steady, and add texture or clarity at a low value. Fully saturated reds and oranges are the fastest way to make a plate look like it came from a filter.
Finish with a small crop. Straighten the horizon of the table edge, remove any crumb that has landed outside the plate, and check the corners for a bright lamp reflection.
7. Check the Final Image and Export It
Look at the image at thumbnail size first. At that scale your eye checks overall brightness and colour the way a stranger will, and if the food does not pop at 150 pixels, no amount of zooming in will rescue it.
Then zoom back to 100 percent and check three things: the edges of the dish for softness, the shadow areas for blotchy noise, and the highlights for hard white patches. Fix what you find rather than assuming it is not visible.
Export at a size matched to where it goes. Full resolution for editing or archiving, and roughly 2000 pixels on the long edge for a post or a blog image, exported from the largest version you made so the platform does not recompress something you already degraded.
Common Mistakes
Using digital zoom. It crops the sensor and resamples, so you get a softer file than if you had walked closer. Move your feet instead; the tripod or your glass on a table both buy you the distance.
Trusting automatic night mode for the plate. It smooths texture, stacks frames at different moments and softens anything that moved. Use it for the wider scene, and take the dish itself with night mode switched off.
Sitting too far from the window. Light falls off fast, and a table two seats from the glass is often a stop and a half darker than the one beside it. If the window is there, move to it. Otherwise accept the pendant and work with it.
Leaving the table cluttered. In a dark frame every stray glass, napkin and reflection competes with the food. Clearing the surface is the cheapest improvement available and takes ten seconds.
Overbrightening the shadows. Lifting a dim frame until it looks bright produces a noisy, flat grey image that nobody wants to eat. Fix underexposure at the point of capture instead: brighter exposure, more light, one plate in a better position.
Pushing warmth or saturation too far. Warmth should read as a candle, not as an orange filter. Keep the temperature shift small and hold saturation where it is.
Using bare flash on food. Direct flash from the camera flattens every dimension, burns a hot spot into the sauce and turns the plate matte. If you use any flash at all, bounce it or use it off to the side at low power, and check the venue’s rules first.
Photographing the staff or other diners. Keep your frame on your own table. If the room is busy, get lower so the background is a dark wall rather than a room full of people, and keep your kit compact.
A few habits that make this repeatable: know your fastest lens before you travel, choose the table before you order, and shoot the dish within the first two minutes so it is at its best and the table is still tidy.
Frequently Asked Questions
How do I photograph food in a dim cafe with just my phone?
Most phones are enough if you take control of the exposure. Tap the dish to focus, then drag the brightness slider up until the food reads clearly but the plate is still just short of clipping. Steady the phone against a glass or a stack of sugar packets, use the shortest timer your app offers, and take five frames from slightly different angles. Turn night mode off for the close-up of the food, and fix the warmth in the editor afterwards.
What should I do if a dim cafe has no natural light?
Treat the room’s own fixtures as your light source rather than fighting them. Sit at the table with the strongest practical light, usually a candle or a low pendant, turn the plate so the dish faces it, and use the opposite wall or a white napkin as a reflector to fill the shadow side. Keep the settings steady and let a modest warm white balance do the rest of the work.
Should I use night mode or flash when photographing cafe food?
Skip both in most cases. Night mode smooths texture and can smear anything that moved between frames, and direct flash flattens the dish, burns a hotspot into glossy sauces and makes the plate look matte. If you need more light, move the plate closer to the window or the lamp, or raise ISO and steady the camera. If you do use flash, keep it off-axis and low-powered, and check the cafe allows it.
How can I make a dark dish look brighter without making it look unnatural?
Correct it in the edit in the right order. Neutralise the white balance first, then lift shadows in small increments while watching for noise, then pull highlights back if the pendant has clipped. Add warmth with temperature rather than saturation, and keep clarity low. If a frame cannot be rescued because the capture exposure was too low, take it again with the plate turned toward the light.
What is the best way to edit warm, dim-cafe food photos?
Start with white balance and drop the temperature until the plate reads white rather than cream. From there, open shadows, pull highlights, and add warmth back deliberately rather than leaving the automatic cast. Add a small amount of texture, crop out bright corners and reflections, and check the result at thumbnail size before exporting. Shoot RAW if your phone supports it, since a JPEG has no data left to recover.
Start With One Dish and the Window
Pick one dish, one window-side table, and one stable setup. Focus on the dish, brighten it until the food reads clearly, and take a short set of frames from a few angles while the light is still steady.
Fix the white balance before anything else, lift the shadows gently, and stop. Most of the difference between a phone snapshot that looks dull and a shot worth posting comes from the light in the room, not from the edit, and you can only work with the light you chose when you sat down.