How to find dark sky parks for a weekend trip comes down to order of operations: start from the official International Dark Sky Places directory, cross-check each candidate on a light pollution map for its Bortle class, then confirm overnight access, gate hours and booking rules before you commit. Add a moon phase check and one backup site, and the whole search takes a couple of hours rather than a long weekend of second-guessing.
The reason people get this wrong is that darkness and practicality are two different problems. A certified site can be genuinely dark and still close its gate at dusk, or sit four hours of gravel road from the nearest town with no water and no signal.
I’ve planned enough of these trips to know where the friction lives, and almost none of it is in finding dark sky. It is in booking one and getting there. So this guide walks the process in order, with a test for each step so you know whether it actually worked.
Table of Contents›
- What You Need Before You Search
- Step-by-Step: Choosing, Booking and Reaching a Dark Sky Park
- Set a clear weekend goal
- Build a shortlist from credible sources
- How to find dark sky parks for a weekend trip by checking darkness
- Check the moon, weather, and observing window
- Confirm access, facilities, and current rules
- Compare travel, stays, and the full weekend cost
- Book the first-night anchor, then reserve a backup
- Arrive, verify, and protect night vision
- Common Mistakes and How to Fix Them
- Frequently Asked Questions
- Are all officially recognized dark sky parks equally dark?
- Does a full moon make a dark sky park useless for stargazing?
- Can I visit a dark sky park without paying for a tour or campsite?
- What equipment do I need to see stars during a weekend trip?
- Is a dark sky park suitable for children or a first-time stargazer?
- What should I do if clouds roll in after I arrive?
- Conclusion
What You Need Before You Search
Seven things. Collect them first and the choosing becomes mechanical instead of a scroll through travel blogs.
- The official dark sky directory. The International Dark Sky Places list, searchable by name, type and location, is the only list worth treating as a starting point. Marketing pages copy from it and drift behind it.
- A cloud and transparency forecast. Point forecasts at the actual coordinates, not the nearest town. Ten miles of elevation often means a different sky.
- A moon phase calendar with moonrise times. Phase tells you brightness, moonrise tells you when it intrudes.
- A map with offline access. Signal drops out at most of the good sites, so a dead phone and no map is a common way to end an evening early.
- Your accommodation or campsite source. The federal reservation system, a state park booking page, or a private campground. Know which one applies before you start comparing places.
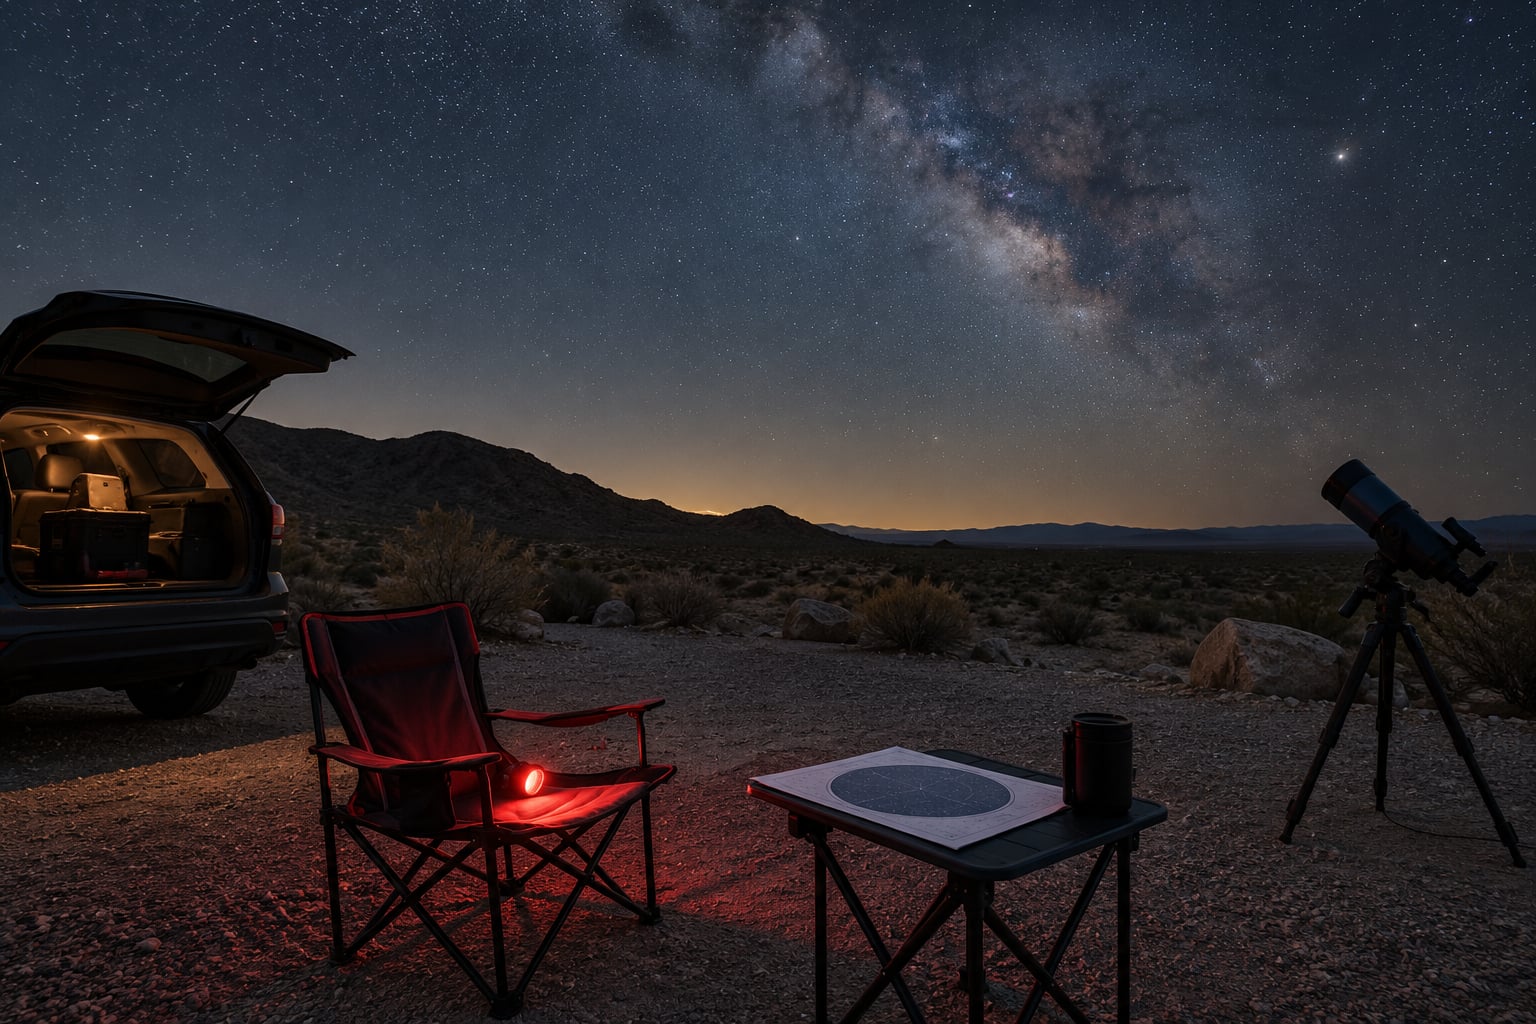
- A red-light flashlight. White light kills your dark adaptation in seconds, and rebuilding it takes 20 to 30 minutes.
- One named backup site. A second location in a different cloud and light zone, decided in advance rather than at 11pm in the dark.
If you only get two of these, take the official directory and the moon calendar. Darkness plus moon timing accounts for most of what determines how good your night goes.
Step-by-Step: Choosing, Booking and Reaching a Dark Sky Park
Set a clear weekend goal
Decide what this weekend is actually for, because the answer changes which locations qualify. The darkest sky on the map is a poor match for a family with small children if the site has a locked gate and a half-mile walk from the parking lot.
Pick one priority: the darkest possible sky, easy facilities, astrophotography, constellation tours, or a balanced nature weekend with hiking. Then name one deal-breaker. Night access, running water, an interpreter program, a short drive from a town with dinner.
Success condition: you can say the priority and the deal-breaker in one sentence each. If you can’t, you’ll keep being tempted by places that fit everything except the thing you actually care about.
Build a shortlist from credible sources
Search the official International Dark Sky Places program for your region, then read the entry for each candidate rather than skimming the name. Designation types carry different meanings. An International Dark Sky Park or Reserve is a protected area with dark-sky programming and responsible lighting. A Community designation covers a town that has adopted lighting ordinances, which is useful for staying nearby but says less about a specific field. A Sanctuary is typically the most remote and least developed.
Stargazing forums are the better source for the practical half of the question. Recurring threads on r/darksky and r/Stargazing ask the same two things: does this place allow overnight access, and how do you book it. Real trip reports tell you which campsites have flush toilets and which have none, and which ones the ranger actually checks at dusk.
Success condition: five to eight candidates, each with its designation type confirmed on the current official source and its managing agency named. Where a park has had recent development nearby, forum threads mentioning new lighting are worth a lot, because maps lag reality by years.
How to find dark sky parks for a weekend trip by checking darkness
Now measure the candidates instead of trusting their descriptions. A light pollution map gives you the Bortle class, roughly 1 through 9, where class 1 is pristine darkness and class 9 is inner city. Bortle 1 to 3 gives you the Milky Way core as a visible band; class 4 and up starts hiding it.
Open a dark site finder map and drop a pin on each candidate. Look at three things the class number doesn’t tell you: what surrounds the site, whether a town sits in the same valley, and how the terrain channels light.
Look at the horizon, not the zenith. Sky glow from a town 25 miles away can wash out the low sky where your horizon sits while the overhead sky still looks black. Sites in deep valleys are often worse than sites on open plateau for this reason, because the valley wall catches the glow and bounces it back up.
Darker is not automatically more practical. A Bortle 2 site reached by a rutted forest road, with no cell coverage and a gate that locks at 10pm, is a worse weekend than a Bortle 3 site you can drive away from in twenty minutes. Write the access difficulty next to the class number for every candidate so you are comparing both at once.
Success condition: every candidate has a class number or sky quality reading, plus a short note on access road, terrain and nearest settlement.
Check the moon, weather, and observing window
Pull moon phase and moonrise for both nights. Around a full moon, a bright sky at a Bortle 3 site can be worse than a suburban Bortle 6 sky with the moon down, because faint objects are the ones the moon kills first.
Two rules cover most cases. If you can pick your weekend, aim for the window from a few days before new moon through a few days after, which gives you a long run of dark nights. If you cannot, plan to observe after moonrise and lean on targets that hold up in moderate light: the Moon itself, the planets, and a handful of bright clusters and double stars.
Then check cloud patterns rather than a single day’s forecast. Coastal and mountain sites that look clear at 48 hours often develop cloud or fog after dark, and a valley site can hold mist all night. Look for the hours between dusk and 2am specifically, since that is when you will actually be outside.
Success condition: you know the moonrise time for each night, and you have a decision rule for the worst forecast night. Success here means having decided, not hoping.
No forecast is a guarantee. Build the trip so a cloudy Saturday evening costs you one night, not the weekend. That comes down to how you sequence the bookings.
Confirm access, facilities, and current rules
This is where promising trips die. Confirm the operating hours, whether the gate or entrance closes after sunset, whether you need a permit or backcountry registration, and where you are allowed to park after dark.
Many excellent dark sky parks are day-use only. Others close their gates to vehicle entry at dusk while still allowing people already inside to stay, which is a very different trip and one you need to know in advance.
On facilities, get specific answers to four questions: is there running water, is there a flush toilet or a vault toilet, is there any cell coverage, and is there a store or a restaurant nearby. People on forums are unambiguous about this. A site described as remote usually means no water, no restroom and a long drive back for gas.
Check whether the darkness comes from the park’s own lighting rules or from a wider protected landscape. Both can be excellent, but a community designation covering a town tells you about the town’s street lighting, not necessarily about the field where you’ll set up.
Success condition: overnight access, hours, permits, parking and restroom type confirmed on the managing agency’s own page, not on a third-party blog.
Compare travel, stays, and the full weekend cost
Build a simple comparison for your shortlisted sites, and treat the travel column as seriously as the darkness column.
| What to compare | Why it changes the trip |
|---|---|
| Drive time from home or nearest hub | Avoid anything over about three hours each way for a two-night trip |
| Nearest airport or rail hub | Sets your arrival window and whether a rental car is needed |
| Public transport options | Rural dark sky sites rarely have any; plan for a rental car or a shuttle |
| Accommodation type | Campground, cabins, inn or nearby town change gear, comfort and departure times |
| Booking lead time | Popular sites on new moon weekends often fill six months ahead |
| Entrance or permit fees | Small, but they apply per vehicle per night and some sites are fee-free |
| Food and supplies | The real cost of a remote site is the extra driving for groceries and gas |
Distance also determines how forgiving the trip can be. A site 45 minutes away can be salvaged by driving home and returning the next evening. A site six hours away means one bad night ends the weekend.
Success condition: a written comparison with drive time, transport hub, accommodation type and booking lead time for each candidate, plus an honest note on added cost.
Book the first-night anchor, then reserve a backup
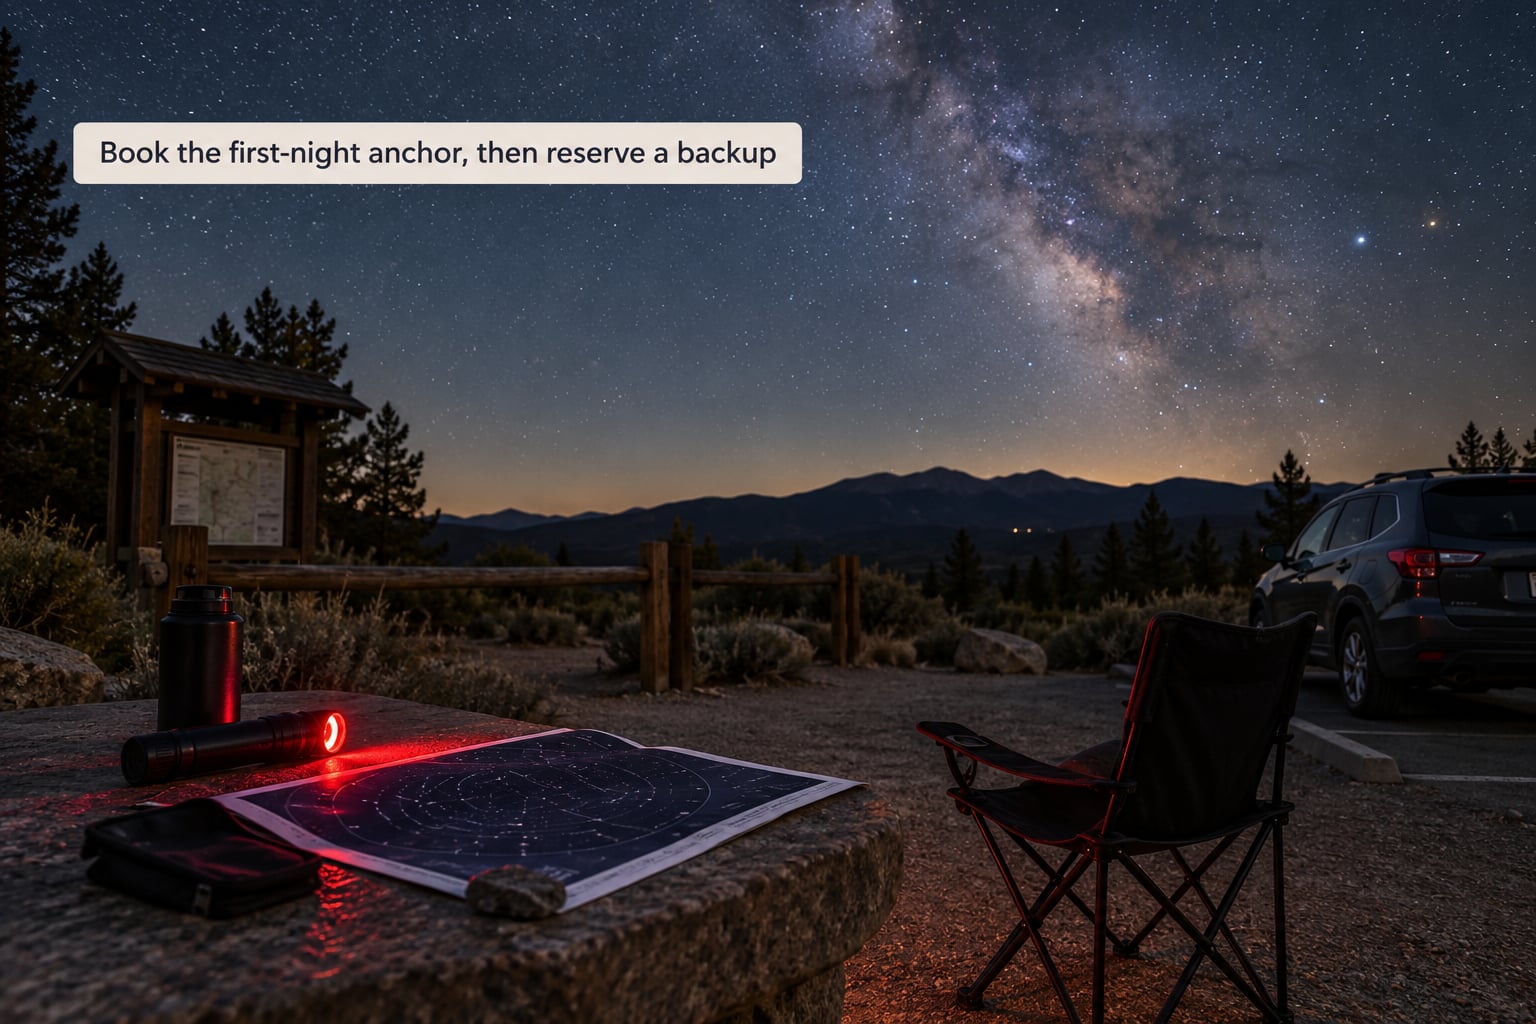
Book the lodging or the primary observing site first, because everything else hangs off it. Secure the night you’ll arrive, not the night you’d rather have, in case the drive runs long.
Then reserve one realistic backup. The useful backup is not another site twenty minutes away, since two nearby sites usually share the same weather. Pick one in a different cloud zone or a different light dome, far enough that it stays clear when the first is fogged in.
Reservation systems vary more than most guides admit. Federal sites typically run on one system with a rolling window, state parks often use their own state-specific portal, tribal and national monument sites may use a third-party vendor, and some remote areas are first-come-first-served with no booking at all. Know which system each of your two sites uses before you need it.
Success condition: primary site booked and confirmed, backup site identified with a different forecast profile, and both booking systems noted.
Arrive, verify, and protect night vision
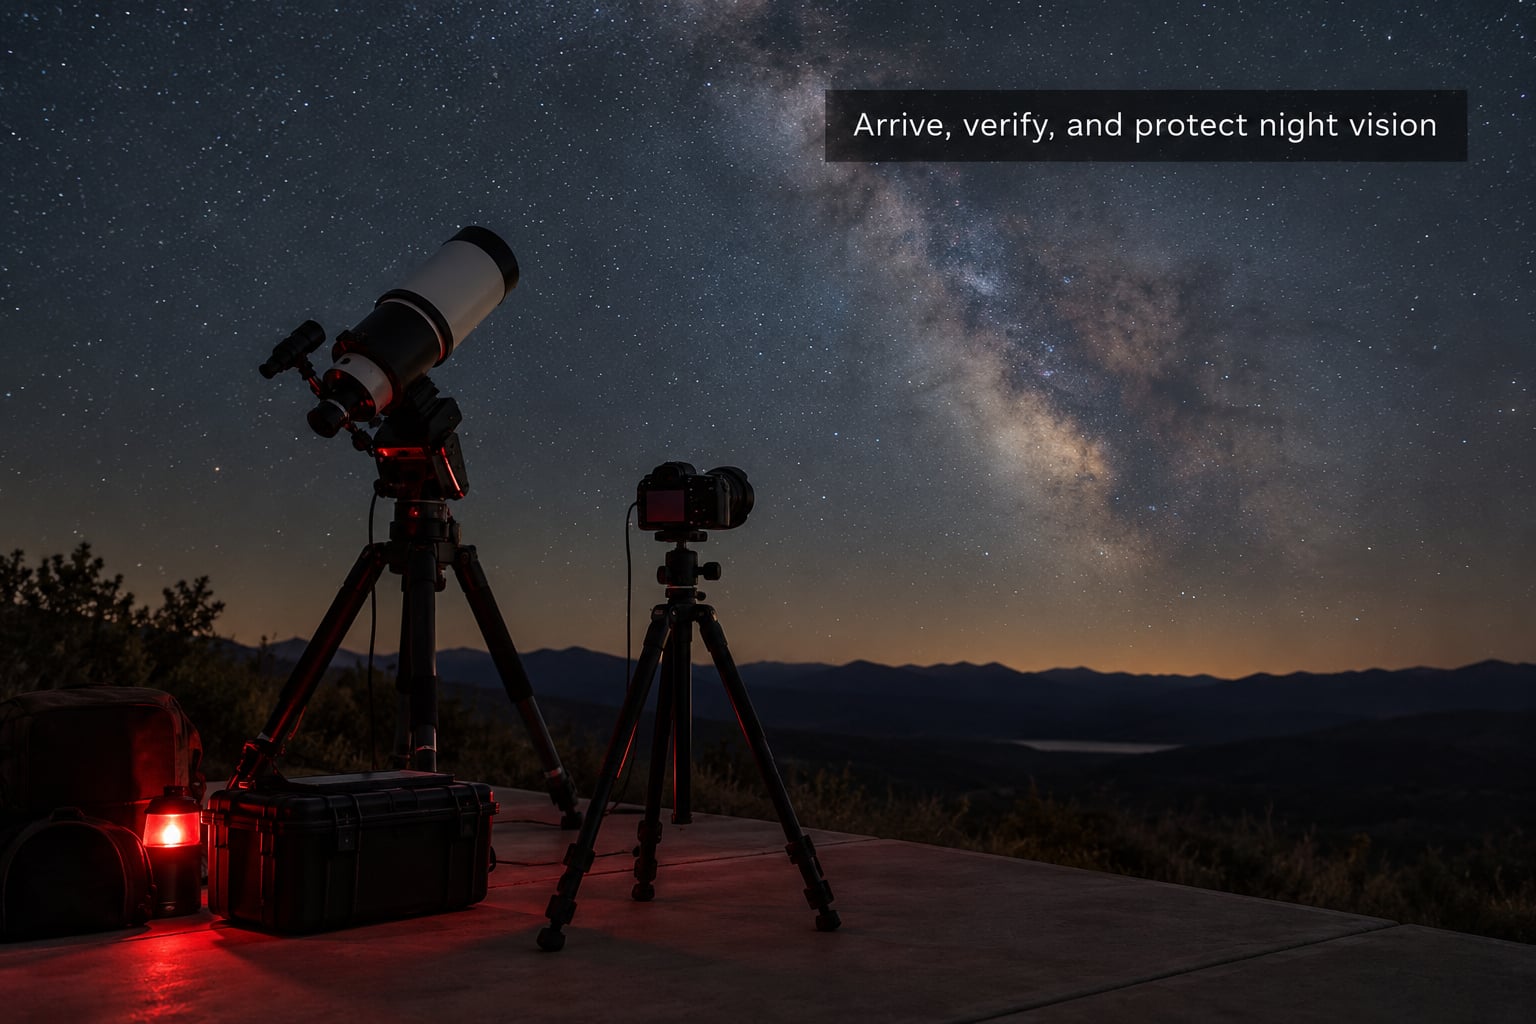
Aim to be parked and set up before astronomical twilight ends. Walking into a site in the dark wastes the first half hour of your best viewing time on headlights, doors and gear.
On arrival, confirm the gate situation and where you can actually park overnight. Walk the horizon in daylight so you know where the tree line and any distant town sit. Choose a spot away from the access road, because headlights ruin night vision for everyone within a surprising distance.
Once it’s dark, dim screens to their lowest setting before you look up, keep the red light on rather than your phone, and give your eyes twenty minutes before you judge what is visible. Condensation is the quiet enemy at desert sites in the hours after midnight, so keep optics closed when you are not using them and let equipment acclimatise slowly.
Then leave the site as you found it. Drive slowly on unlit roads, watch for wildlife crossing, and pack out everything including the packaging from your food. Dark sky areas are protected precisely because people treat them carefully.
Success condition: set up before dark, screens dim, red light in hand, and a slow drive out.
Common Mistakes and How to Fix Them
Treating a designation as a guarantee of darkness. A certification describes lighting management and programming at a place, not the current sky on a given night. Fix: always confirm with a light pollution map, and check satellite imagery and recent forum posts for development nearby.
Reading the map pin and nothing else. A dark pin can sit twenty minutes from a brightly lit highway, a stadium or a quarry with floodlights. Fix: zoom out and inspect the surroundings of every candidate before you shortlist it.
Ignoring the moon entirely. Planning a family weekend’s only clear night around a full moon is a common and avoidable disappointment. Fix: check moonrise for both nights before booking, and aim for the days around new moon when you can.
Assuming roads, gates and facilities are open. Seasonal closures, gate hours after dusk, and dry toilets that only flush in summer surprise people regularly. Fix: read the current conditions page of the managing agency on the day you leave, not a cached blog post.
Booking late for remote places. A small campground with six sites on a popular new moon weekend can be gone for months, and finding out late means losing the whole weekend. Fix: book the anchor site first, and if everything is booked, shift the weekend rather than the site.
Arriving with white light and unprotected gear. Checking a phone screen at full brightness ruins the adaptation you spent half an hour building. Fix: red light, dimmed screens, lens caps on until you are ready.
Two smaller habits pay off well. Keep a paper or downloaded chart, because a red screen still shows you a rectangle of light, and binoculars beat a telescope for a first trip because they show you a wide swath of sky at once. For more on planning trips around nature rather than sightseeing, our outdoor escape guides cover the slower side of a weekend away.
Frequently Asked Questions
Are all officially recognized dark sky parks equally dark?
No. A designation reflects lighting management, programming and community commitment, not a single brightness measurement. Sites inside the same program can differ by several Bortle classes depending on terrain, nearby settlements and recent development. Always check a light pollution map for the specific coordinates, and look at the horizon rather than the zenith, since valley sites can catch sky glow from towns miles away.
Does a full moon make a dark sky park useless for stargazing?
It reduces it, but rarely to nothing. A bright moon washes out faint deep sky objects first, so galaxies and dim nebulae suffer most. The Moon itself, the planets, bright star clusters and several double stars remain easy to see, and binocular observing stays productive. If your dates are fixed, plan to observe after moonrise rather than treating the trip as a write-off.
Can I visit a dark sky park without paying for a tour or campsite?
Often yes. Many dark sky parks and monuments are free to enter during daytime hours and remain open after dark for visitors who arrive before dusk, so self-guided stargazing costs nothing beyond getting there. What usually costs money is accommodation, campsite reservations and entrance or permit fees. Check the managing agency’s rules for gate closing times, since some sites lock vehicle entry at dusk even when the grounds stay open.
What equipment do I need to see stars during a weekend trip?
Very little. Warm layers, a red-light flashlight, water and a downloaded sky map cover most first trips, and the naked eye shows more at a dark site than most beginners expect. Binoculars widen the view and are worth packing, while a telescope adds real value mainly for planets and the Moon on a short visit. The gear that matters most is a plan for dark adaptation and a clear view of the horizon.
Is a dark sky park suitable for children or a first-time stargazer?
Yes, with the right site. Look for places with short walks from parking, vault or flush toilets, flat ground for lying back, and ranger-led programs that run on weekend evenings. A site that is officially dark but a hard drive on an unlit road after dark will lose you a tired child. Many communities also host star parties with telescopes set up for public viewing.
What should I do if clouds roll in after I arrive?
Shift your plan instead of the trip. Moonrise and cloud timing often rearrange which night is best, so watch the forecast for your second night before writing it off. In the meantime, visit the visitor center, check out any interpretive programs, and scout horizons for the following evening. A dark site in daylight still teaches you where you will set up, which makes the clear night much more efficient.
Conclusion
The way to find dark sky parks for a weekend trip comes down to an order of decisions, and the order matters more than the destination. Decide your priority, shortlist five to eight places from the official directory, measure each one on a light pollution map, then filter by overnight access, gate hours, facilities and drive time before you look at the moon.
Start with the simple version of that today: pick your priority, shortlist two credible locations, and compare the current moon, cloud, access and booking conditions for both. Whichever one survives all four checks is the one worth booking now, and the second becomes your backup for the night the clouds move in.