Blisters on a long walking day are almost always friction, moisture and heat working together, so you prevent them by fixing the rubbing and the damp before you lace up. Break the routine into four stages: test your footwear and socks indoors, cut friction and keep skin dry, protect the spots that always break first, then stop and check your feet at every break. Ten minutes of prep buys you a day of walking without the painful limp at mile four.
Most people lose the fight at mile three or four, when a warm spot turns tender and they keep walking through it. That early warning is your cue to act, not to push on. Here is what to pack, the order to do things in, and the mistakes worth leaving behind.
Table of Contents›
- What You Need to Prevent Blisters on a Long Walking Day
- Step-by-Step
- How to Test Shoes and Socks Before a Long Walk
- Reduce Friction and Keep Feet Dry
- Protect High-Risk Areas from the Start
- Check Your Feet and Adjust Early
- Common Mistakes
- Frequently Asked Questions
- Can I prevent blisters on a long walk without special hiking gear?
- Are cotton socks bad for preventing blisters on a walking day?
- When should I use blister-prevention tape or lubricant?
- What should I do if a blister starts forming during a long walk?
- How often should I check my feet on a long walk?
- When do blisters require medical attention?
- Conclusion
What You Need to Prevent Blisters on a Long Walking Day
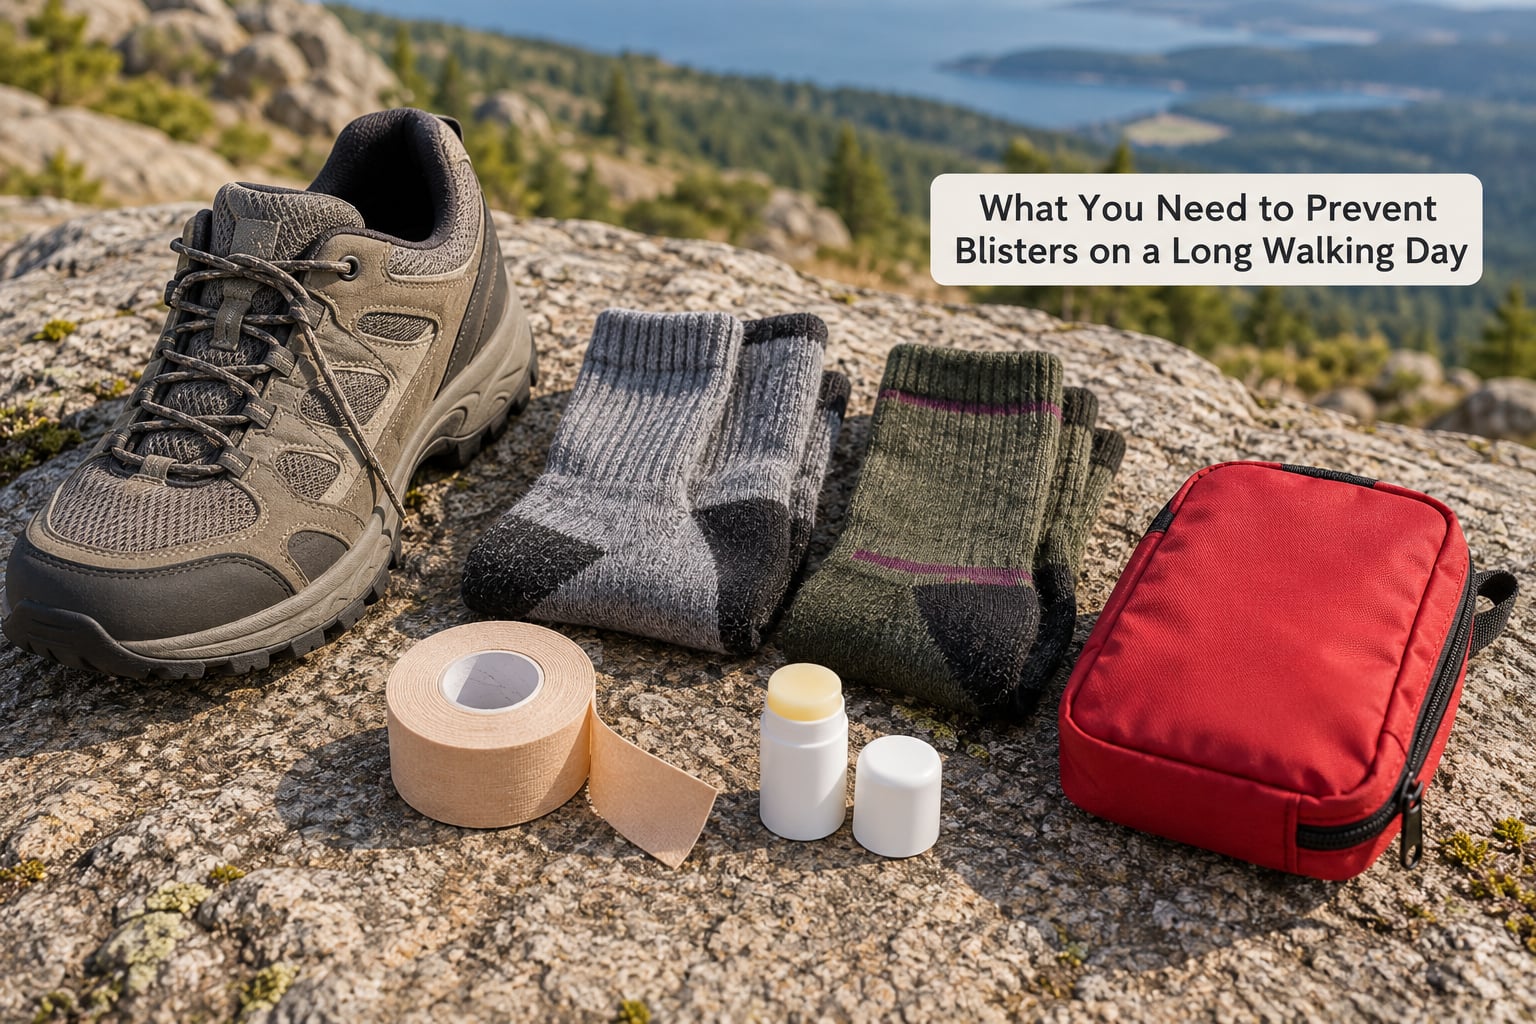
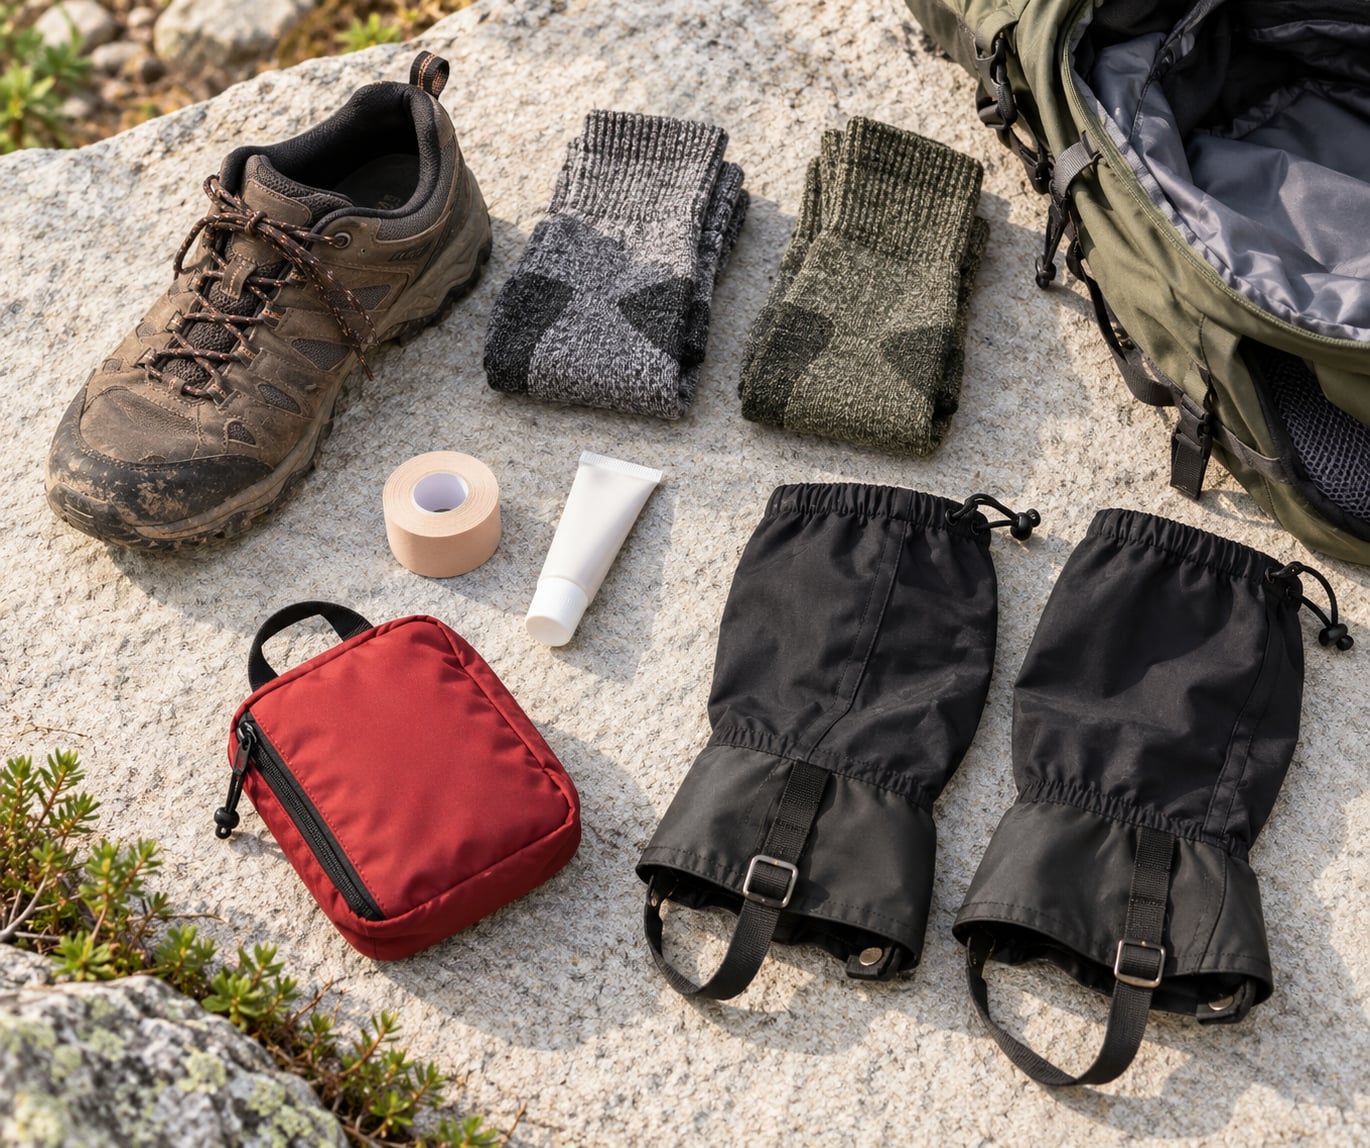
Blister prevention depends far more on fit and moisture control than on any single product. Five things cover almost every case, and three of them you probably already own.
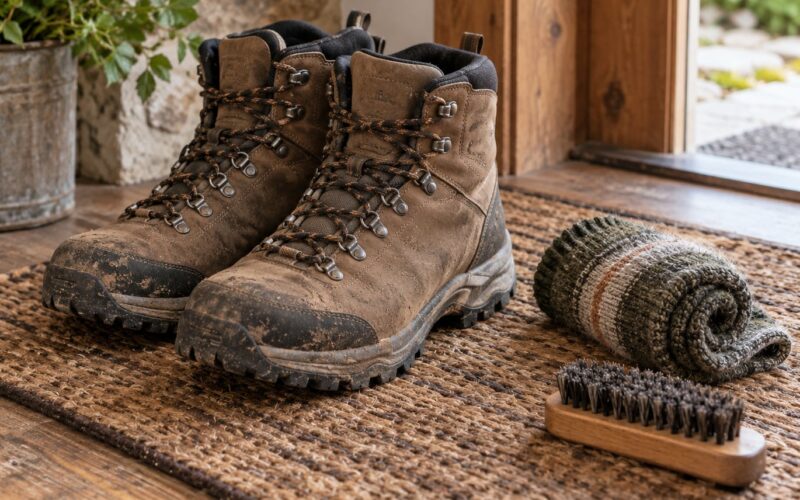
- Footwear that fits the route. A shoe you have already walked in, with roughly a thumb’s width of space ahead of your longest toe. Trail shoes suit firm, even ground; boots with ankle support suit loose or rocky terrain, but they need more break-in before a long day.
- Socks that manage sweat. A thin liner sock under a merino or synthetic outer sock is the classic long-walk setup. Merino wool keeps working when damp, synthetic dries faster, and cotton is the one to leave in the drawer.
- Tape, a blister plaster or a lubricant. Sports tape or a purpose-made blister tape goes on intact skin before a hotspot forms. Lubricant reduces the rubbing itself. Many walkers carry both.
- A compact first-aid pouch. Antiseptic wipes, a sterile needle or blade you can sterilise, hydrocolloid dressings, a small tube of antiseptic cream and assorted plasters. Small, but it stays in the pack all day.
- A dry backup pair of socks. Soggy socks keep skin wet and continue the friction. One spare pair in a sealed bag is the cheapest fix in the kit.
If you have none of the specialist items, ordinary sports tape, a lip balm-style lubricant and a clean cotton sock will get you a long way.
Step-by-Step
How to Test Shoes and Socks Before a Long Walk
Wear the shoes and socks you intend to use indoors for twenty minutes, walking on carpet and a hard floor rather than standing still. Stand and flex your toes, then walk up and down a stair a few times.
Check four things: space in front of your longest toe, heel movement inside the shoe, pressure at the widest part of your forefoot, and any spot that feels warm or slightly tender by the end. Success looks like no point of the foot being singled out. Success does not mean zero sensation, it means no single hot spot.
Socks matter as much as shoes here. A sock bunching under the arch or a thick seam across the toe box creates a ridge the foot slides back and forth against. Look for flat seams, a heel cuff that sits above the collar of the shoe, and a cuff that does not slide down. Wear toe socks if you get blisters between your toes, though they take a few days to get used to.
If shoes pinch or rub on the first walk, fix that before the long day rather than hoping they soften. Leather insoles can be swapped, laces re-tied, or the pair retired to shorter walks.
Reduce Friction and Keep Feet Dry
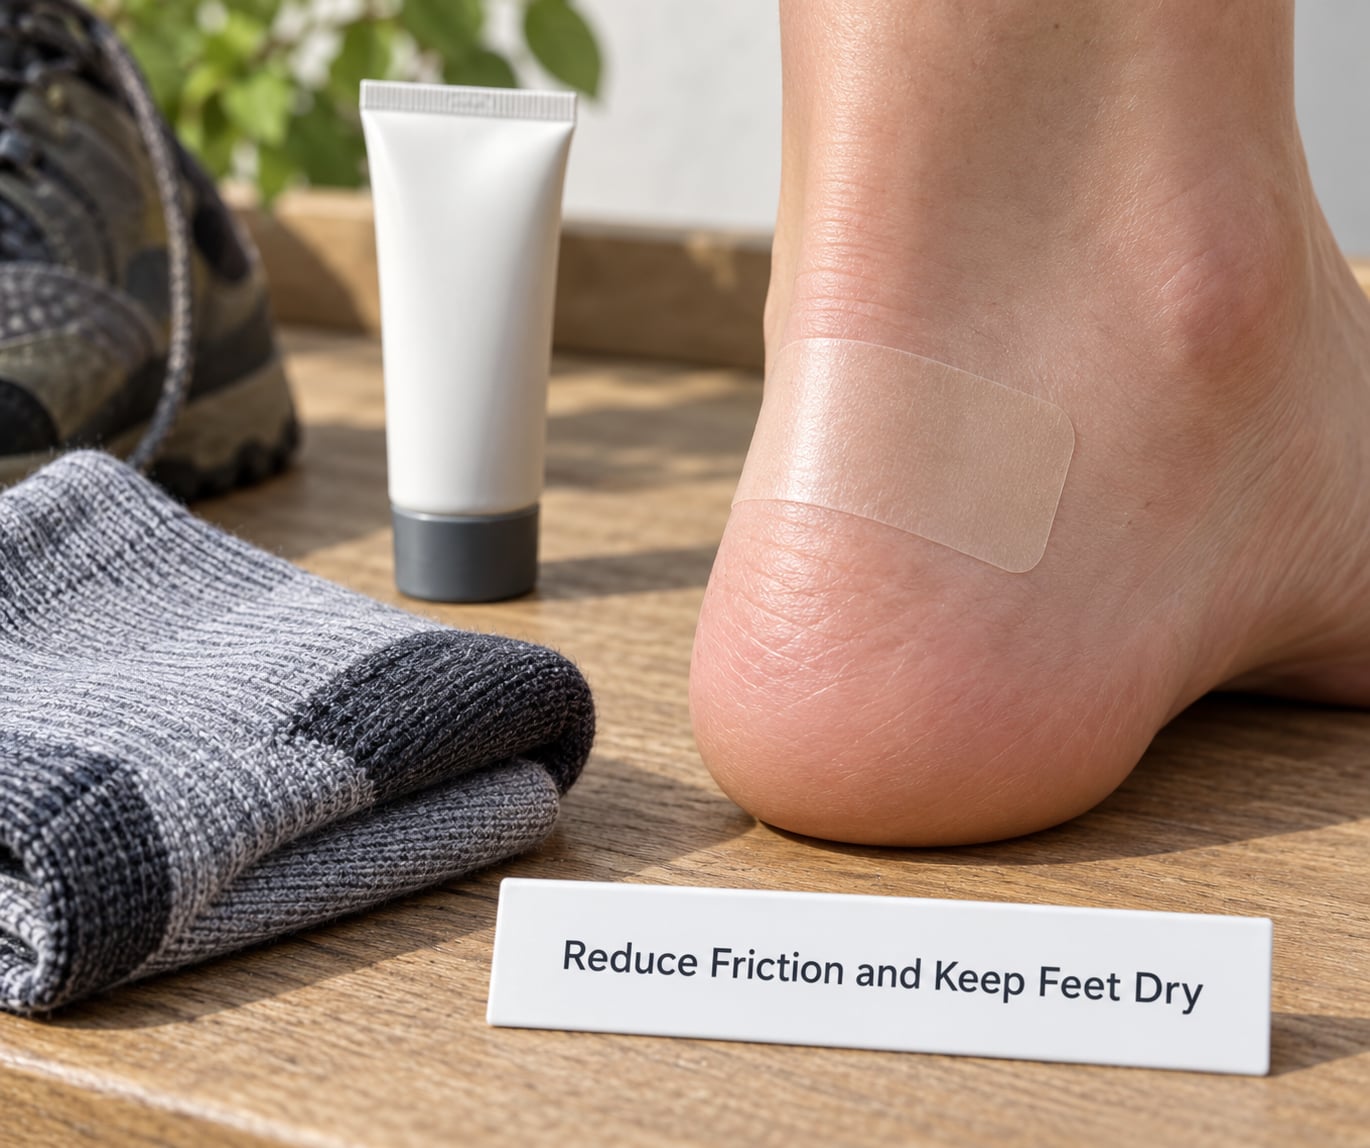
Lubricant goes on clean, completely dry skin before you start. A thin layer of petroleum jelly, a walking balm or an anti-chafe gel across the heel, the base of the toes and the side of the big toe removes the greasy surface that skin needs in order to grip and stay put. Apply it, then leave it alone. Reapply at breaks if the area has sweated through again.
Where a hotspot always appears, tape it before the walk rather than after it hurts. Sports tape or blister tape applied in a strip along the direction of movement, or in a fan across the heel, keeps skin from sliding over itself. Taping healthy skin is the point. Putting tape over an open blister traps fluid and spreads it, which makes the situation worse.
Sweat is what turns friction into blisters, because wet skin loses grip and rubs harder. Merino or synthetic socks pull moisture away from the skin and dry more slowly but steadily; a liner sock under a thicker outer sock lets moisture sit in the outer layer and keeps the skin itself drier. Cotton is the opposite of what you want, holding water against the foot and staying wet for hours.
Use your breaks. Take the socks off, let the feet air for a minute, wipe them dry and put on the backup pair. A short pair of gaiters keeps grit, sand and gravel out of the shoe, which matters more on dry dusty trails than most people expect.
Protect High-Risk Areas from the Start
Almost every walker has a favourite three places where blisters appear. The back of the heel as the foot lifts and lands, the base of the toes where the forefoot flexes in the shoe, and the inner side of the big toe where it rubs against the other toes. Pinky toes and the outside of the little toe join the list for narrow feet or narrow shoes.
Find them before you walk. Stand on paper in your socks, or look at your feet in good light, and mark the places that are already pink, thickened or slightly tender. Apply lubricant there, or tape them, and put a piece of soft lambs wool or lint-free padding in the shoe under the spot. Protective padding buys you the only currency that matters on a long day: kilometres without a repeat hotspot.
Trim your toenails before the walk, straight across, and not too short. A nail edge digging into the skin is an invitation to a blood blister. Do the same the night before, not on the morning of, so any small nick has time to settle.
Moisturise dry, rough skin on your heels and soles in the evening, not right before you leave. A heavy cream applied an hour before the walk is a greasy surface that guarantees rubbing.
Check Your Feet and Adjust Early
Stop at every real break and take your socks off. Ten seconds of looking saves the rest of the day.
Four signals tell you a blister is on the way: an area that feels warm compared with the rest of the foot, tenderness where there was none before, patchy redness, and a small bubble of fluid under the skin.
When you spot one, stop the rubbing first. If your heel is the problem, re-lace or add a heel lock so the shoe holds your heel without letting it lift. If the forefoot is the problem, loosen across the top so the toes are not pushing into the upper. If it is a moisture problem, change the socks and dry the skin.
Then protect the area. A hotspot that is still intact takes lubricant or tape well, and often settles within minutes. A blister that has already formed is a different job, and a podiatrist or pharmacist can tell you how to drain or dress yours properly. Do not dig at it with whatever is in your pocket.
Common Mistakes
Starting a long day in new shoes. This is the single biggest cause of blisters and the easiest one to avoid. New footwear should be worn for short walks over several weeks first, with the socks you will actually use.
Wearing cotton socks. Cotton absorbs sweat, dries slowly and keeps the skin damp and mobile, so the rubbing continues all day. Merino wool or synthetic is a two-second swap at the shop and it works.
Applying lubricant or tape to damp or broken skin. Lotion on the feet just before a walk makes them slippery and increases rubbing. Taping an open blister traps moisture and spreads it. Dry skin first, products second.
Ignoring a warm spot. A hotspot is a warning with a short window. Stop, dry the foot, adjust the shoe, change the socks or protect the spot. Walking another hour turns a ten-second fix into a week of recovery.
Pushing through worsening pain. Blisters change how you walk. You compensate with your gait, and the change loads a different part of the foot, which is how one blister becomes three.
A few final tips that cost nothing. Build your distance up gradually rather than jumping from four miles to fifteen. Wash and fully dry your socks after every long walk, since detergent residue and damp fabric both raise friction. Keep your toenails trimmed the week before, not the night before. And put your socks on before your shoes rather than after, which is a habit worth building.
Frequently Asked Questions
Can I prevent blisters on a long walk without special hiking gear?
Yes. Most prevention is free: test your shoes indoors, wear moisture-managing socks instead of cotton, keep your toenails trimmed, and stop at every break to check for warmth or redness. If you want one cheap addition, a small roll of sports tape and a tube of walking lubricant cover the two spots where blisters usually start, the heel and the base of the toes.
Are cotton socks bad for preventing blisters on a walking day?
Cotton holds sweat against the skin and dries slowly, so damp fabric keeps sliding against your foot for hours. That steady warm moisture and movement is what turns ordinary rubbing into a blister. Merino wool or synthetic socks move moisture away from the skin and recover better when damp, which is why they are the default choice for long days on foot.
When should I use blister-prevention tape or lubricant?
Use either on clean, completely dry skin before you start, on the parts of the foot that always break first: the back of the heel, the base of the toes and the inner side of the big toe. Taping healthy skin is the point, because it stops skin layers sliding against each other. Neither belongs on an open blister or on damp skin, where it traps moisture and makes things worse.
What should I do if a blister starts forming during a long walk?
Stop at the next safe place and take your socks off. Dry the foot, then deal with the cause: re-lace or loosen the shoe if it is pinching, or change into dry socks if sweat is the issue. An intact hotspot can be protected with tape, lubricant or a purpose-made dressing. For a blister that has already formed, get advice from a pharmacist or podiatrist rather than draining it yourself.
How often should I check my feet on a long walk?
Every real break, and every time you stop for more than a few minutes. Take the socks off, look at the heel, the base of the toes and the big toe joint, and press gently to find tenderness. Ten seconds is enough. Checking every thirty minutes on the trail keeps you ahead of the problem, and checking once at lunch is how people end up walking the last hour badly.
When do blisters require medical attention?
Seek advice from a doctor or podiatrist if redness spreads, the area becomes hot, swollen or increasingly painful, pus appears, or red streaks run from the blister. Do the same if the blister is very large, deep, filled with blood, or caused by diabetes, poor circulation or a condition that affects sensation, because infection risk is much higher. General blister care advice does not replace a diagnosis.
Conclusion
Test your footwear and socks indoors, protect the heel, the base of the toes and the big toe joint before you leave, keep the skin dry with wool or synthetic socks, and carry a spare pair. Then check your feet at every break instead of waiting for pain to build. That is the whole routine, and it works because it removes friction and moisture before either can open a blister.
If a blister forms anyway, stop rubbing, dry the foot and protect the spot. See a doctor or podiatrist for spreading redness, pus, red streaks, severe or worsening pain, a large or blood-filled blister, or any blister on a foot affected by diabetes, poor circulation or reduced sensation. Those are not cases to manage on a hillside.