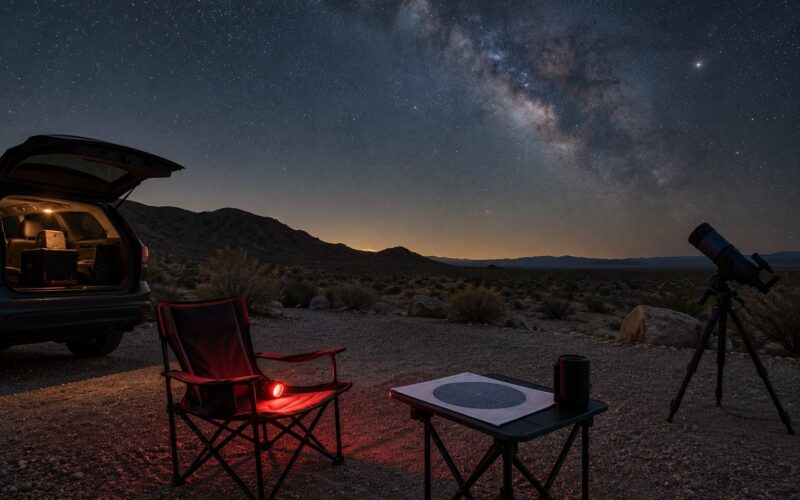
Learning how to plan a stargazing trip for beginners comes down to three decisions: when you go, how far you drive, and what you carry. Pick a night near the new moon, confirm low cloud on an astronomy forecast, choose a dark site you can reach in under 45 minutes, and arrive 30 to 60 minutes before full dark. Most first outings take two to three hours once everyone has settled, and none of the gear needs to be expensive.
I say this because the number of people who quit stargazing is not small, and almost all of them quit for the same boring reason: they planned around the destination and forgot about the sky. A fantastic dark site under a full moon in July is a wasted evening. The Milky Way from a car park 20 minutes from home in September is the opposite.
This guide covers the whole trip, start to finish, for people who have never observed away from city lights. It works just as well for a family with curious kids as it does for a solo traveller with a car and a free evening.
Table of Contents›
- What You Need
- Step-by-Step: How to Plan a Stargazing Trip for Beginners
- 1. Decide What Kind of Stargazing Experience You Want
- 2. Choose a Dark Location with Easy Access
- 3. Check the Weather, Moon and Sky Conditions
- 4. Build a Simple Equipment Kit
- 5. Plan the Timing and Night Itinerary
- 6. Arrive Early and Protect Your Night Vision
- 7. End the Trip Safely and Record What You Saw
- Common Mistakes
- Frequently Asked Questions
- How dark does the sky need to be for good stargazing?
- Do I need a telescope to start stargazing?
- What is the best moon phase for a beginner’s first trip?
- What should I bring for a night of stargazing?
- What do I do if clouds ruin my stargazing trip?
- Is stargazing suitable for families and solo travellers?
- Conclusion
What You Need
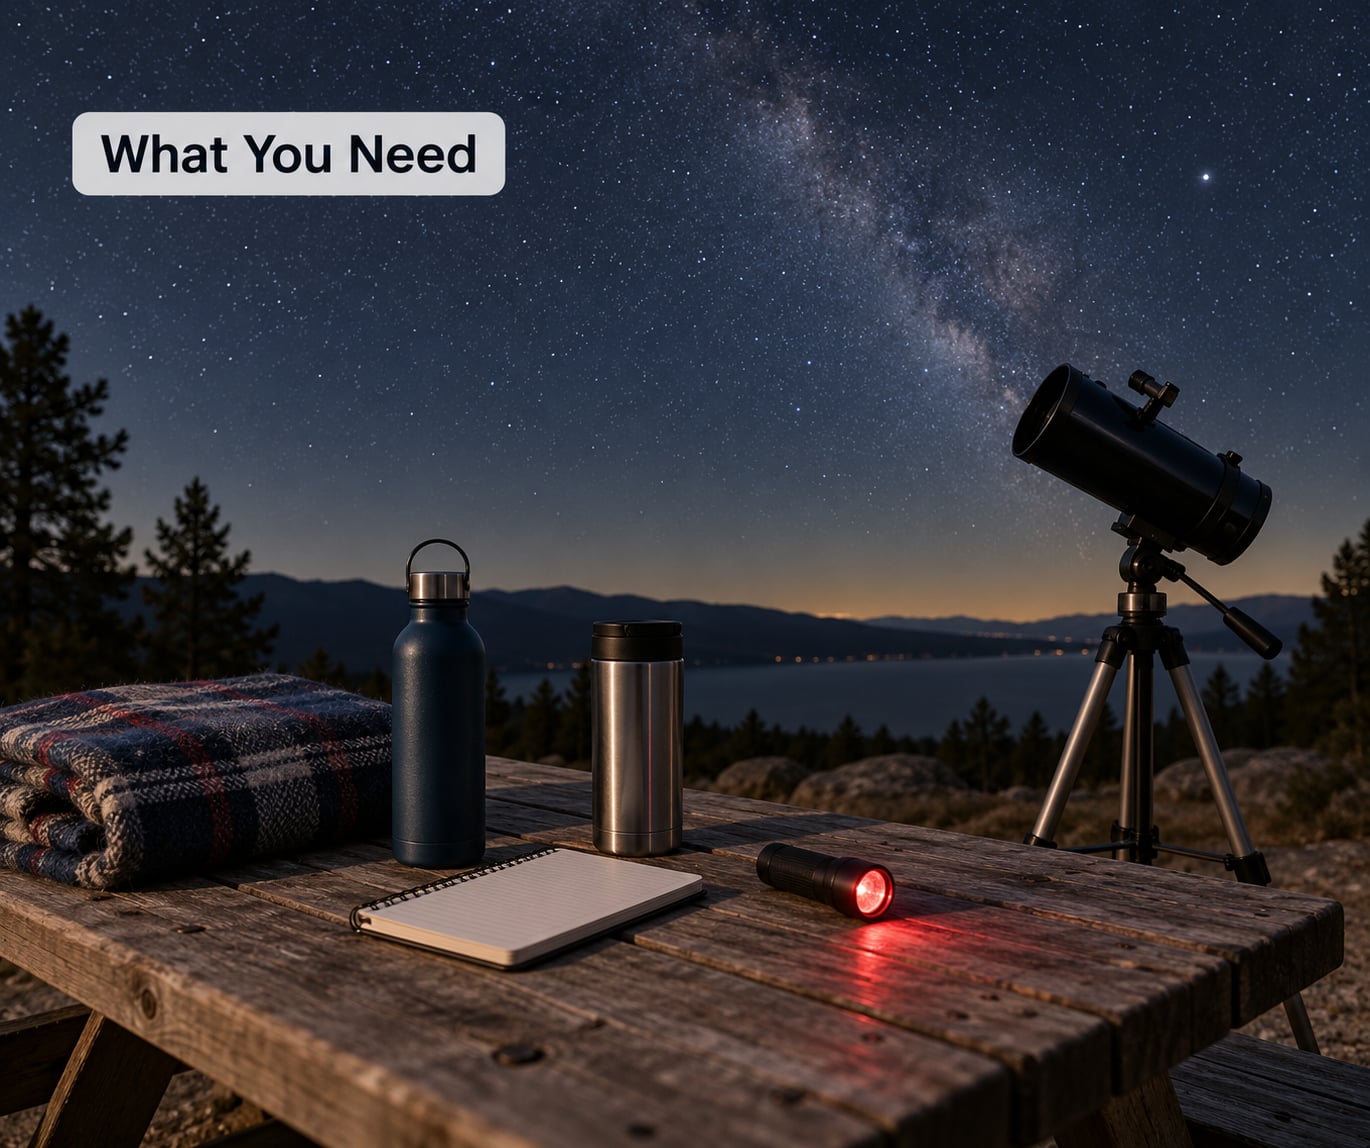
Beginners imagine stargazing means buying a telescope. It does not. Everything you need for a first trip is already in your house or costs very little.
- A reachable dark site. A Bortle 4 or 5 location within a 45-minute drive is genuinely good. You do not need a wilderness campsite.
- Weather and moon information. An hourly cloud forecast plus an astronomy forecast that rates transparency and wind, and a moon phase calendar.
- Warm layers. Even on mild summer nights you will be sitting still for two hours, and sitting still gets cold fast.
- A red-light torch or headlamp. White light destroys your dark adaptation; red light barely touches it.
- Something to sit on. A reclining camp chair is the single biggest comfort upgrade. A thick blanket on the ground works too.
- Transport and a route home. Including how you will drive back at 2am without tired eyes.
- Water, food and a phone. Charge it fully, download offline maps, and keep a snack for the 1am dip.
- A plan someone else knows about. Your destination, expected return time, and a check-in time.
What you can skip: a telescope, a camera, a star chart book, and any dedicated astronomy software. Binoculars are a nice addition, and I will explain them in step 4, but a clear night and a naked eye already show thousands of stars.
Step-by-Step: How to Plan a Stargazing Trip for Beginners
Work through these in order. The order matters, because each step depends on the one before it.
1. Decide What Kind of Stargazing Experience You Want
There are five different trips hiding inside the phrase “go stargazing”, and each one has different timing, weather tolerance and gear needs.
Casual naked-eye viewing needs nothing but a dark sky. Sit back, look up, learn a handful of shapes. You can do this in a 90-minute window any time the sky is clear.
Constellation spotting is the best first goal for beginners. It teaches you the sky’s geography, it needs no optics, and it works even in moderately hazy conditions. My own first trip was two hours of trying to find Orion and failing, then finding it by accident twenty minutes later.
Planet viewing is less predictable. Planets are only visible in specific windows, and they need a sky free of haze near the horizon to look their best.
Meteor shower trips are event-driven: you go on the peak date or you do not go. You need a dark moon, patience, and a reclining chair because you will be looking up for hours.
Photography trips are a different activity entirely, with a tripod, a camera, and settings you learn separately. Keep it off the table for trip one.
A good first target: constellation spotting, two hours, within 45 minutes of home. Set the expectation that you will spend the first half hour being confused.
2. Choose a Dark Location with Easy Access
Darkness matters more than distance. A Bortle 4 site 30 minutes away will show you more than a Bortle 6 site three hours away.
The Bortle dark-sky scale runs from 1 (perfectly dark, airglow visible) to 9 (inner city). For a beginner, aim for 4 or darker. At Bortle 4 to 5 you can see the Milky Way structure, the Pleiades and the Hyades without any aid, and around 2,000 to 3,000 stars with the naked eye.
Use lightpollutionmap.info or your local equivalent to check a candidate site before you commit. Look for several Bortle 4 patches near you rather than one perfect one, so weather cancellation never costs you the whole month.
Then check the practical things:
- Sightlines. Trees and buildings on the horizon block low objects. A field or open shoreline beats a car park between two hedgerows.
- Access. Some dark sites are private land, closed after dusk, or gated at certain times. Check local rules before you set off.
- Walking difficulty. A site that needs a 20-minute walk across rough ground in the dark is a bad first trip.
- Parking. Make sure you can park without pointing headlights across the field at other observers.
- Cell coverage. Some remote sites have no signal at all. Download offline maps anyway.
A remote dark-sky site and a suburban park are not interchangeable. A suburban park will be convenient and safe, and it will show you the Moon, planets and a handful of bright stars. That is fine for a first evening to test whether your family enjoys it. It is not fine if you want the Milky Way. Be honest about which one you are booking.
3. Check the Weather, Moon and Sky Conditions
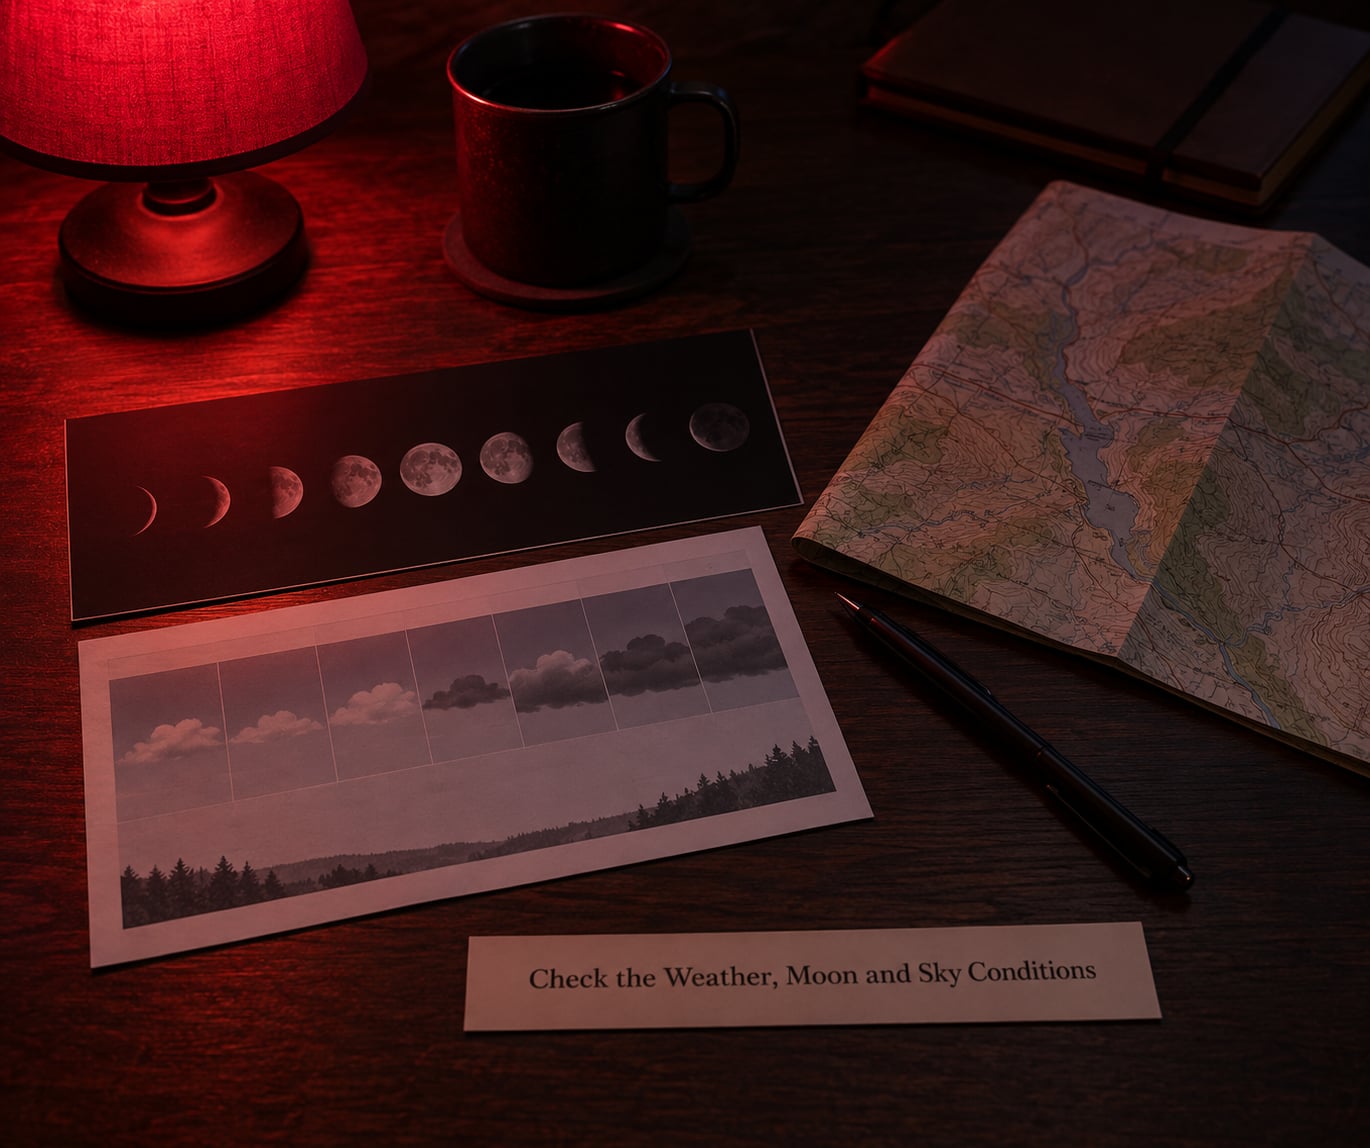
Cloud cover is the first filter and it is a hard filter. Ordinary weather apps show a daily icon that hides everything; you need the hourly percentage of cloud for the exact hours you will be out.
Astronomy forecasts such as Clear Outside give you the extra numbers that matter: astronomical seeing, atmospheric transparency, wind speed at altitude, and dew risk. Beginners often find them confusing, which is why it helps to know which two to trust. Transparency and wind are the pair beginners should care about. Cloud, transparency and wind together describe whether you will see anything.
Then check the moon. Moonlight scatters in the atmosphere and washes out faint stars, exactly like light pollution but softer. The new moon window is the few days centred on the new moon itself, and that is the best time for stars, the Milky Way and meteors.
New moon is not always essential. A crescent or quarter moon leaves the rest of the sky perfectly usable, and if your goal is the Moon itself, a full moon is the best possible target. Craters you cannot see at any other time of the month are worth a look. Just plan the evening around whichever object you actually came for.
Check 48 hours out, then again the evening before. Keep a second date in reserve for the same week if you can.
4. Build a Simple Equipment Kit
Pack in categories so nothing gets forgotten on the way out of the door.
Clothing: a base layer, a mid layer, a windproof or insulated outer, warm socks, a hat, and gloves if it is between October and March. Add one dry layer for sitting on damp grass.
Optics and light: a red-light headlamp, plus a spare small red torch. Binoculars if you have them, ideally 10×50. Steady them on a tripod or lean against the car; handheld binoculars above 10x shake too much to be useful.
Comfort: a reclining chair, a blanket or mat, a dew-proof layer for the chair seat, insect repellent for summer months, and a folding stool if sitting on the ground is not your thing.
Planning tools: a sky app with a viewfinder mode that overlays stars on the camera, or a printed planisphere you set to your date and time before leaving home. Stellarium is the free desktop option for planning a specific night from a specific spot. Heavens-Above handles satellites and the International Space Station passes.
Safety and food: a small first aid kit, water, a snack, a charged phone with offline maps, and a pen for an observation log.
Two things worth being clear about. Binoculars are not a small telescope: they give a wide, bright, handheld view of the Moon, the Pleiades, the Orion Nebula and large clusters, and nothing more detailed than that. And a phone is a planning tool, not an observing one. Set your targets before you leave, then put it away.
5. Plan the Timing and Night Itinerary
Build the evening backwards from full dark. Astronomical twilight ends roughly 60 to 90 minutes after sunset at mid-latitudes, and that is when the sky is genuinely dark.
A workable first-night schedule:
- 60 minutes before sunset: arrive, park, set out the chair and blanket, confirm your route home while the light is still good.
- Sunset to end of twilight: eat something, look at the Moon and the brightest planets, orient yourself to the site layout, and start letting your eyes adjust.
- Full dark to hour two: constellation work with the chart or app, then a slow binocular sweep along the Milky Way if it is up.
- Final 30 minutes: lie back and count meteors or satellites rather than searching for one specific object.
Leave when you are done rather than at a fixed hour. Fatigue ruins the last hour more than any cloud does.
6. Arrive Early and Protect Your Night Vision
Arriving in daylight sounds like overkill until you have driven a gravel track in the dark looking for the gate. Early arrival also means you can walk the site, spot trip hazards, and choose a spot with a clear southern or eastern horizon before anyone is settled.
Dark adaptation takes 20 to 30 minutes and works by flooding your rod cells with rhodopsin, the pigment that makes dim light visible. After that half hour, a single glance at a bright screen can undo most of the gain, and it takes just as long to rebuild.
Practical habits that protect it:
- Red light only, from the moment you arrive.
- Set your phone to the dimmest setting and keep it face down or in a pocket.
- Do not point a torch or headlights at other observers. Ask before anyone sweeps a beam across your line of sight.
- Never shine anything toward drivers on a nearby road.
- Do not worry about the very first few minutes. You will see far more once you stop trying.
If you must use your phone, take the reading, then give your eyes the full half hour back. Even a screen in night mode is bright against a dark-sky site.
7. End the Trip Safely and Record What You Saw
Before it gets dark, photograph your route home and check it, save your destination pin offline, and text a friend your site name and expected return time. Set yourself a check-in deadline.
Drive home before you are properly tired. Night driving with wide-awake eyes is fine for most people; night driving after three hours of cold and no sleep is not.
Pack out everything you brought in, including food packaging and tissues, and check the route back before you leave, not on arrival at a junction you cannot pull over at.
Write down what you saw while it is fresh. Three lines is enough: date, time, conditions, and three objects you identified. An observation log is the fastest way to accelerate learning, because next month you will remember that you found the Orion Nebula without hunting for it.
Most importantly, treat the first trip as a night out, not a test. Nobody passes or fails. You looked at the sky with people you like in a place you had never seen, and you learned roughly where one constellation sits.
Common Mistakes
Almost every wasted beginner trip comes down to one of these.
Planning around a bright moon. The fix: check the phase before you book the campsite, not the day you leave.
Starting in a light-polluted backyard. People see a dozen dim stars, decide stargazing is dull, and never see a dark sky. Fix: drive out for trip one, even if it is only 30 minutes.
Buying a telescope first. You end up with an expensive tube and no idea what to point at, which is the most common regret on stargazing forums. Fix: a year of naked-eye observing and binoculars first.
Expecting photo-like views. Long-exposure photographs of the Milky Way show far more than your eye ever will at that moment. A wide, dark band across the sky, resolved into structure, is what success looks like.
Using a white flashlight. Fix: a red headlamp, taped over the front of a white one if that is all you own.
Checking a phone screen mid-session. You lose your dark adaptation and spend the next half hour frustrated. Fix: read the chart before dark, not during.
Arriving after dark. Fix: arrive 60 minutes before sunset. Always.
Underpacking warmth. Fix: assume it is colder than the forecast says, because you will be sitting still for hours.
Choosing a site you cannot get out of. A single access gate that gets locked at 10pm can end a night early. Check closing times and have a fallback site in mind.
Having no cloud contingency. Keep a second date in the same month and a second site within reach. The forecast will change; the plan should be able to change with it.
Going alone without telling anyone. Fix: send your location and return time to a person who will notice if you do not check in.
Frequently Asked Questions
How dark does the sky need to be for good stargazing?
Aim for Bortle 4 or darker, which is usually 30 to 60 minutes of driving from a mid-sized town. At that level you can see the Milky Way’s structure, the Pleiades and thousands of individual stars with the naked eye. A suburban backyard still shows you the Moon, the planets and the brightest constellations, so it is a fine place to practise, but it is not where first-time observers decide whether they love this hobby.
Do I need a telescope to start stargazing?
No. A telescope is the most common first purchase and the most common early regret, because a beginner ends up with an unfamiliar tube and nothing to point it at. Spend your first year with your eyes, a planisphere or sky app, and a pair of 10×50 binoculars if you want to spend at all. A simple star chart and a dark site will teach you far more for the same money.
What is the best moon phase for a beginner’s first trip?
The few days around the new moon, when the Moon sits close to the Sun and rises with it, gives you the darkest and longest observing window of the month. That is the time for stars, the Milky Way and meteors. A first-quarter or crescent moon still lets you explore most of the sky. If your goal is the Moon itself, plan for a full moon and look at its craters.
What should I bring for a night of stargazing?
Warm layers including a hat and gloves, a reclining chair or thick blanket, a red-light headlamp, water and a snack, a phone with offline maps charged, a small first aid kit, and insect repellent in summer months. Add 10×50 binoculars if you have them, and a planisphere or sky app set to tonight’s date. Dew is the most common surprise, so keep the chair seat or blanket dry.
What do I do if clouds ruin my stargazing trip?
Check the hourly cloud forecast 48 hours ahead and again on the day, using an astronomy forecast that also rates transparency and wind rather than a daily weather icon. Keep a backup date within the same month and a second site within a 30-minute drive. If clouds arrive anyway, use the time to log what you did see, learn a couple of constellations in the gaps, and get outside early next time instead.
Is stargazing suitable for families and solo travellers?
Both work well with a little adjustment. With children, keep sessions short, start with the Moon and one bright planet, and expect questions rather than silence. Going solo is straightforward at a popular site but less comfortable at a remote one, so tell someone your location and expected return time, arrive before dark, and have a phone charged and downloaded for the map.
Conclusion
The first thing to do is pick a night two to four weeks out, find the nearest Bortle 4 patch within a 45-minute drive, and check the forecast. Do that before you spend anything on gear, because the dark site and the moon phase do more for your first night than any purchase will.
From there, keep it simple: arrive an hour before sunset, sit down, protect your night vision for half an hour, and learn one constellation properly. Repeat it a few times before you consider optics or photography. People who plan the date, the site and the drive in advance get to a real dark sky far faster than people who buy equipment first.
Last updated in 2026.