To plan your first solo day hike, pick a short, well-marked, popular trail close to home, check its trail reports and weather, set a firm turnaround time, and leave a written plan with someone who knows when to call for help. Most first-hike problems come from a plan nobody else knew about, not from a missing piece of gear.
A day hike is a good first solo trip because you return to your car the same evening. Nobody rescues you from a trailhead at dusk, and the only real commitment is the walk itself. That makes the whole thing feel manageable once you know what to decide and in what order.
Table of Contents›
- What You Need
- Step-by-Step: How to Plan Your First Solo Day Hike
- Step 1: Choose a Beginner-Friendly Route for Your First Solo Day Hike
- Step 2: Check the Route, Conditions, and Backup Plan
- Step 3: Build a Simple Gear and Food Plan
- Step 4: Share Your Plan and Set Check-In Times
- Step 5: Start Early and Recheck on the Trail
- Common Mistakes
- Frequently Asked Questions
- Is it safe to hike alone as a beginner?
- How far should a first solo day hike be?
- How do I plan my first solo day hike when there is no cell service?
- What should I do if I realize I am lost on a solo hike?
- How do I know when to turn back on a first solo hike?
- What is the one etiquette rule solo hikers get wrong?
- Conclusion
What You Need
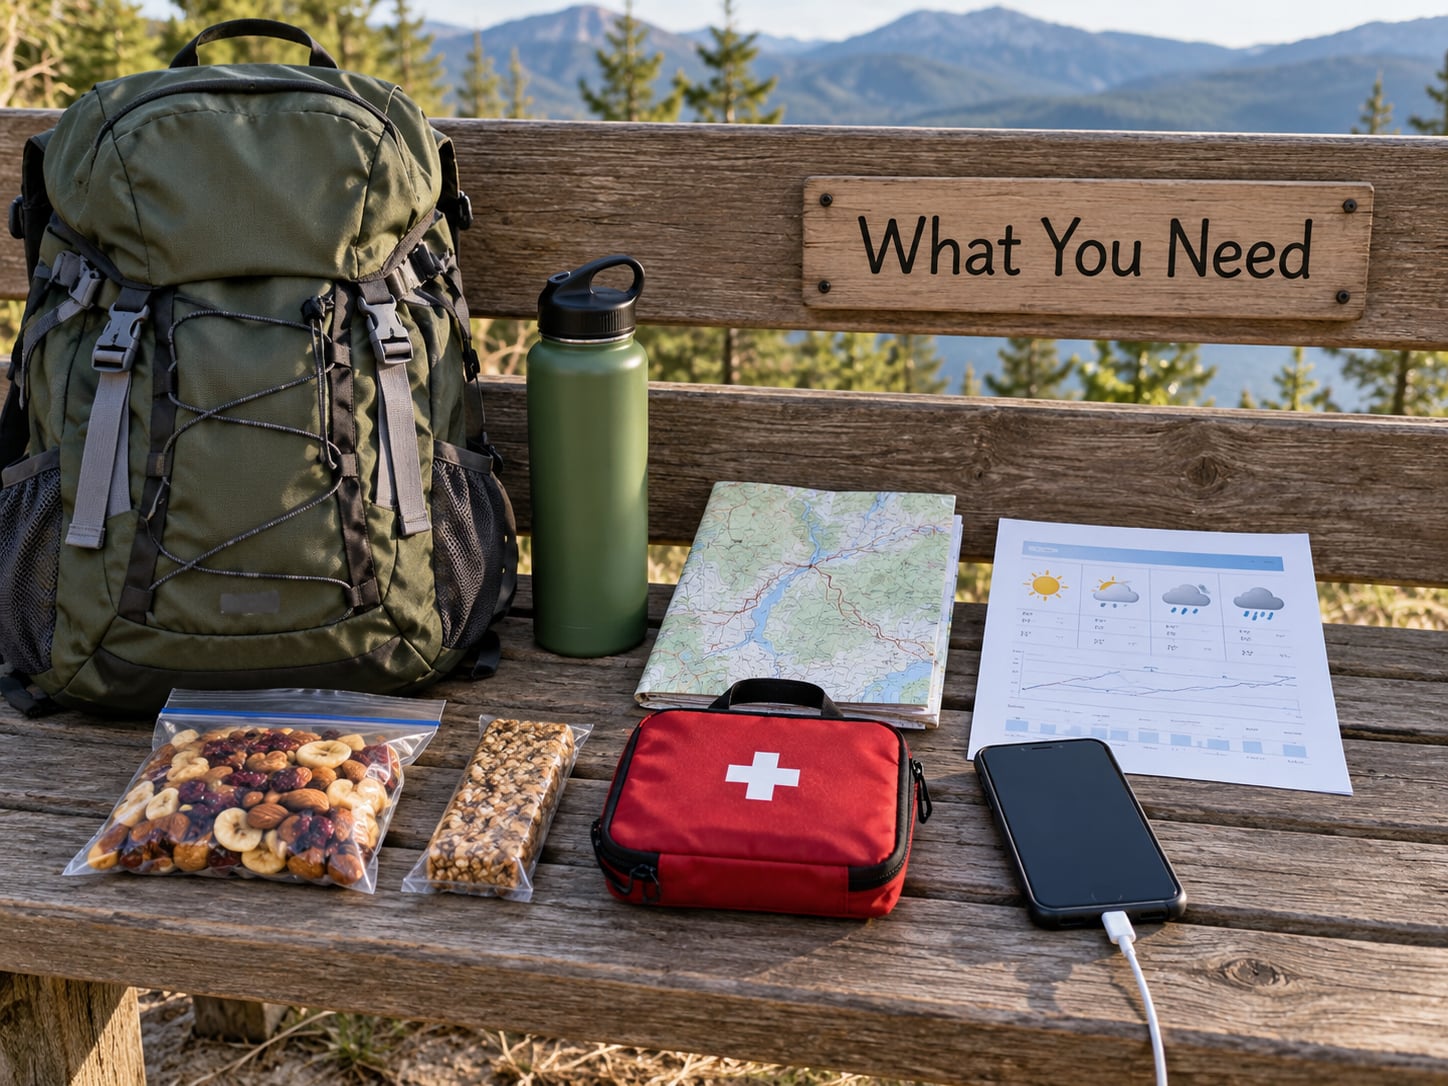
Before you look at a backpack, you need six pieces of information about the hike itself.
- Distance, round trip, from the official trail listing rather than your guess.
- Elevation gain in feet or meters. For a first outing, somewhere near 1,000 feet or under is a sensible ceiling.
- Difficulty rating and review date. A popular trail with recent reviews tells you far more than an empty description.
- Trail access — whether you can drive to the trailhead, and whether parking is free and does not fill up by mid-morning.
- Daylight at your return time, in your local time zone.
- One named person on earth who is expecting your message when you get back.
That last one carries more weight than the other five. A solo hiker with no plan on file is a hiker a search team has to guess about.
Weather and trail status are the other inputs worth real attention. Check the land manager’s official site the evening before and again that morning, because closures, fire restrictions and trail damage show up there first and not on the apps.
Now check your own side honestly. Your current fitness, your footing on uneven ground, any injury you are working around, and how much free time you really have all shape the route you should pick. Plenty of people who think they are ready for eight miles are actually ready for four, and nothing bad happens when they pick four.
One beginner planning checklist to keep nearby:
- Trail name, route type (loop or out-and-back), distance and elevation gain
- Parking location, trailhead details and gate hours
- Sunset time and your planned turnaround time
- Current forecast, plus the forecast for the exposed part of the route
- Water plan and food plan
- Permit requirement, if the trail needs one
- Emergency numbers for the county or region you are hiking in
- Your contact’s name, phone number and check-in deadline
- Your Plan B route, decided before you leave
- Ten Essentials plus the solo additions
Step-by-Step: How to Plan Your First Solo Day Hike
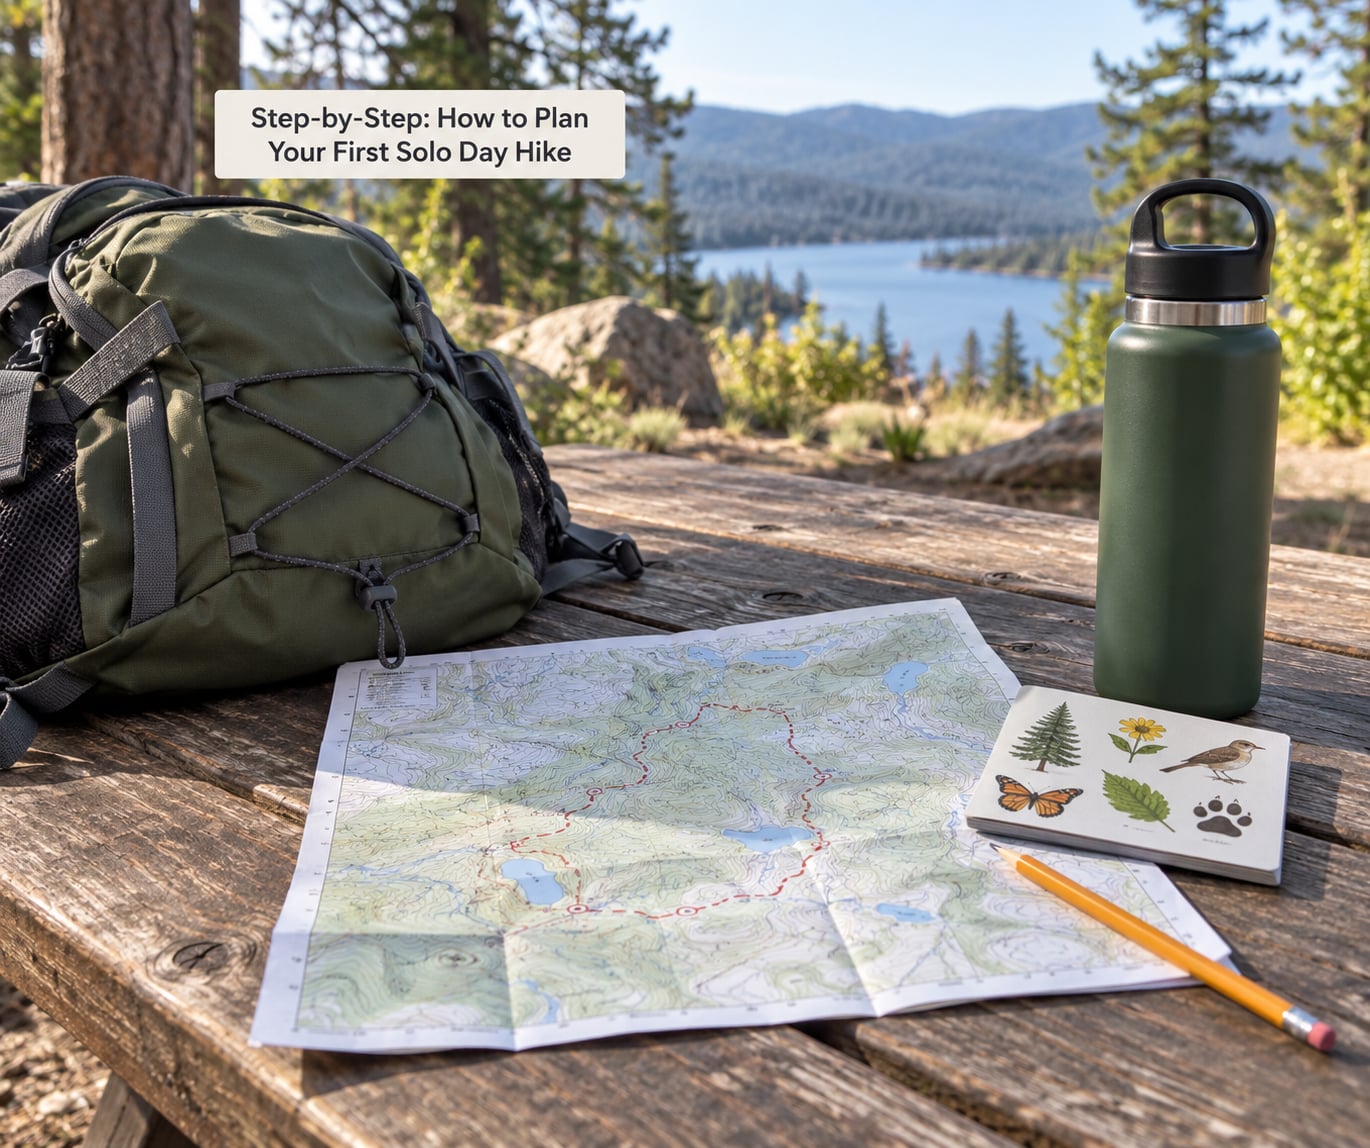
Planning a first solo day hike is a sequence, not a mood. Work through it in order and the decisions get easier, because each one narrows the next.
Step 1: Choose a Beginner-Friendly Route for Your First Solo Day Hike
A beginner-friendly route is a well-marked trail with modest climb, easy access and visible traffic. That combination is what makes the first outing feel safe, not the mileage on its own.
Use the numbers as a filter. Six miles or about ten kilometers with roughly 1,000 feet of gain is a ceiling most first-timers find comfortable, and a lot of new hikers start closer to three or four. Out-and-back routes are easier to reason about than loops, because you already know the way back from the turnaround point.
Then look at the trail, not the listing. Well-marked trails have blazes, junction signs and worn tread. Popular trails have other hikers on them, which is the cheapest safety equipment there is. Members of r/vancouverhiking will ask you for the region, the distance and the elevation gain before they will give advice, and they are right to — those three numbers decide whether a trail suits you.
Short is not the same as easy. A three-mile scramble up a gully is harder than a flat six-mile path beside a lake. If a trail description includes words like scramble, cliff, exposed or technical, skip it for now.
How to tell the difference in practice: pull up the elevation profile on a mapping app and look at the shape. A gentle single hump is fine. Five stacked climbs in six miles is a workout, and it is a much harder day even though the number is smaller.
Step 2: Check the Route, Conditions, and Backup Plan
Verify the trail is open, the weather is workable and your Plan B exists before you load the car. Conditions change and a closed gate at the end of a long driveway ruins a morning.
Start with the land manager’s site. National parks, US Forest Service districts, county parks and local land trusts all publish closure notices, fire restrictions and trail conditions, and that page is more reliable than an app comment from last summer.
Then check the weather for the actual route rather than the nearest town. Ridges, exposed slopes and high ground get different conditions than the valley forecast, sometimes a full stage of wind earlier. Look specifically at thunderstorm risk, because a lone hiker on an exposed ridge during a storm has no one to shelter with and nowhere fast to go.
Two more checks are worth the time. Confirm whether the trail has reliable water on it, because carrying every litre for the whole day changes how you plan your pace. And read the recent reviews for the last month or two, looking for blowdowns, muddy creek crossings and parking changes that official pages lag behind.
Then write Plan B while you are still comfortable at your kitchen table. Plan B is usually a shorter version of the same trail — the first two miles instead of the full loop, or the paved path from the same trailhead. A bail-out route you have already decided on is worth far more than one you improvise while tired.
Step 3: Build a Simple Gear and Food Plan
Pack for the route you chose, not for the hike you are afraid of. Day-hike kit is genuinely small, which is the good news most beginners miss.
The Ten Essentials are the standard starting point: navigation, headlamp, sun protection, first aid, knife or multi-tool, fire, shelter, extra food, extra water, and extra clothes. For a solo day hike on a marked trail, fire is usually the item to skip — you are not out overnight and fire is a bigger risk than a cold night in most conditions.
Your solo additions are the interesting part.
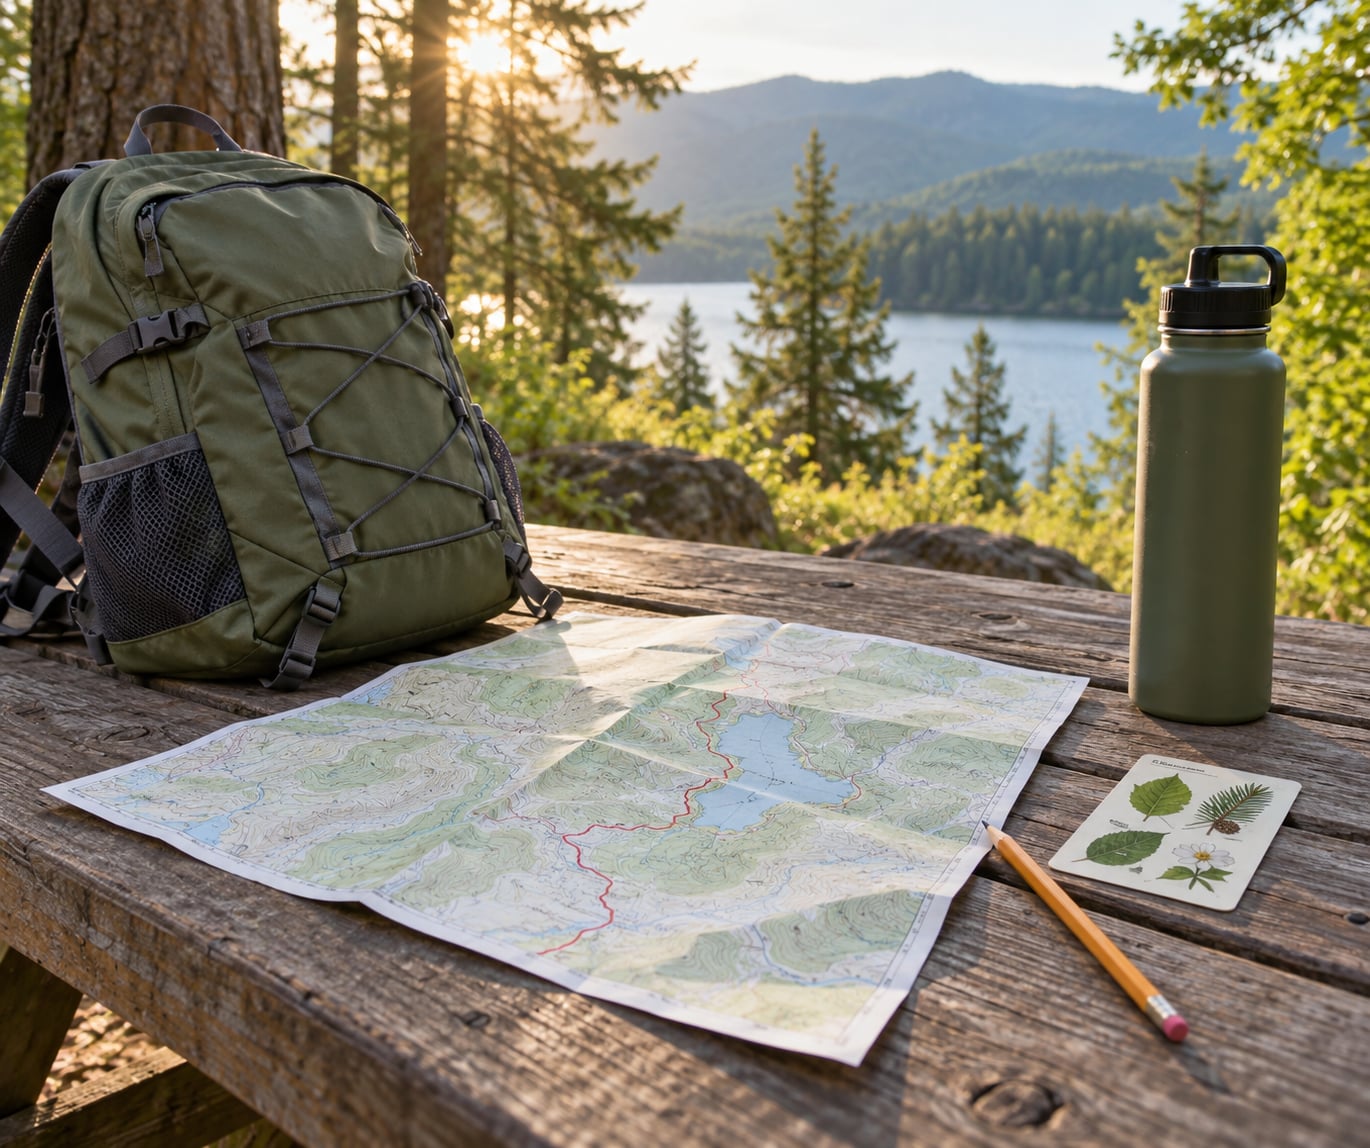
- A second navigation method that does not need batteries: a paper map, a compass, or both.
- A whistle. It carries further than your voice, costs nothing and uses no power.
- A small emergency bivy or blanket you can get into while still dressed.
- A power bank, because your phone is your map, your check-in and your emergency call.
- A bright outer layer, particularly during hunting season when hunters wear blaze orange and expect to see it.
On water, the widely used planning figure is about one litre per two hours of walking, plus extra in heat. For a first outing, carry more than that minimum. Refilling from a stream means treating it, and you should not count on finding a reliable source.
On food, one substantial snack is enough for most day hikes — a sandwich, a handful of nuts and some dried fruit. Gummy bears turn up constantly in outdoor forums, and the reason is that they are lightweight, they do not melt, and they give you quick sugar on a climb.
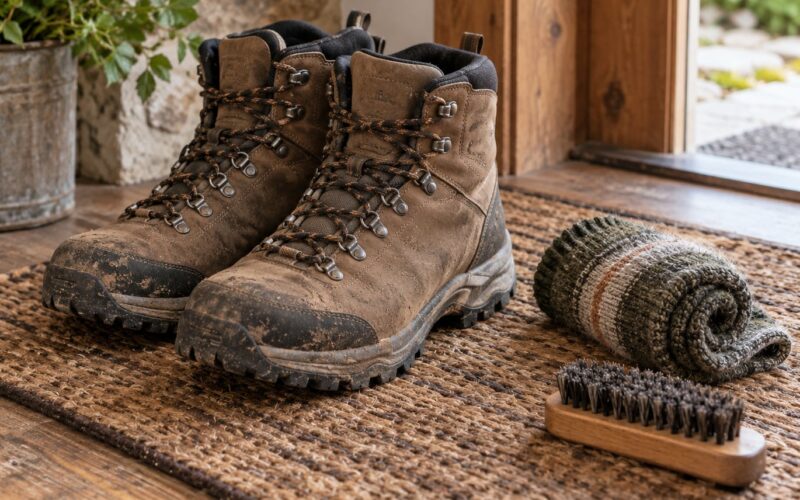
What you can skip: the 45-liter pack, the hiking boots you have not broken in, the camping stove, the water filter for a trail with two reliable taps, and the second pair of trekking poles. If a piece of gear does not match the route you picked, it stays home. On r/AskReddit, the day-hike kit that keeps coming back is a bottle, a phone, a hat, a small pack, decent shoes, an extra pair of socks, a pocket first aid kit and some protein bars. That list is not undercooked.
Step 4: Share Your Plan and Set Check-In Times
Leave a written plan with one person and agree on what they do if you do not check in. This is the step that turns a mishap into a delay rather than a search-and-rescue call.
Here are the fields your plan should contain:
- Trail name, trailhead, route and mile or kilometre marker
- Total distance and elevation gain
- Vehicle description and exact parking location, including the trailhead name if it is different
- Planned start time and expected return time
- Your phone number and the county emergency number
- What you are wearing, ideally including a bright layer
- Plan B, and the point at which you would turn back
- Your check-in deadline
Send it as text, not as a phone call that ends with “bye, love you, talk later.” A written message survives, gets forwarded to a ranger, and has a timestamp.
Now agree on the escalation sequence, because this is where most people leave it vague. If you are not back by your return time plus a grace period of an hour or two, your contact texts you. If you do not answer, they call. If there is still no answer, they call the non-emergency number for the sheriff’s office where the trailhead is, give the trail name, your vehicle description and your expected return, and ask whether they would like to start a search.
That third step is the one people skip, and it is the step that matters. In r/coloradotrail, hikers who have done real rescues keep saying the same thing — what makes a rescue fast is not gear, it is somebody at home who knows exactly where you were supposed to be.
For the check-in itself, pick a method that works when reception fails. Some hikers send a text that lands when they get signal and follow it with a phone call. Some set a scheduled message that sends automatically when they reconnect to a network. Some carry a satellite messenger, which pairs with a phone app and works well in open sky but is less reliable under heavy tree cover or in a canyon, so download the region before you go.
Step 5: Start Early and Recheck on the Trail
Start early, confirm your landmarks as you go, and turn back at the time you decided — not at the time you feel like stopping.
Early starts buy you daylight buffer, cooler temperatures and a trailhead that still has parking. Aim to be walking within the first hour after sunrise and finished at least an hour before sunset. That one-hour buffer is not negotiable, because the unexpected — a slow section, a flat that is not, a detour around a fallen tree — always eats into it.
On the trail, do a small confirmation loop. Check that the trail name on the signpost matches the trail you planned. Note two landmarks you can name later, and the time you passed them. Every time you cross a junction, look back at the way you came in, because that view is often the only clear picture of the route you will get.
Your turnaround time is a clock time, not a distance. If you planned to turn at 1 p.m., you turn at 1 p.m., even from the best viewpoint of the day. Turning around early is a decision, not a failure, and you can always come back next weekend knowing exactly where to go.
Turn around early for any of these: the sky stacking up in the west, rain starting, a boot that has developed a hot spot, a leg that is going numb, or simple doubt about whether that junction was the one you expected. Reassessing every thirty minutes or so is the habit worth building, because it turns a bad afternoon into a slightly shorter hike instead of a rescue.
Common Mistakes
Picking a route that is ambitious on paper. The fix is to halve your planned distance and re-read the elevation profile. Nobody has ever been disappointed at a trailhead by ending early and having time for coffee afterward.
Relying on your phone. Batteries die, cases fall in creeks, and apps need data you do not have. Download the offline map, carry a paper backup, and treat the phone as a convenience rather than the navigation system.
Underestimating water or time. One litre per two hours is the floor, not the target, and Naismith’s rule — roughly five kilometres per hour plus an extra hour for every 600 metres of climb — is the honest estimate. Add 20 percent on top, because you are carrying water and because you are new.
Ignoring the forecast. The fix is to check the forecast the night before and again at the trailhead, and to pay attention to thunderstorm risk rather than just the temperature. A mountain forecast at a named point beats a city forecast for the low ground.
Not telling anyone where you are going. This is the one with the worst downside. The fix is a written plan, a named contact and an agreed escalation sequence, which takes about ten minutes.
Continuing past the turnaround. The fix is to put the turnaround time in your phone alarm as well as your plan sheet. Then treat the alarm as a decision you already made.
Once you have done one short solo hike without incident, do another one slightly farther. The confidence that builds is real and it comes from repetition, not from reading more about it. Most people who find solo hiking uncomfortable on day one describe it as ordinary by the third or fourth outing.
If your circle does not hike, a group route is a good bridge. Regular club walks let you learn the pace and the etiquette with other people around, and after two or three of those, the same trail on your own feels ordinary.
Frequently Asked Questions
Is it safe to hike alone as a beginner?
Yes, on a short, well-marked, popular trail close to home, if you leave a written plan with a named contact and carry a phone plus a paper map backup. Most first-time solo hiker concerns come from unknown terrain rather than from being alone. Avoid routes with scramble sections, no water, or no cell coverage until you have more experience.
How far should a first solo day hike be?
Three to six miles round trip, with roughly 1,000 feet of elevation gain or less, is the range most beginners find comfortable. Out-and-back routes are easier than loops because you already know the way back from the turnaround. Add 20 percent to any time estimate and give yourself a full hour of daylight buffer before sunset.
How do I plan my first solo day hike when there is no cell service?
Download the offline map before you leave and carry a paper map as a second method. A whistle and an emergency bivy cover the signaling side. Tell your contact which stretch of the route has no coverage so they know not to expect a message there, and set your check-in deadline for after you are back in coverage.
What should I do if I realize I am lost on a solo hike?
Stop where you are and sit down. Walking downhill or forward to fix it is how people get further from help. If you have signal, call the emergency number first, since a call uses less battery than searching an app. Blow three sharp blasts on a whistle, then stay put and conserve phone power so it stays available.
How do I know when to turn back on a first solo hike?
Turn back when the alarm you set goes off, and also if storm clouds build, rain starts, a hot spot develops, or you stop trusting your landmarks. Turning around early is a decision, not a failure. Check your phone, water and footing every half hour or so, which catches problems while they are still small.
What is the one etiquette rule solo hikers get wrong?
Yanking a pole or pack out of someone’s way on a narrow trail is the rule that matters most. Yield downhill, let uphill hikers pass, and step to the side of the trail rather than into someone’s line. On busy trails, saying hello is normal courtesy, and a short reply and a smile are a perfectly polite answer.
Conclusion
To plan your first solo day hike, work the sequence in order: pick a short, well-marked, popular trail, check its reports and weather, set a turnaround time with an hour of daylight to spare, write the plan down, leave it with someone, and pack only what that route needs. The sequence matters because each step makes the next one simpler.
The first action is free and takes ten minutes. Choose one short trail you could describe from memory, then look up its closure status, distance and elevation gain. Once you know the numbers, the rest of the plan writes itself.