Learning how to layer clothes for a cold weather hike comes down to three thin layers that each do one job: move sweat off your skin, trap warm air, and block wind and rain. Get those three right and you can add or strip clothing all day without ever overheating or going numb. Get them wrong and you will be cold in a system that looked heavy enough for the mountains.
This guide takes about ten minutes to read and five minutes to apply at the closet. It works for winter day hikes, overnight backpacking, snowshoeing, and long solo walks above freezing, whether you own a full technical kit or just the clothes already in your wardrobe.
Table of Contents›
- What You Need: The Three-Layer Clothing System
- Step-by-Step: Building and Adjusting Your Layers
- 1. Choose a Moisture-Managing Base Layer
- 2. Add an Insulating Middle Layer
- 3. Use an Adjustable Outer Shell
- 4. Protect Your Head, Hands, Neck, and Legs
- 5. Adjust Layers Before and During the Hike
- 6. Pack a Backup Layer and Test the System
- Common Layering Mistakes and How to Fix Them
- Frequently Asked Questions
- What should I wear for a cold weather hike?
- Is cotton bad for hiking in cold weather?
- How many layers do I need for winter hiking?
- Should I wear a waterproof jacket over my insulating layer?
- How do I prevent overheating while layering for a hike?
- Conclusion
What You Need: The Three-Layer Clothing System
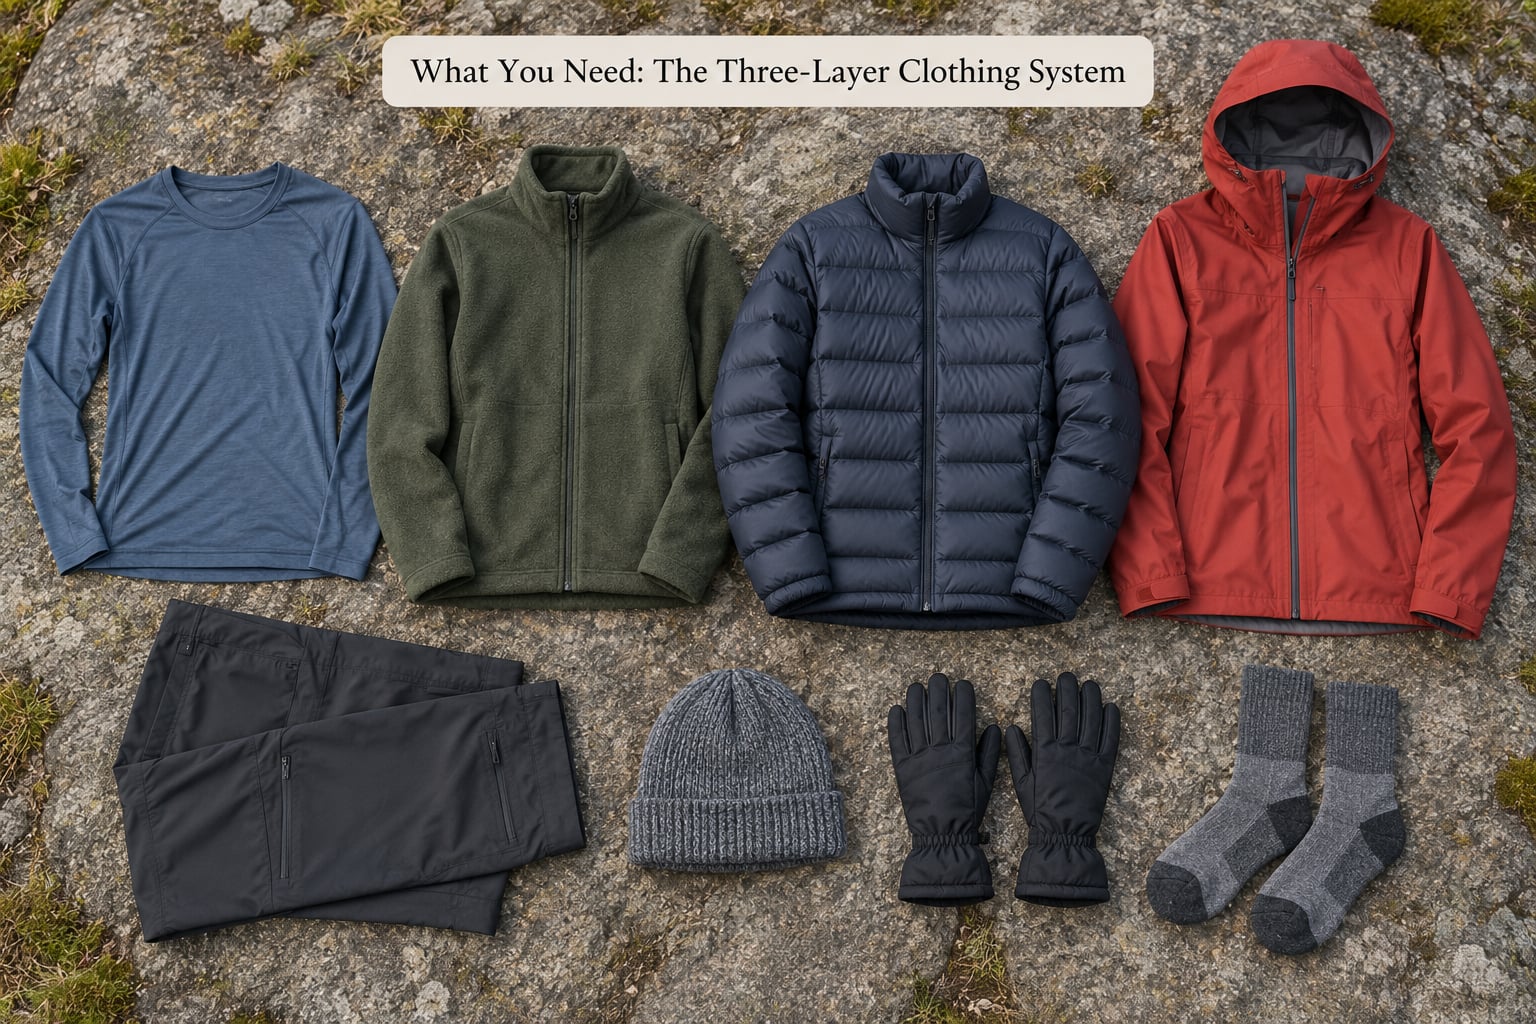
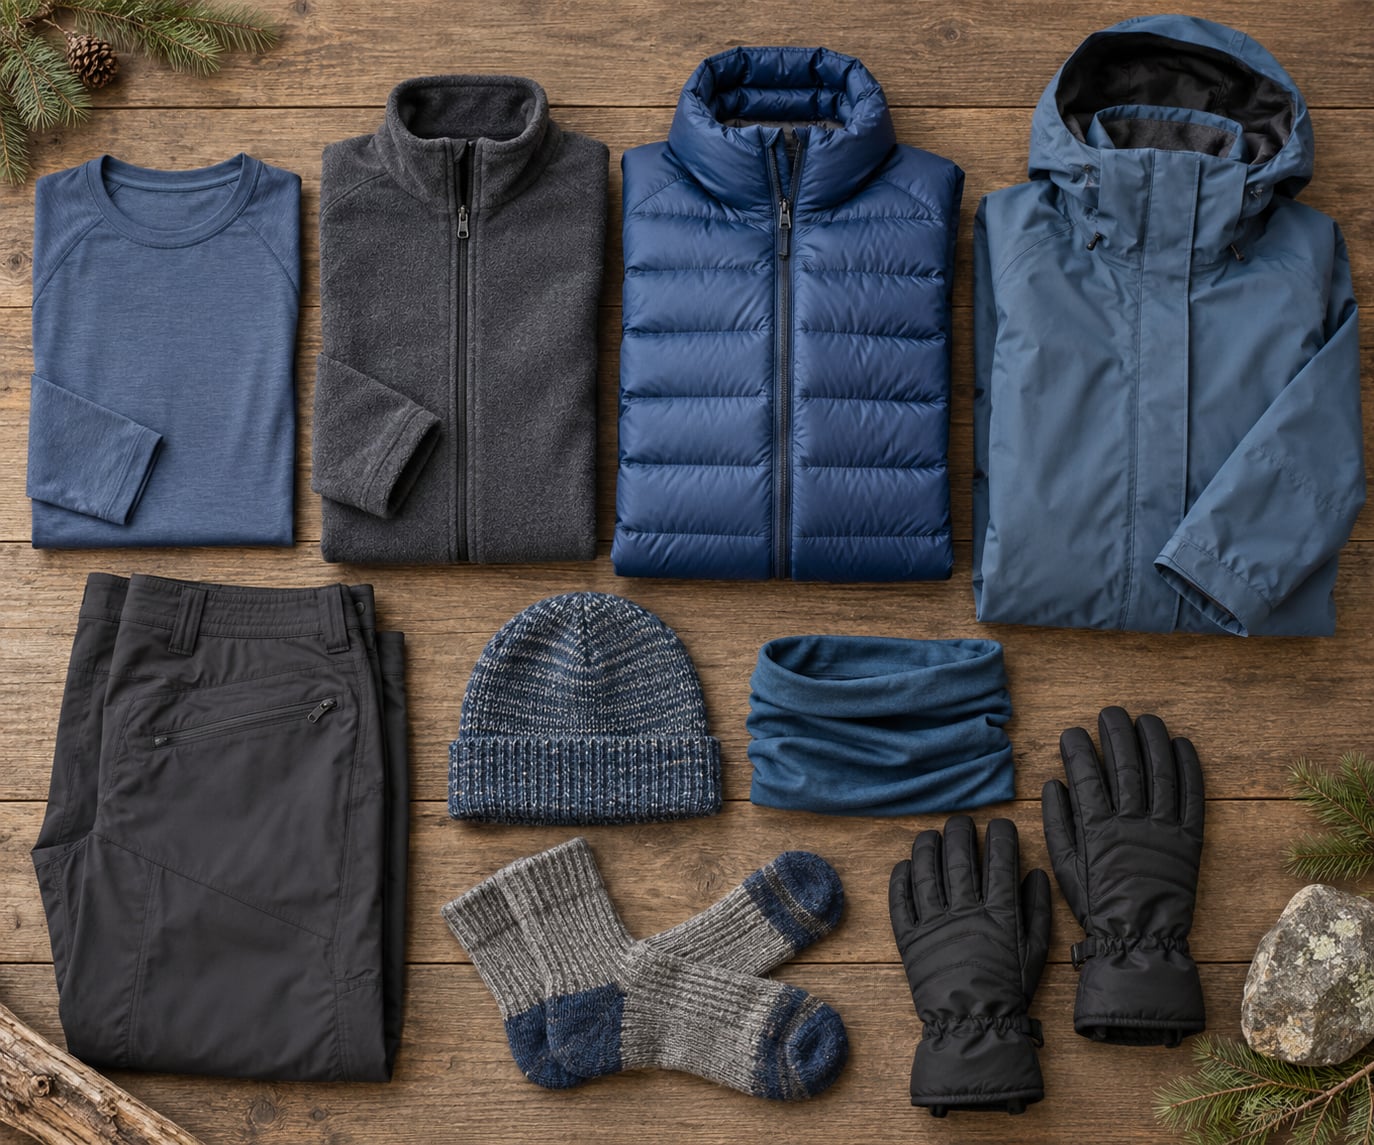
The three-layer rule for hiking is a system where each garment has a single job. A base layer wicks moisture away from your skin, a mid layer traps still air that your body heat warms, and an outer shell blocks wind and precipitation. You add and remove them as your effort level and the weather change, rather than wearing one heavy garment you cannot vent.
Why does that work? Insulation is not about thickness, it is about trapping air. Your metabolism heats the air in the gaps between layers and that warm air stays put as long as wind cannot blow through it and moisture has not soaked it. Layering lets you control how much air is trapped and where your sweat goes, which is really the whole game on a cold trail.
When picking any piece, I look for five properties:
- Moisture management — it moves perspiration out and dries fast rather than holding it against your skin.
- Warmth for the weight — more trapped air per gram, not more grams.
- Wind resistance — wind strips the trapped heat out faster than cold air alone.
- Breathability — vapour has to escape or you will sweat inside your own insulation.
- Mobility — the shell has to close over the mid layer without blocking your shoulders.
Do not skip the lower body while planning the top. Legs and hips go cold on winter walks more often than any other area, and hikers notice it repeatedly in trail forums and subreddit threads about cold legs. A base-layer bottom plus warm trousers covers most of it. Add waterproof overtrousers if rain or wet snow is in the forecast.
One more thing for anyone walking alone: staying dry matters more when nobody is coming to help. Wet insulation loses much of its ability to hold heat, and you cannot warm up by sitting still for long. Plan your layers so that you can still move and still function if you are soaked two hours from the trailhead.
If you own none of the technical stuff, a workable budget system exists using clothes you probably have. A thin synthetic or merino shirt instead of a cotton tee, a fleece pullover or old sweater as the mid layer, a windproof waterproof jacket over the top, warm leggings under your hiking trousers, wool socks, a hat and gloves. Nothing exotic, and it covers most days above freezing.
Step-by-Step: Building and Adjusting Your Layers
1. Choose a Moisture-Managing Base Layer
The base layer touches your skin, so its only job is moisture. Cotton absorbs sweat, holds it against your skin, and dries slowly, which is why arriving in a cotton tee is still the most common reason hikers feel cold despite wearing more clothing than anyone else. Pick something that wicks and dries instead.
Merino wool is the comfortable choice. It regulates temperature, resists odour for days, and feels fine against skin straight out of the pack. A 150 to 200 weight merino top is enough for most three-season cold days. Synthetic, usually polyester, dries faster, costs less and moves moisture faster in hard output, but it holds odour and has less odour resistance over a multi-day trip.
For bottoms, base-layer leggings or thermal long johns matter more than most guides admit. They take the sweat off your legs so the trousers above stay drier. Weight again follows the conditions: thin for active walking, mid weight for cold with stops, thick only for genuinely stationary winter days.
Fit matters. The base layer should be close to the skin without compressing you, long enough to stay tucked when you reach for a summit block, and smooth enough under a shell that there are no bulky seams to irritate you after six hours.
Mesh base layers come up often in ultralight circles and they do work, mostly for high-output days. An open mesh shirt wicks faster and dries faster than a flat weave because air moves right across the skin. On a steady climb in mild cold it is excellent; standing around in a breeze at 0C it is not.
How to check it worked: after ten minutes of walking, take the shell off at a stop. If your base layer is damp against your stomach or back, it was not managing moisture well enough.
2. Add an Insulating Middle Layer
The mid layer is where warmth actually comes from. Fleece traps air in its fibres, breathes well, is cheap to replace, and is the most forgiving layer for changing conditions. Grid fleece, where the warmth sits in raised squares rather than a flat mat, is lighter and warmer for its weight and dries faster, so it works well on cold active days.
Traditional flat fleece feels softer and often lasts longer than grid, at the cost of weight and packability. On a mild winter day for gentle walking, flat fleece is plenty. When you are moving hard in real cold, grid holds its warmth with much less bulk under a shell.
Insulated layers come in down and synthetic, and the choice depends more on conditions than on temperature. Down is warmer for its weight and compresses better, but it collapses when it gets wet and takes a long time to dry. Synthetic insulation keeps some loft when damp and dries faster, which makes it the better pick in wet cold, wet snow, or forecast drizzle. In dry cold, down is hard to beat.
Use an insulated jacket as your primary mid layer on a walkable hike, and stash a lightweight synthetic puffy in your pack for stops, emergencies, and campsite use. That belt-and-braces approach costs a few hundred grams and removes most of the shivering that happens ten minutes into a break.
Dry cold and wet cold are not the same problem and they do not want the same gear. Dry cold rewards down and heavy insulation, because nothing will get wet. Wet cold rewards synthetic insulation, vented shells and overtrousers, because you will lose far more heat to water than the temperature alone would explain. Check the forecast for sustained drizzle rather than a single shower, and choose for the wetter of the two options if you are unsure.
How to check it worked: stand still for three minutes at a stop. If you feel cold while standing still but were comfortable walking, your mid layer is not thick enough for the temperature, and you need more insulation on board.
3. Use an Adjustable Outer Shell
The outer layer protects everything underneath from wind and rain. Without it, wind pushes air through your insulation and that trapped warmth leaves, which is why a still day and a windy day at the same temperature feel completely different.
There are two main types. A softshell is wind-resistant, quite breathable, and comfortable enough to wear as your only outer on a cool, dry day. A hardshell uses a waterproof-breathable membrane with taped seams and a durable surface water repellent coating, and it is what you want in rain, wet snow, or exposed ridge wind.
Whatever the type, look for venting. Pit zips along the sides let heat escape before you start sweating, chest and forearm zips do the same for the upper body, and a helmet-compatible or adjustable hood lets you open up at the front when you are working hard. On a steep climb you will use every one of those features.
Fit is the detail people skip. Try the shell on over your base layer and mid layer with the same fleece you would actually wear. If the shoulders bind when you reach forward, or the front will not zip without straining, it is too small and you will end up with the shell open all day. If it is enormous, you will carry dead air and it will not vent properly either.
How to check it worked: before you leave, walk for five minutes with the shell zipped, then open the pit zips and keep climbing. Warm air should escape. If you cannot get the shell open without stopping, it is fitted wrong.
4. Protect Your Head, Hands, Neck, and Legs
The extremities are where heat escapes first, and where hikers cut corners when they are rushing. A hat you can pull down over your ears, a neck gaiter or buff you can pull up over your mouth and nose in wind, and gloves with a warm back and wind-resistant palm handle most cold air problems before they start.
Layer at the extremities the same way you layer your torso: thin liner plus insulating outer. A thin merino glove under a windproof shell glove gives you much more range than one bulky insulated pair, because you can strip the outer layer when you are moving and put it back on at a stop.
Mitts are warmer than gloves for the same weight, since your fingers share one air space. Gloves win when you need dexterity for poles, a camera, or map work. Many hikers carry both and use them as their own adjustment system.
For legs, wear base-layer bottoms under your trousers and add overtrousers when rain or wet snow is likely. Gaiters keep snow, scree and rain out of your boots and stop the trousers filling with water when you are walking through deep soft stuff.
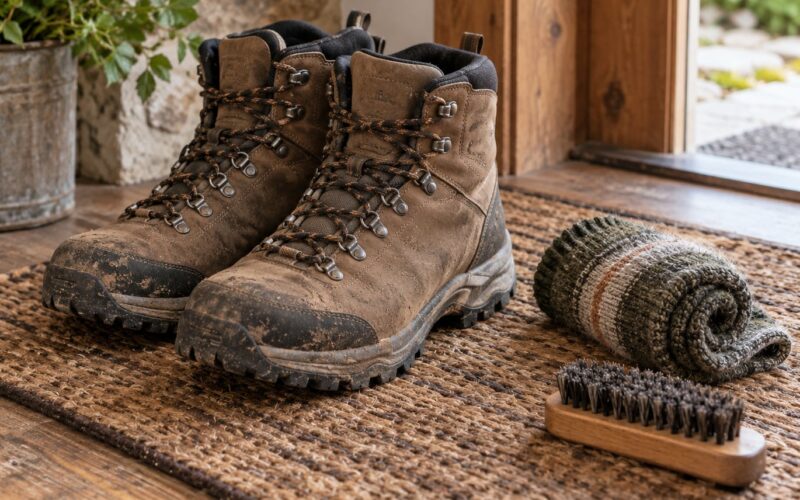
Socks matter more than most gear lists admit. Merino or wool-blend hiking socks in a proper boot with a liner keep your feet warm, wick moisture and resist odour. Always carry a spare pair, because a wet foot on a cold walk is a fast route to misery.
How to check it worked: at your first break, deliberately expose your hands, ears and neck to the air for a minute, then cover them. Notice how quickly the cold spots change. Those are the areas to add warmth to next time.
5. Adjust Layers Before and During the Hike
Start slightly cool. Most people get colder on a hike because they start too warm and sweat in the first fifteen minutes, then have nothing dry to put on afterwards. Wearing one thin layer less at the trailhead feels wrong and works well.
The routine once you are moving:
- Vented and cool — shell open or pit zips working, mid layer removed or tied around your waist, hat off.
- Working hard — base and mid only, shell vented and open at the front.
- At a stop — shell zipped, mid layer on, hat and gloves on, buff up.
- Cold and moving — everything on, hat pulled down, add the stashed puffy if you still feel it.
Match layers to output, not to the forecast alone. A gentle flat walk in cold air needs more insulation than the same temperature on a steep climb, because your body is making far less heat. This is the single most useful thing to understand about layering, and it is where most fixed-outfit guides fall down.
Get wet? Do not panic and do not pile on insulation over damp fabric, because you will trap the moisture and stay cold. Instead, get moving, open every vent, and change into your dry spare base layer at the first safe stop. That is what the spare layer is for, and it works better than any insulating layer over a soaked shirt.
For solo hikers, set a decision point before you leave: a time, a temperature or a landmark at which you turn back if you feel cold and cannot fix it in five minutes. Cold creeps up quietly, and having the rule decided in advance is what stops you pushing on and misjudging how bad it has become.
6. Pack a Backup Layer and Test the System
How to layer clothes for a cold weather hike properly means packing, not just dressing. The one item worth carrying is a completely dry base layer, top and bottom, in a waterproof bag. Dipped into damp clothing a thin shirt becomes emergency insulation in a way most people never expect, and it costs very little weight.
Keep it where you can reach it without unpacking your whole bag. Stuffed at the bottom of a rucksack, it will be soaked and buried when you need it. A small stuff sack near the top of the pack, or inside the lid of a day pack, is the right home for it.
Field recovery when a base layer is soaked and you have no spare: get it off as soon as you stop, wring it out rather than twisting it, hang it inside your shell where the body heat dries it, and keep moving for ten minutes without it on. Layer a dry buff or hat over damp fabric to trap some warmth while it dries. Never put insulation over a wet base layer on purpose.
Test before the real hike. Walk a full hour in the actual system, at a decent pace, in conditions at least as warm as the day you are planning. Watch where you get hot and where you feel chilled, note the exact time you started to sweat, and check your hands, feet and neck at the break. A ten-minute walk around the block will not show you a problem that shows up at mile three.
Common Layering Mistakes and How to Fix Them
- Wearing cotton. Cotton soaks up sweat, dries slowly and pulls heat from your skin as it cools. Fix: synthetic or merino next to skin, cotton never.
- Adding layers that do not work. Four extra jumpers over a damp shirt is not warmer. Fix: only count layers that have a job, wick, insulate or block weather.
- Starting warm. If you are zipped and sweating at the trailhead you will be stripped bare and freezing later. Fix: start one layer lighter than comfortable.
- Relying on one heavy jacket. You cannot vent it, you cannot remove it for a climb and put it back on, and it does nothing for a temperature swing. Fix: insulation as a removable mid layer plus a shell over it.
- Wearing a badly fitted system. Too tight restricts blood flow and layering, too baggy holds cold air instead of warm. Fix: try the shell over the mid layer and reach forward, both arms up.
- Ignoring your legs and hips. Cold legs and thighs are the most common complaint in cold-weather hiking threads. Fix: base-layer bottoms under warm trousers, waterproof overtrousers in wet forecast.
- Leaving footwear unprotected. Wet feet undo an entire outfit in under an hour. Fix: gaiters, water-resistant boots or overtrousers, and a spare pair of wool socks in the pack.
- Carrying no dry spare layer. Once you are wet with no option, you have lost the only lever you have. Fix: one dry base layer in a sealed bag.
- Leaving insulation only at home. Standing at a stop with nothing to put on is what makes people miserable and cold. Fix: carry a light puffy, even on a two-hour walk.
The rule underneath all of them is simple and it comes straight from experienced hikers on the trail: when you are hot, take a layer off; when you are cold, put one on. Check that at every stop, not every hour.
Frequently Asked Questions
What should I wear for a cold weather hike?
Wear a moisture-wicking base layer, an insulating mid layer such as fleece or a light puffy, and a windproof waterproof shell over the top. Add a hat, buff, gloves, warm socks and base-layer bottoms under your trousers. Carry a dry spare base layer in a waterproof bag, and match insulation to how much you will be moving rather than the forecast alone.
Is cotton bad for hiking in cold weather?
Yes. Cotton absorbs sweat instead of moving it away from your skin, dries slowly, and pulls heat from your body as it cools. Once damp it keeps you cold for a long time, which is why many hikers still arrive in jeans or a cotton tee and wonder why they feel colder than everyone else. Keep cotton out of the layer next to your skin.
How many layers do I need for winter hiking?
Three is the working default: base, mid and outer. A fourth insulated layer is useful on cold days, for rests, or as emergency warmth, but only if each piece is thin and works properly. Four or more bulky layers trap sweat rather than heat and usually leave you warmer on the climb and colder at the break.
Should I wear a waterproof jacket over my insulating layer?
Yes, that is the order that works. Insulation goes on the body, protection goes on the outside. If you reverse them, the waterproof layer sits against your skin, compresses the insulation and stops it trapping warm air. A windproof or softshell outer is fine on a dry day; add a waterproof membrane when rain, drizzle or wet snow is forecast.
How do I prevent overheating while layering for a hike?
Start slightly cool rather than warm, and open the shell as soon as you feel heat building. Use pit zips and chest vents on climbs, strip the mid layer before you are sweating, and carry the layer you removed where you can put it back on without unpacking. Cold air on a moving body is far less dangerous than sweat you cannot dry off later.
Conclusion
Working out how to layer clothes for a cold weather hike comes down to three jobs: wick moisture off your skin, trap warm air against your body, block wind and rain. Everything else, grid fleece versus flat, down versus synthetic, a stashed puffy for stops, is a variation on those three.
Before you leave the house, check the forecast including wind chill, choose breathable layers you can open and close, and put the whole system on for a full hour of walking in real conditions. Notice where you overheat and where you feel chilled. That one hour teaches you more than any guide, and it is the difference between a comfortable winter walk and a shivering one.