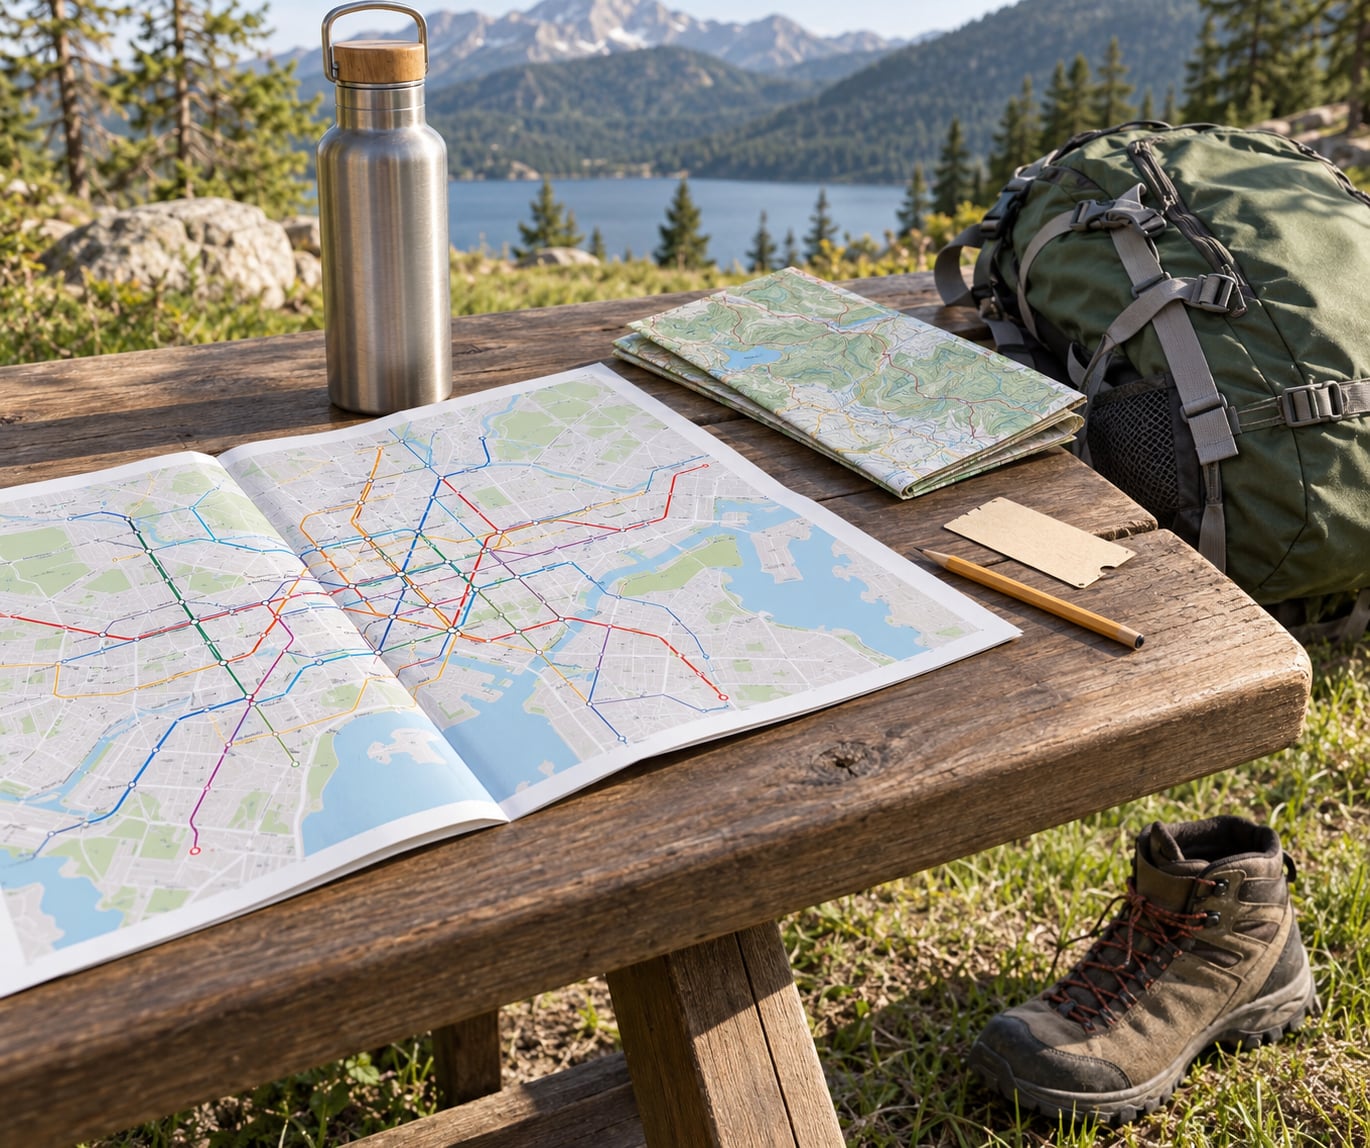
You can plan a full day hike with nothing but a bus, train or ferry, and the whole thing comes down to one number: the last departure that gets you home. Pick the trail, work backwards from that return service, and everything else — timing, trail length, pack weight, when to turn around — falls into place. Most of the planning takes about an hour the evening before.
Learning how to plan a hiking day trip using public transit is mostly backward thinking: the return timetable decides the hike, not the other way round. The method below works anywhere a timetable exists. It leans on what transit hikers complain about most — trailheads advertised as transit-accessible that sit a long, hot walk from the nearest stop, and seasonal shuttles that quietly changed their weekend dates. I check the operator’s own site rather than trusting a blog or a screenshot from last year.
Table of Contents›
- What You Need
- How to Plan a Hiking Day Trip Using Public Transit: Step by Step
- 1. Choose a Hike That Works With Public Transit
- 2. Map the Full Outbound and Return Route
- 3. Check Schedules, Fares, and Service Changes
- 4. Build a Weather and Safety Buffer
- 5. Pack Light and Solve the Return Logistics
- 6. Run a Final Rehearsal
- 7. Execute the Day Trip and Know Your Exit Plan
- Common Mistakes
- Frequently Asked Questions
- Can I plan a full day of hiking with only public transit?
- How early should I check bus or train schedules for a hiking trip?
- What should I do if the return bus is delayed or canceled?
- Do I need a hiking backpack for a public-transit day trip?
- How do I choose a trail with a reliable return connection?
- Is it safe to hike if the forecast changes during the day?
- Conclusion: Start With the Last Bus
What You Need
Before you look at any trail, confirm you have these eight things. If one is missing, the day gets harder than it needs to be.
- A confirmed return connection. Not an assumption, not a guess — a specific departure time from a specific stop, printed in the return direction.
- The current timetable in both directions, taken from the operator’s official site on the day you plan, not cached from a search result.
- A valid fare or pass for every agency in the itinerary. Multi-leg trips often cross operators, and a ticket for one may not cover the other.
- The correct transit map for the region, including which stops are seasonal and which run only on weekends.
- An offline backup — screenshots of each leg, plus a downloaded map, because reception dies exactly where you need directions most.
- Weather information for the trail itself, not just for the city you are leaving from.
- Water and food carried in. Many trailhead shuttles drop you somewhere with no tap, restroom or shop.
- A backup route — a shorter trail, or a way to get home that does not depend on the same bus.
Add a phone charged to full, identification for the fare inspection, and a small amount of cash. Cash covers the awkward case where a ticket machine is broken and the vehicle will not take a card.
How to Plan a Hiking Day Trip Using Public Transit: Step by Step
1. Choose a Hike That Works With Public Transit
Start with the trail, but judge it by the clock rather than the map. Look at distance, elevation gain, the difficulty rating, and the time the trailhead itself publishes for an average hiker. Then subtract the hours your transit legs will eat.
A four-mile loop with modest climb can eat six or seven hours once you add two transit rides, a 40-minute walk from the stop to the trailhead, a lunch break and the walk back to the stop at the end. Work out the total door-to-door figure before you commit to the trail.
Here is the pattern that catches people. The outbound leg is generous — three services an hour, or a train every fifteen minutes — so anything feels reachable. The return is a single seasonal shuttle at 17:20 that fills up and does not run on a Tuesday. The hike is fine. The itinerary is not.
How to verify: open the return timetable first, before you get excited about the trail. If the last return is more than three hours after a realistic finish, you have a workable hike. If not, shorten the trail or pick another day.
2. Map the Full Outbound and Return Route
Trace every segment, one leg at a time, and write them down. Train from your station to the transfer point. Bus from the transfer point to the stop nearest the trailhead. Then the walk from that stop to the trailhead itself.
Record the specifics as you go: platform or bay numbers, the transfer point name, how long the walk from the stop to the trailhead is, and the last departure you could realistically catch. The last-mile walk is the segment most often skipped, and it is the one that decides whether the day works.
Here is the arithmetic, using illustrative numbers only. Replace them with the real figures from your operator.
| Item | Illustrative figure |
|---|---|
| Last return departure from trailhead area | 17:20 |
| Walk from trailhead to the stop | 25 minutes |
| Main transit leg home | 55 minutes |
| Safety buffer | 45 minutes |
| Hard turnaround time on trail | 15:15 |
| Trail time allowed | 4 hours 40 minutes |
That 45-minute buffer is not padding. It covers a late bus, a missed transfer, a slow group ahead of you on a narrow trail, and the ten minutes you will spend deciding whether to press on.
How to know the step worked: you can state your turnaround time out loud without checking anything, and you know which stop you must reach and by when.
3. Check Schedules, Fares, and Service Changes
Now verify everything on the operator’s own site. Transit data goes stale fast, and seasonal trailhead shuttles are the worst offenders — they run on selected weekends, they change dates from season to season, and some have been cut entirely.
- Read the timetable in both directions. Most agencies publish separate outbound and return tables, and the return is the thinner one.
- Check the gap between arrivals, not just the departure time. A service listed hourly can become a three-hour gap in the afternoon.
- Look for holiday and weekend-only notes. A route that runs every day in summer may not run at all in November.
- Check whether the return needs a reservation, and whether it is flag-down only. Flag-down service means the driver will only stop if you signal, and some will pass a waiting hiker.
- Check seat capacity. Trailhead shuttles are often small vehicles on 22 to 27 seats, and they fill early on sunny weekends.
- Confirm what fare media works, and whether each leg needs a separate ticket.
No prices are quoted here on purpose. Fares and pass rules differ by agency and change often, so read the current fare page rather than trusting any figure, including one in this article.
How to verify: screenshot the return timetable and the service alerts page on your phone before you leave. If the agency has a trip planner app, build the return in it too, purely as a cross-check against your own figures.
4. Build a Weather and Safety Buffer
Check the forecast for the trail’s actual coordinates and elevation, not the nearest city. A coastal ridge, a desert canyon and a shaded forest valley can be doing completely different things on the same afternoon.
- Forecast: rain, wind, heat and any thunderstorm risk. Thunderstorms over ridges are the classic reason to turn back early.
- Trail conditions: snowpack, mud, wildfire closures, seasonal creek crossings and bridge damage. Land management agencies publish current closures.
- Daylight: check sunset time and subtract an hour. Hiking in the last hour of light with a headlamp is a very different plan.
- Water sources: find out whether the trailhead has a tap. If not, you carry everything you will drink.
Then build the buffer in deliberately. If the forecast is marginal, plan a shorter version of the hike from the start rather than deciding halfway through. If the outbound is tight, take an earlier service even if it means a longer wait at the stop.
How to know it worked: you have a specific, named condition that would send you back — a time, a storm cell, a closed gate — and the bus home does not depend on it.
5. Pack Light and Solve the Return Logistics
You carry everything in and out on your back, and you carry it for the walk from the stop at both ends. A day pack in the 20 to 30 litre range handles a full day comfortably. Anything larger is a signal that you planned too far.
- Water, plus a filter or tablets if the trail has reliable sources you can count on.
- Ready-to-eat food. No cooking gear, no stove fuel, nothing that needs a fire ban check.
- Layers: a warm mid-layer, a waterproof shell, and a hat and gloves if the forecast is cool.
- A paper trail map plus an offline map on your phone, downloaded before you leave.
- A charged power bank, a small first aid kit, sunscreen, and a headlamp even for a day hike.
- Identification, a small amount of cash, and a whistle.
Leave overnight luggage at home. If you are staying in a city and heading out for the day, a station locker, a hotel safe or a bag-storage service beats carrying a suitcase to a trailhead.
Now decide what happens if the return service is disrupted. Know the next departure after the one you planned. Know whether the route runs hourly, and know the last one of the day. Screenshot the agency service alerts page so you can check without a data connection. If the bus is cancelled on a service that only runs hourly, your fallback may be a long wait, then a taxi or a ride back, and you should be honest with yourself about whether you can afford that outcome.
6. Run a Final Rehearsal
The night before, do one full pass with everything laid out in front of you. This takes fifteen minutes and catches most of the mistakes that turn into stranded hikers.
- Open the operator’s official site and confirm both timetables are still the ones you recorded.
- Check the service alerts page for anything affecting your routes or dates.
- Save screenshots of the outbound and return timetables, your ticket or pass confirmation, and any reservation.
- Download the offline map for the whole area, and screenshot the trail map and the trailhead-to-stop walking route.
- Write out your turnaround time, the stop you must reach, and the last departure, on paper and in your phone.
- Send the full plan to someone who is not coming: route, trail, expected times, bus times, and your phone battery status.
- Confirm what you will do if the return is cancelled, and put the fallback in the message too.
Share your location live for the hike if your phone supports it. Solo hikers on remote stops after dark get a great deal of comfort from the fact that someone knows exactly where they should be at 18:10.
7. Execute the Day Trip and Know Your Exit Plan
On the day, take the earlier of the workable services rather than the perfect one. Arrive at the stop with time to spare, since a wrong stop is the most common way a transit day goes wrong. Board early on a weekend shuttle if you can; they fill.
At every transfer point, glance at the board and confirm the next departure time yourself rather than following the crowd. If a bus is running late, open the app and check the cascade before you commit to the connection.
On the trail, watch the clock against your turnaround time, not against how the hike feels. A trail that is going beautifully at 14:00 can still be a mistake at 15:15, and the return bus does not care which you had. Turn back early and uneventfully rather than fast and anxiously.
If weather closes the trail, if you misjudged the pace, or if you simply feel it is time, head for the stop. There is always a later bus until there is not, and the last departure is the moment your day becomes difficult. If you do miss the connection, wait somewhere lit and populated rather than at an isolated trailhead stop, keep your phone charged, and work through the fallback you wrote down: later service, another route, or a ride back.
Common Mistakes
1. Trusting a single timetable screenshot. A photo of a schedule from an old forum post tells you what was true once. Screenshot the live page yourself, on the day you plan, and re-check service alerts that morning.
2. Choosing a trail with no return option. Some routes are one-way in practice: a paved path to a viewpoint, or a service that only runs inbound in the morning. Check the return direction before you commit, and if there is no return, pick a different hike.
3. Ignoring transfers. Every transfer adds risk. A missed connection on a 30-minute headway is a short wait; on a two-hour headway it is a long one in the wrong part of town. Count the number of transfers in your return leg and weight it accordingly.
4. Packing as if you are staying overnight. The temptation is real — chair, stove, tent, extra layers. It all rides on your shoulders for the walk from the stop at both ends of the day. Cut it to a day pack and enjoy the trail more.
5. Not checking service changes. Seasonal and weekend-only trailhead shuttles change dates, get cut, and sometimes skip holidays. This is the single most common reason a carefully planned transit hike falls apart.
6. Hiking too close to the last outbound connection. Rushed trail time turns into missed buses. Build the buffer before you leave home, and treat the turnaround time as a real appointment rather than a suggestion.
For first-timers, three habits cover most of it. Start early, so the day is never decided by a clock. Choose a loop trail, so a late start costs you a section rather than the whole hike. And tell a person your plan every single time, even on a familiar route.
Frequently Asked Questions
Can I plan a full day of hiking with only public transit?
Yes, as long as a trailhead sits within reach of a stop and a return service exists. The two things to verify first are the return timetable and the walk from the nearest stop to the trailhead, which is often longer than the listing suggests. Most urban and regional rail and bus networks reach a trailhead within a day. Plan it the same way as a driving trip, except your day is bounded by departures rather than by parking.
How early should I check bus or train schedules for a hiking trip?
Within a week for the first look, and again the morning you go. Seasonal trailhead shuttles are published a season at a time and their weekend dates can change, so a plan made months ahead is unreliable. Check the operator’s service alerts the day before and the morning of. Re-check the return timetable after any late summer storm or construction notice, since those often divert or skip specific routes.
What should I do if the return bus is delayed or canceled?
Check the agency app and the service alerts page immediately to see whether the delay is isolated or route-wide, then look at the next departure and confirm it runs from your stop in the correct direction. If you are stranded at a remote trailhead stop, move somewhere lit and stay near other people while you wait. Have a fallback in mind before you leave: a later service, an alternative route, or a ride back you can afford.
Do I need a hiking backpack for a public-transit day trip?
A day pack in the 20 to 30 litre range is the right size for most transit-accessible trailheads. It carries water, layers, food, a map and a first aid kit comfortably, and it stays manageable on the walk from the stop at both ends. A full overnight pack is a poor fit because you carry every extra item twice. If the trailhead stop is far from the trailhead, a rolling bag plus a short final carry can work, but plan the distance first.
How do I choose a trail with a reliable return connection?
Open the return timetable before you look at the trail, then pick a trail that finishes with hours to spare. Prefer a loop over an out-and-back so a slow start costs part of the hike rather than all of it. Avoid trails whose return leg has few departures, and check whether the service needs a reservation or is flag-down only. A service you must signal for is not a reliable connection, however convenient it looks.
Is it safe to hike if the forecast changes during the day?
Turn around, and decide early rather than late. Set a hard turnaround time from the return bus before you start, and treat a rising thunderstorm risk, a lightning count heard on the ridge, or a trail closure as immediate reasons to head back. Check the forecast for the trail’s actual elevation, since conditions can differ sharply from the city. If the weather is marginal, plan a shorter route from the start so your exit stays easy.
Conclusion: Start With the Last Bus
To plan a hiking day trip using public transit, open the return timetable and find the last departure before you look at a single trail listing. Work backwards from it — subtract the walk to the stop, the transit legs and a 45-minute buffer — and you have your turnaround time. Choose a loop that fits inside it, pack for a day rather than a night, and you will get to the trailhead and back without a car, without a parking lot and without that specific Sunday-evening panic of missing the only bus home.
Transit details change, so confirm every schedule and fare on the operator’s own site before you go.