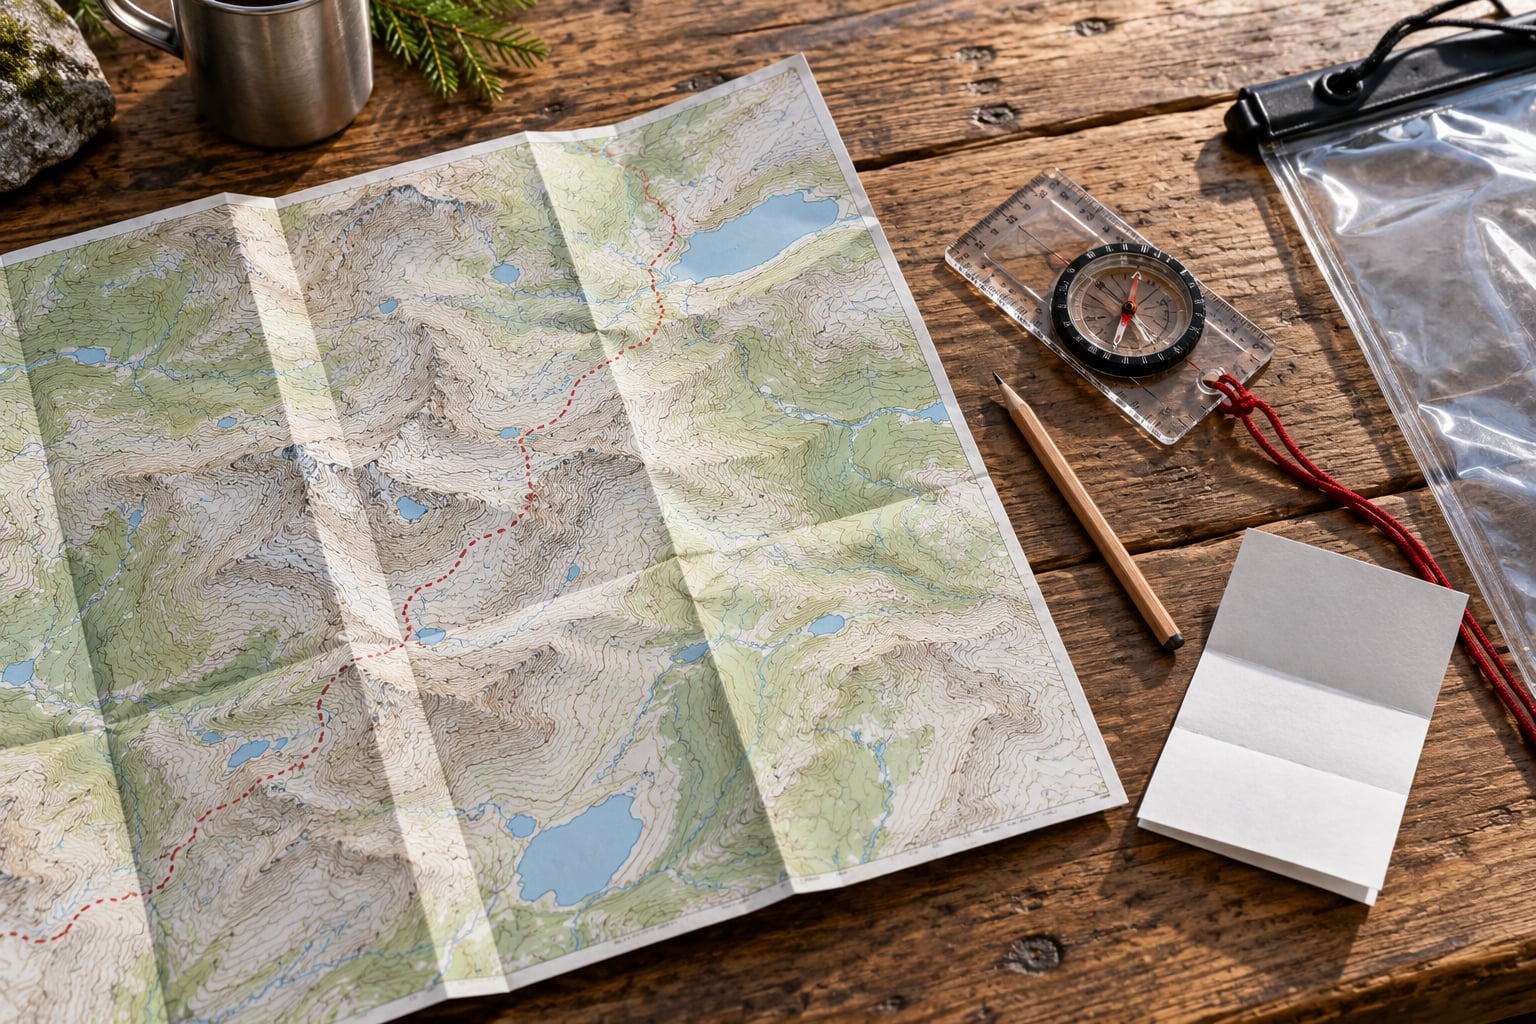
A trail map is a scaled picture of a route and the land around it, usually topographic, showing trails, landmarks, water and the shape of the terrain, so you can see where you are, where you are going and what sits between the two before you set off.
Learning how to read a trail map for beginners takes roughly an hour of instruction and a few short practice sessions, because the skill is pattern recognition rather than arithmetic. You are really learning to look at lines and see a hillside.
What follows is the process I walk friends through: what to bring, seven steps in order, and the mistakes that catch almost everyone the first time out.
Table of Contents›
- What You Need
- Step-by-Step
- 1. Check the Map Type and Scale Before You Read a Trail Map
- 2. Identify the Map Symbols
- 3. Read Contour Lines and Landforms on a Topographic Map
- 4. Plan a Route Before You Start
- 5. Orient the Map to the Ground
- 6. Follow the Route and Check Your Position
- 7. Know When to Stop or Turn Back
- Common Mistakes
- Frequently Asked Questions
- How long does it take to learn to read a trail map?
- Do I really need a paper map if my phone has offline maps?
- Which map scale is best for beginners learning navigation?
- How do you read a compass while you are walking?
- What do you do when a trail sign or blaze is missing?
- How can beginners practise map reading before a real hike?
- Conclusion
What You Need
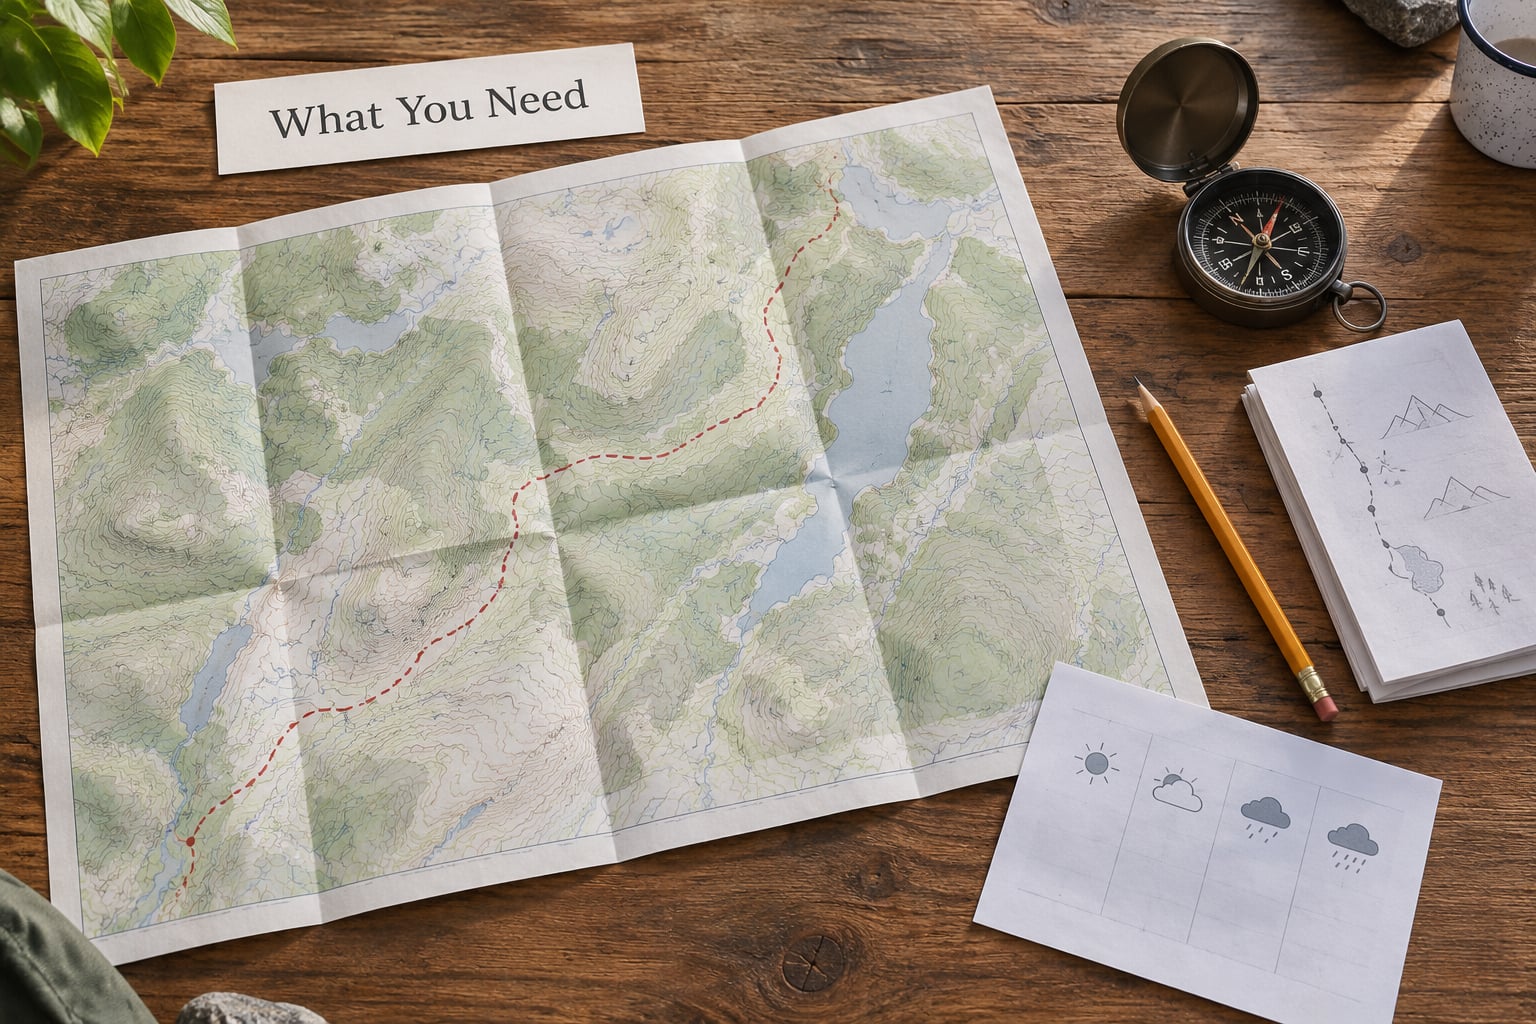
Six things matter, and five of them cost nothing. People often overthink this and turn up with a satellite beacon they never practise using.
- The right map at the right scale. A USGS 7.5-minute quadrangle at 1:24,000 is the standard for US trail work. A whole-park visitor map is fine for picking a trailhead, useless once you are on the ground, because it hides the small switchbacks and side trails that actually exist.
- A baseplate compass with an adjustable declination screw. A phone compass app works once in twenty, because the phone sits flat against your body and the needle is looking at your jacket zipper.
- Route information from the land manager. Trail conditions, closures, water reports and campground status from the National Park Service or the state trail office change weekly, and the map will not tell you about them.
- A charged phone with maps downloaded for offline use. This is the backup, not the primary tool. Download the area before you drive out, not in the car park on 5 percent.
- A weather forecast for the route and the time of day you will be walking it. Thunderstorms on a ridge are a different problem from thunderstorms in a valley.
- The map in a waterproof sleeve or clear zip bag, plus a pencil. Pencil rubs out and smudges less than pen when the map gets damp, which it will.
Use paper and compass together rather than treating them as old-fashioned. Signal fails in valleys, batteries fail in cold, and paper does not care about either.
Step-by-Step
Do these in order. This is the working order for how to read a trail map for beginners, and the people who skip to step four usually end up at the wrong trailhead on the wrong side of the valley.
1. Check the Map Type and Scale Before You Read a Trail Map
Turn the map over and read the printed margin first: area name, scale, contour interval, legend, coordinate grid and revision date. Two map types cover most hiking. A topographic map shows terrain shape with contour lines, and a trail map shows routes and landmarks on a flatter background, sometimes with contours underneath.
Scale is the ratio between the map and the real ground. At 1:24,000, one inch on the paper covers about 2,000 feet of actual distance, and one centimetre covers roughly 250 metres.
Measure your planned route with a ruler or a piece of string laid along the line and straightened against the scale bar. A 10 cm stretch on a 1:25,000 sheet is about 2.5 km. Add roughly 10 percent for the bends the straight line hides, then add more for slope, because a contour line never tells you how hard the walking will be.
2. Identify the Map Symbols
Read the legend before you interpret anything. It is the key that turns marks into meaning, and every map family uses it slightly differently.
Look for blue lines and shapes for water: streams, ponds, marsh with horizontal tick marks, and blue tint for permanent water. Black solid lines are usually roads and boundaries, black dashed lines are trails. Thin double lines are often fences or pipelines. Green tint means woodland, brown or tan means open ground above the tree line, and small black rectangles mean buildings.
Symbols for shelters, water points, fire rings, trailheads, viewpoints and hazard areas are printed on the legend as small icons. Learn the handful your route actually uses rather than all fifty.
3. Read Contour Lines and Landforms on a Topographic Map
Every contour line joins points of the same height above sea level. The elevation is written on the map, and the spacing between those printed numbers tells you the contour interval, which is usually 20 feet on a 7.5-minute quad.
Spacing is the whole game. Lines close together mean steep ground, lines spread wide apart mean gentle ground. The idea that helped me most was imagining contour lines as a set of stacked glasses giving the flat paper three dimensions.
Five landforms cover most of what you will meet, and each has its own signature shape.
| Landform | Contour pattern on the map | What it looks like on the ground |
|---|---|---|
| Summit | Concentric closed loops, highest number in the centre, index contour every fifth line | A rounded or rocky top with ground falling away in every direction |
| Valley or draw | V or U shapes where the lines point uphill, with a stream running along the centre | A low line of ground between two hillsides, usually wetter and shadier |
| Ridge or spur | Lines bulge or point downhill, forming a nose that runs out from high ground | A long shoulder of high ground you can walk along with a drop on either side |
| Saddle | An hourglass pinch where two sets of loops meet | A low notch between two summits, often crossed by a trail |
| Depression | Closed loops with short tick marks, called hachures, pointing downhill | A bowl, hollow or quarry below the surrounding ground |
Index contours are drawn heavier every fifth line and carry the printed elevation. Intermediate contours sit between them. Supplemental contours appear in very flat ground, where the cartographer adds an extra line at a fraction of the interval to show that the slope is not perfectly flat.
4. Plan a Route Before You Start
Match the trail to your fitness, your daylight hours, the weather and your navigation skills. Contour density is the honest measure of effort: a route that gains a thousand feet in two miles will feel very different from one that gains a thousand feet in six.
Mark on the map in pencil: the trailhead, your destination, every junction, each water source, one or two viewpoints, and at least one bail-out route that leads back toward the start or the car. Solo hikers should mark the turnaround time as well, based on the distance you are confident you can cover.
Leave slack. A plan that assumes you will hit every junction on time is not a plan.
5. Orient the Map to the Ground
Set the compass declination from the map margin, then lay the map flat and rotate it until the map’s north line points to the compass’s north needle. The map now travels with you: whatever direction you walk, you turn the map and the arrow moves with you.
Check the orientation against the real terrain. Look for a valley that runs the way the map shows, a ridge nose with the correct shape, a stream in the right place. If the map and the ground disagree on which way the valley runs, the map is probably rotated or you are looking at a different valley entirely.
On an unfamiliar slope, hold the map at arm’s length facing uphill so the shapes align with the hillside in front of you.
6. Follow the Route and Check Your Position
Match the physical trail to the drawn trail at regular intervals. A real path often crosses several streams, wraps a boulder field or switches back twice where the map shows one long bend, and that is normal, not a sign you have wandered.
At every junction, look for the trail marker on the map before you look at the ground. Confirm you are travelling in the planned direction, then glance back at where you came from to check the shape of the ground still matches.
Assume any path you can see is not your route until the map says otherwise. Old logging roads, shortcuts and unofficial trails look exactly like the real thing from the wrong angle.
Blaze symbols and signs work with the map rather than against it. A painted blaze or a small marker post usually means keep going on the same path; stacked blazes, coloured markers or a diamond often mark a junction or a side trail. Learn the local marking system before you leave, since it varies by land manager.
7. Know When to Stop or Turn Back
Turn around when the map stops matching the ground, when the weather closes in, when the group is moving slower than planned, or when daylight is arriving earlier than the map suggested. All four are normal, and none of them are failure.
The rule I teach is simple: when you lose confidence, return to the last confirmed landmark and reorient there rather than pushing forward into uncertainty. A confirmed point is a trailhead sign, a bridge, a junction you have already identified on the map, or a spot where two map features line up visibly.
If you are unsure, stop where you are, take a bearing, and work out which direction gets you back to that landmark. Standing still is a navigation technique.
Common Mistakes
Almost every avoidable problem comes from skipping one of the seven steps above. These are the ones that come up most.
- Using the wrong scale. A park overview map at 1:100,000 hides the trail entirely. Fix: work at 1:24,000 for the actual route.
- Not reading the legend. Assuming every dashed line means the same thing. Fix: read the legend on the specific map in your hands, because it is the final word.
- Ignoring contour spacing. Committing to a route that climbs far more than the total distance suggests. Fix: count the contour lines crossed on the route and multiply by the contour interval for elevation gain.
- Reading contour lines as decoration. Looking for the trail line instead of the land underneath it. Fix: learn the five landform patterns before the route.
- Taking the wrong junction. Moving fast and picking the widest path. Fix: read the junction on the map first, and stop at every junction until the directions agree.
- Losing orientation. Folding the map and putting it away after the first check. Fix: keep it open and keep re-matching it to the ground.
- Underestimating time. Believing the map distance equals walking time. Fix: on flat firm ground assume about 3 km per hour, and drop to 2 km per hour on steep, rocky or off-trail sections.
- Relying entirely on a phone. Assuming the app knows where you are. Fix: carry paper and compass as the primary pair, phone as backup, with maps downloaded before you leave.
Two more safety habits are worth building. Tell someone your route and your expected return time, and check in when you are back. And remember that two maps at different scales will give you two different distances for the same trail, which is a scale difference rather than an error in either map.
Frequently Asked Questions
How long does it take to learn to read a trail map?
Most beginners get useful from about an hour of focused reading plus two or three short practice sessions at home. The six items in the map margin and the five landform patterns take the longest. Contour spacing clicks quickly once you have held the map over real ground. A first hike with a route you have already traced will test the skill far better than another hour indoors.
Do I really need a paper map if my phone has offline maps?
Carry both, with paper as the primary tool. A phone needs battery, and a cold morning drains a battery noticeably faster than a warm one. Offline maps remove the signal problem but not the battery one, and screen glare makes a phone unreadable in bright conditions. Paper costs nothing, weighs almost nothing and works with a compass in any weather. Download the area as your backup.
Which map scale is best for beginners learning navigation?
Start with a 1:24,000 USGS 7.5-minute quadrangle. At that scale one inch equals about 2,000 feet, which is detailed enough to show trails and clear enough that a beginner is not squinting. A 1:100,000 sheet is fine for planning a week of hiking and too coarse for walking a single route. Use the finer map for the trail and the coarser one for the drive in.
How do you read a compass while you are walking?
Set the declination from the map margin, then turn your body until the north end of the compass needle points at the map’s north arrow. Take a bearing to the next destination along the trail, not straight to it, and keep the bearing within about 30 degrees as you walk. You do not need to stare at the compass continuously. Check it at every junction and landmark.
What do you do when a trail sign or blaze is missing?
Stop where the marking should be and treat it as information. Look for a blaze or marker within about 10 metres on both sides of the trail, and check for a second blaze a short distance further along. If there is nothing, do not pick a path because it looks like the route. Back up to the last junction or landmark you confirmed on the map and reorient from there.
How can beginners practise map reading before a real hike?
Spend 15 minutes on a map of a trail you already know well. Trace the route, mark every junction, name the five landforms along the way and count the contour lines crossed to estimate climb. Then orient the map with a compass and walk the trail again with the paper map only, no phone. Repeat with a second map in an area you have never visited and compare the two.
Conclusion
Before you go anywhere, do four things: read the scale and contour interval off the map margin, read the legend, trace the route and confirm the start point, then orient the map with your compass before you walk a single step. That sequence takes fifteen minutes and it is the difference between reading a map and staring at one.
Keep the paper map, the compass and the route plan working together, keep checking the ground against the page, and know the point on the map at which you turn around. Practising how to read a trail map for beginners on a trail you know first is worth more than another hour of reading about it, and the next trip will not frighten you.